

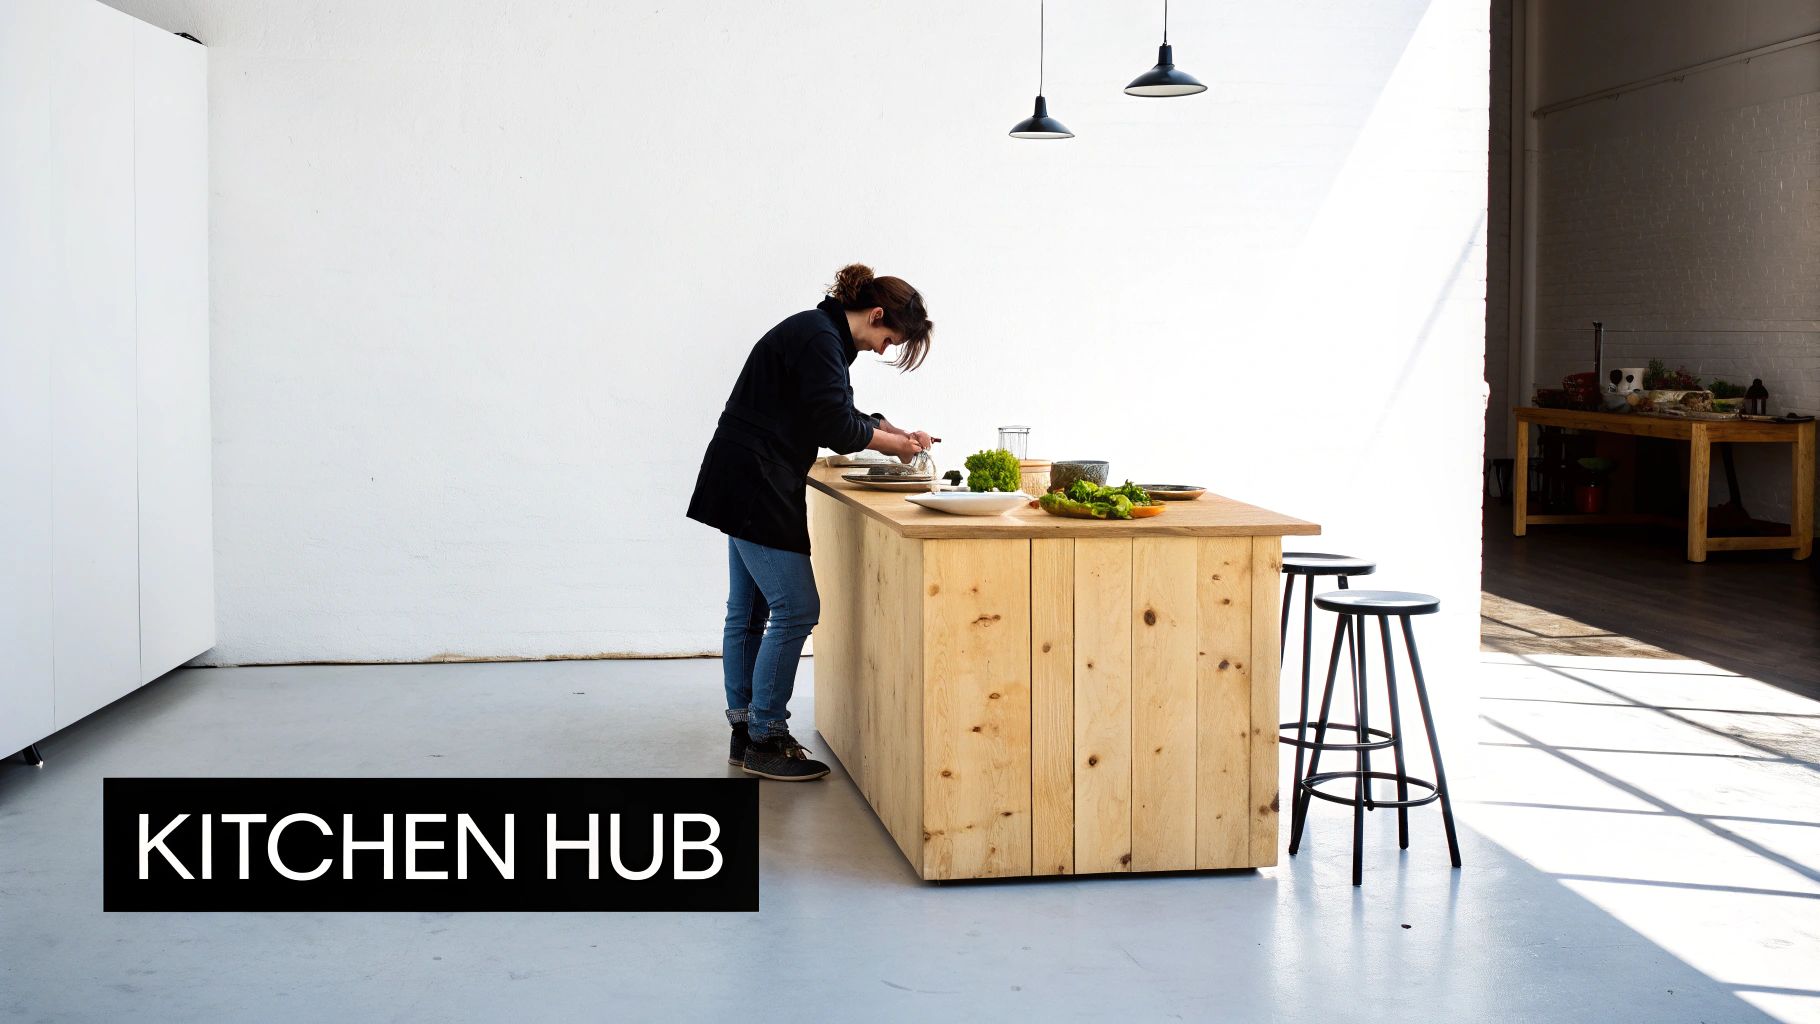
A wooden kitchen island seamlessly blends practicality with style, giving you extra prep surfaces, casual seating and a focal point all in one. Its adaptability has crowned it the centrepiece of countless Canadian homes. These wood island kitchen designs pair rugged reliability with inviting warmth for an enduring statement.
Exploring Wood Island Kitchen Benefits
- Extra Prep Space that frees up countertops and stands up to chopping, kneading and assembly.
- Casual Dining Hub perfect for quick breakfasts, homework sessions or an evening glass of wine.
- Visual Anchor tying together cabinetry, flooring and appliances with a natural focal point.
These pillars form the backbone of every wood island kitchen decision.
Think of the island as the stage where your cooking performance unfolds. It clarifies the room’s traffic flow, directs movement and invites collaboration with its open layout.
Key Benefits Explained
- Functionality: Integrated prep zones, smart storage and serving areas keep everything within reach.
- Design Harmony: Wood grains, hardware finishes and countertops that play off each other for a cohesive feel.
- Social Hub: A natural gathering spot that turns meal prep into a shared experience.
A well-designed island turns cooking into a gathering experience that invites interaction.
This section lays out a clear roadmap for planning your wood island, step by step.
| Topic | Focus |
|---|---|
| Wood Selection | Choosing species and finishes |
| Layout Planning | Measuring and placement |
| Cost Estimation | Budget breakdown |
| Sustainability | Eco-friendly materials |
| Local Insights | Toronto and Markham tips |
| Ordering Process | Contractor and supplier advice |
High-Level Roadmap Preview
We start by comparing wood types—from warm maple to sturdy oak and consistent engineered boards. Next comes layout planning, where measured clearances ensure smooth traffic and a classic work triangle.
- Break down your budget by material rates, labour fees and finish options.
- Explore reclaimed or FSC-certified wood to reduce environmental impact.
- Tap into local suppliers in Toronto and Markham for shorter lead times and community support.
- Navigate contractor quotes, timelines and installation steps with confidence.
With this blueprint in hand, every decision feels guided by practical insight and local expertise.
Core Design Principles
Balance, proportion and harmony guide the look and feel of your island. Proportion keeps the island in scale with surrounding cabinets, while harmony emerges when wood grain, hardware and finish work in concert.
Imagine the island as a theatre stage where each element plays a supporting role in the overall performance.
- Matte finishes soak up light and deepen the grain’s character.
- Glossy surfaces reflect illumination for a brighter workspace.
Setting The Kitchen Stage
Positioning the island shapes workflow, sightlines and social zones. Aim for 42–48 inches of clearance around the perimeter to maintain comfort and safety.
- Keep at least 3 feet between countertops for smooth movement.
- Plan seating overhangs of 12–15 inches to let guests tuck in comfortably.
Toronto and Markham workshops specialise in custom wood islands that suit urban styles. MapleKing’s painted real-wood doors showcase the grain beneath a durable finish, while HDF, laminates and thermofoil offer cost-effective consistency.
Why Wood Matters
Wood brings a tactile warmth you can’t replicate with man-made materials. Its unique variations and rich patina evolve over time, creating a truly living surface.
- Wipe spills promptly with a mild cleaner to prevent stains.
- Reapply sealant or wax annually, or more often if you host frequently.
Final Thoughts
Mastering these fundamentals ensures your wood island kitchen delivers function, style and longevity. Align your material choices, layout and budget with the way you live and cook.
Community Connection
Wood islands quickly become the backdrop for daily family rituals. 80% of homeowners report using their island every day for prep and socialising.
- 85% value extra seating for casual meals.
- 70% say the island improves traffic flow by centralising activities.
Personal touches such as integrated knife drawers and charging stations make each island one of a kind.
Local artisans in Markham demonstrate how custom organising can turn a standard island into a personalised masterpiece.
Bringing It All Together
Your wood island kitchen journey begins by syncing your vision with the core principles of balance, proportion and material harmony. Use the roadmap table to track your progress across selection, planning, costing and sourcing phases.
In the next section, we’ll dive into choosing wood types and finishes—from the rich grain of maple to sleek laminate surfaces. Metrics, examples and MapleKing’s expert tips will help you find the perfect fit for your Canadian home.
- Embrace harmonious design principles to achieve a cohesive look.
- Reference local manufacturing strengths in Toronto and Markham for quality craftmanship and timely delivery.
Start planning today and set the stage for a kitchen that works beautifully and feels completely yours.
Choosing Wood Types And Finishes
Picking the right timber and surface finish sets the tone for your kitchen island’s look and life span. This choice influences everything from your daily meal prep to long-term upkeep.
We’ll walk through solid woods like maple and walnut, then shift to engineered boards, so you can weigh style, strength and budget side by side.
Comparing Solid Wood Options
Begin with the classics: solid hardwoods bring warmth and unique grain patterns. Think of them as the foundation of a recipe—each one contributes its own flavour and texture.
- Maple: Pale, uniform grain that brightens the room and stands up to work. Cost $10–$15 per sq ft, low maintenance.
- Oak: Pronounced lines lend character and rugged durability. Cost $12–$18 per sq ft, medium maintenance.
- Walnut: Rich brown tones deepen over time and mask minor scratches. Cost $15–$20 per sq ft, higher maintenance.
- Birch: Smooth surface ideal for paint or stain, usually more wallet-friendly. Cost $8–$12 per sq ft, versatile.
“Solid wood islands bring a living warmth that evolves with your home.”
Exploring Engineered Alternatives
When you need consistent colour and fewer worries about moisture, engineered boards step in. They act like a protective raincoat, shielding the core while letting you pick from a vast palette of textures.
| Material | Resistance | Appearance | Cost per sq ft |
|---|---|---|---|
| HDF | High moisture defence | Matte or gloss | $6–$9 |
| Laminate | Scratch & stain proof | Wide colour range | $5–$8 |
| Thermofoil | Seamless, easy-clean | Smooth uniform | $4–$7 |
Selecting Finishes And Styles
This is the stage where your island becomes the room’s headline. A matte HDF finish wipes clean with a damp rag, while a high-gloss laminate bounces light around tight corners. MapleKing’s real wood painted doors layer colour without hiding natural grain for that bespoke feel.
- Wipe spills immediately with a damp cloth and mild soap
- Reseal solid wood annually with a food-safe sealant
- Inspect thermofoil edges for lift every year
- Use coasters and cutting boards to protect finishes
Checklist For Choosing Your Material
Match your daily routine to the right surface:
- Prefer natural grain variation? Choose solid maple or walnut.
- Need low-cost upkeep? Engineered laminate or thermofoil fits budgets.
- Tackle heavy spills? HDF with a glossy finish resists moisture.
- Desire bespoke colours? Painted real-wood doors from MapleKing offer depth.
For hands-on advice and local insights, dive into our guide on custom cabinets in Toronto.
Sustainability And Eco Options
Green choices extend beyond aesthetics—they protect forests and indoor air alike. Look for FSC-certified boards or reclaimed timber to add character without the carbon footprint.
- FSC certified woods for responsible harvesting
- Reclaimed materials with unique character
- Low VOC sealants for healthier indoor air
“Eco-conscious choices safeguard both your home and the planet.”
Marrying sustainability with durability ensures your island looks good and feels good for years to come.
Planning Island Size And Layout
Accurate measuring is the starting point for a wood island kitchen that feels just right. Grab a tape measure and sketch your walls on graph paper to capture every nook and cranny.
Think of the space around your island like aisles in a boutique—too narrow and people bump into each other. Aim for at least 42 inches between the island edges and any cabinets or walls. This buffer keeps traffic flowing smoothly and prevents collisions when doors or appliances swing open.
Calculating The Golden Triangle
The work triangle—sink, stove and fridge—is the heartbeat of efficient meal prep. In a well-balanced layout, each leg of that triangle should span 4 to 9 feet, so you’re never stretching too far yet still have room to manoeuvre.
For instance, if your fridge lives on the north wall, centre the island so the cooktop sits diagonally opposite. It creates an invisible pathway that makes every step feel natural.
A well-placed island acts like a pivot point, connecting major work areas seamlessly.
- Sketch your kitchen footprint to visualise sightlines.
- Mark island boundaries with string or painter’s tape on the floor.
- Walk the triangle yourself to test the pace and comfort.
Below is an infographic illustrating the three-step wood selection process—from solid logs to engineered boards and final finishes.
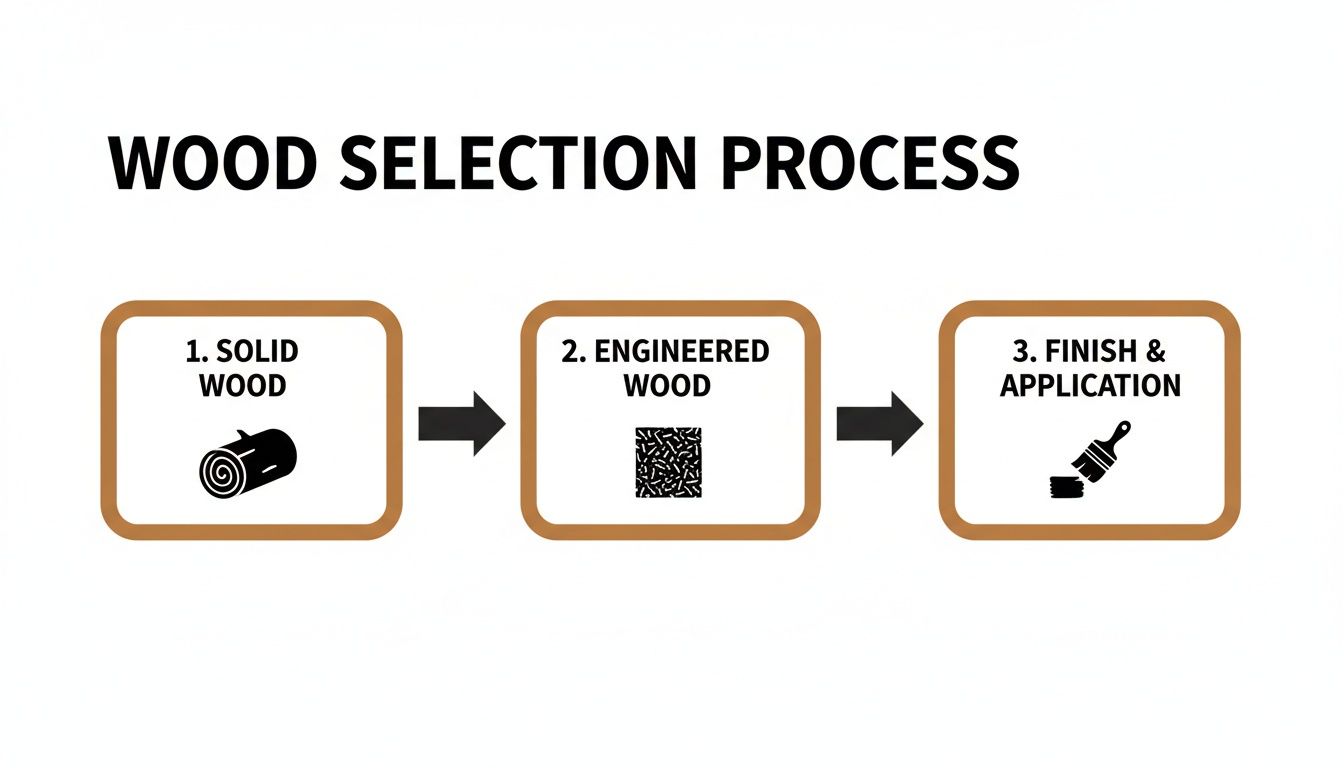
Each stage has a direct impact on durability, consistency and that final aesthetic touch.
Considering Workspace Clearances
Beyond perimeter clearances, dedicate extra room around cooking and seating zones. In front of seats, allow 36 inches so friends and family won’t feel cramped.
When you integrate a sink or cooktop, reinforce the countertop with brackets or a built-in steel frame. That often means tacking robust steel supports beneath the breakfast bar or sink apron.
An example: one Toronto homeowner bolted heavy-duty L-brackets under a 500-pound granite top to keep it rock-steady.
Proper reinforcement prevents sagging and maintains a level work surface under load.
- Confirm floor joist locations before adding heavy materials.
- Consult a contractor for cabinet box support recommendations.
- Plan plumbing and wiring access panels at the design stage.
Final Layout Tips
Good traffic flow is as vital as raw dimensions. Position the island so doorways and pathways remain obstacle-free.
Maintain at least 3 feet between island edges and appliance doors. In a Markham condo, a slender island of 24-inch depth kept corridors clear while offering generous prep space.
Key Takeaways:
- Base your island size on your kitchen’s footprint and clearance rules.
- Use the golden triangle to optimise prep efficiency.
- Reinforce heavy elements with steel frames and brackets.
Achieving the right layout transforms your wood island kitchen into a centrepiece of both style and utility.
For seating, design an overhang of 12–15 inches to grant enough legroom. Counter stools should have seat heights between 16–18 inches, while bar stools pair nicely at 24–30 inches.
Correct seating dimensions invite comfort and encourage guests to linger.
Finally, don’t overlook lighting. Pendant fixtures spaced 24–30 inches apart above the island deliver focused task lighting and contribute to your kitchen’s overall character.
- Use adjustable pendants to direct illumination over prep zones.
Before you finalise orders, review every dimension with your trusted contractor and build a realistic budget.
Estimating Costs And Sustainability
Before you hammer the first nail or stain the first plank, you need a clear budget that balances upfront investment with years of kitchen gatherings. In the Greater Toronto Area, every choice—from wood species to labour rates—can shift your bottom line.
Rather than guessing, map out each cost element. This way, you guard against sticker shock and keep your project on track.
Cost Breakdown
When you peel back the layers, your wooden island’s budget typically includes:
- Material: Wood species range from $8 to $20 per sq ft, while engineered options like HDF or laminate land at about $5 to $9 per sq ft.
- Labour: Custom installers in Toronto and Markham charge roughly $50 to $75 per hour.
- Finish Fees: Staining, sealing or painting tacks on around $2 to $6 per sq ft.
- Installation: Expect $12 to $15 per sq ft for fitting and finishing touches.
Cost Comparison Of Wood Types
Below is a quick snapshot comparing material and installation costs alongside durability. Use it to weigh upfront spend against how long your island will stand up to daily life.
| Material | Cost per sq ft | Installation cost | Durability Rating |
|---|---|---|---|
| Maple | $10–$15 | $14 | High |
| Oak | $12–$18 | $15 | Very High |
| HDF | $6–$9 | $13 | Medium |
| Laminate | $5–$8 | $12 | Medium-High |
This comparison helps you balance the initial outlay with long-term wear and tear—so you can invest wisely.
Further Costs In The Greater Toronto Area
Beyond materials, remember that:
- Labour Rates in the GTA sit at $50–$75 per hour for skilled carpenters.
- Finish Fees typically add $2–$6 per sq ft for stains or sealants.
- Installation Charges run about $12–$15 per sq ft, covering fitting, adjustments and final checks.
For a deep dive into Canada’s cabinet and island manufacturing landscape, read the detailed analysis on IBISWorld.
Greener Sourcing Tips
Choosing eco-friendly materials can shave costs and add character to your island. Reclaimed wood, for instance, often costs up to 20% less and carries unique grain patterns. FSC-certified lumber gives you peace of mind about forest stewardship.
- Prioritise local suppliers to cut shipping fees and support nearby craft.
- Compare quotes closely to spot hidden fees on labour, finishes or delivery.
- Build in a 10–15% contingency for design tweaks or unexpected charges.
- Opt for low-VOC finishes at under $3 per sq ft to boost indoor air quality.
"A sustainable island costs little more upfront and pays dividends in durability and market appeal."
Real-World Examples
In a recent Toronto renovation, a 40 sq ft maple island came to $6,000 in materials plus $5,800 for labour and installation. The homeowners chose FSC-certified boards, trading a modest 10% material premium for green credentials.
Meanwhile, a Markham kitchen makeover used reclaimed oak to trim material costs by 20%. With custom MapleKing painted doors and a premium sealant, the final tab hit $7,200, proving that repurposed wood can cut expenses and keep its charm.
For guidance on selecting cabinets and managing installation costs, check out our comprehensive guide to kitchen cabinets in Toronto before finalising your wood island kitchen plan.
Balancing Budget And Value
When you need to choose between a Very High durability oak and a more budget-friendly laminate, think long term. A slightly higher initial spend often means fewer repairs or replacements down the road.
Finally, factor in lead times: plan at least 3–4 weeks for sourcing materials and 6–8 weeks for fabrication and installation. With realistic timing and a detailed budget, your wooden kitchen island will be both beautiful and built to last.
Exploring Canadian Manufacturing
In Canada, most wooden kitchen island components begin life in workshops scattered across Ontario and Quebec. These regions not only supply the bulk of domestic demand but also drive our export success.
Ontario alone is home to over 400 cabinet and countertop facilities, many clustered around Toronto. Quebec, meanwhile, accounts for roughly 30% of Canada’s woodworking output, with a strong concentration near Montreal. Smaller production hubs in British Columbia, Alberta and the Atlantic provinces round out the national picture.
In trade terms, custom wood cabinets and counters fall under NAICS 337110, which encompasses more than 2,000 establishments from coast to coast. The Greater Toronto Area remains a hotspot, thanks to its density of skilled shops and fast turnaround.
Regional Capacity And Classification
Familiarity with NAICS codes sheds light on exactly who’s shaping your island base and joinery. NAICS 337110, for example, flags custom workshops that specialise in:
- Bespoke doors and panels
- Tailor-made bulkheads
- Small-batch runs for speedy delivery
Many Toronto and Markham firms leverage short production cycles to slash transit distances and cut shipping costs well below cross-border rates.
| Province | Cabinet Establishments | Employment Levels |
|---|---|---|
| Ontario | 450 | 8,200 |
| Quebec | 300 | 6,500 |
| Rest of CA | 250 | 4,000 |
Canada’s trade balance in wood kitchen cabinetry and countertops has swung strongly in our favour. Exports reached CAD 775.4 million in 2018 against imports of CAD 264.1 million, highlighting a robust domestic manufacturing base for island components. Learn more about trade statistics
Local workshops supply:
- Real wood painted doors with consistent colour and finish
- HDF panels in both matte and high-gloss
- Thermofoil wraps for a seamless, easy-clean surface
- Custom hardware sourced from nearby foundries
Homeowners in Toronto and Markham enjoy these benefits through MapleKing’s comprehensive component offerings.
Local Custom Production Vignette
Picture MapleKing in Markham gearing up for a Toronto condo kitchen island. They batch custom painted doors, HDF panels and hardware mounts in weekly runs.
Key advantages include:
- Lead times shrunk from 12 to 8 weeks
- Freight savings of 40% thanks to shorter hauls
- Tighter quality oversight via regular on-site visits
Local manufacturing hubs turn long-haul logistics into nimble, community-driven services.
This solid local footprint means your wood island kitchen project thrives on Canadian expertise and resilient supply chains. Homeowners within 150 km of these centres often see lead times under six weeks—a nearly 25% reduction. This network of workshops and distributors ensures your kitchen island meets local quality standards and arrives right on schedule.
Ordering From Toronto And Markham Contractors
Finding the right team to build your wooden kitchen island in Toronto or Markham takes more than a quick Google search. Start with the basics: trade licences, insurance coverage and reputation. Digging into these details early prevents headaches down the road.
Once you've got the credentials sorted, ask to see past projects. A contractor's portfolio should feature completed kitchen islands—ideally with styles and finishes similar to what you want. That way you can tell at a glance whether their craftsmanship matches your vision.
When the quotes arrive, don’t settle for a lump-sum figure. Insist on an itemized breakdown that spells out materials, labour, finishes and delivery charges. Clarity up front keeps surprises at bay.
“A transparent quote is the foundation of a successful renovation,” says a local cabinet installer.
- Check licences and insurance through city records.
- Compare finished projects for design consistency.
- Gather detailed quotes from at least three suppliers.
Key questions to ask each contractor:
- What factory finishes do you offer, and how are they applied?
- Which assembly steps happen in the shop versus on site?
- How long is your warranty, and what’s covered?
Vetting Credentials And Quotes
References tell stories that portfolios can’t. Request three recent client contacts and, if possible, visit an active installation. You’ll see how the team handles unexpected challenges and sticks to timelines.
It also helps to know how the industry breaks down on the Statistics Canada site. Under NAICS 337110, cabinet makers are classified by product type. This detail hints at how many producers in Ontario focus on wooden kitchen islands.
Managing Lead Times And Payments
Spring and early summer in the GTA can slow things down. In fact, projects booked between March and June often stretch lead times by 25%. Lock in site visits before schedules fill up.
Outline your payment plan in writing. A common split looks like this:
| Phase | Typical Deposit |
|---|---|
| Design Approval | 30% |
| Cabinet Fabrication | 40% |
| Installation | 30% |
Ask for a formal timeline too. That simple document can save you from unexpected start-date shifts and hold-ups.
Keep communication lines open. A quick weekly check-in—whether by phone or email—lets you catch changes early. In this region, clear schedules and proactive chats are often the difference between smooth delivery and costly delays.
Key Takeaways
- Vet licences, insurance and portfolios before you commit.
- Demand transparent, itemized quotes.
- Book early and expect 25% longer lead times in peak season.
- Agree on payment milestones and get a written schedule.
- Schedule weekly check-ins to address issues quickly.
Gallery Of Canadian Wood Island Kitchens
This showcase brings together four distinct island makeovers in homes across Canada. Each one tackles space puzzles and design dreams through smart wood choices and finishes. You’ll see how these islands combine form with function in real kitchens.
Project One Rustic Farmhouse
When a tight galley kitchen in Burlington needed more character, we introduced a maple island with distressed matte HDF doors. By trimming the lower cabinets, we widened the walkways to 42 inches, making the room feel open without losing storage. A reclaimed pine butcher block top adds warmth and a sturdy spot to chop, while cubby shelves beneath hold wicker baskets for linens and pots.
- Material and finish cost: $3,800
- Labour and installation: $2,200
- Contractor credit: MapleKing local partner in Burlington
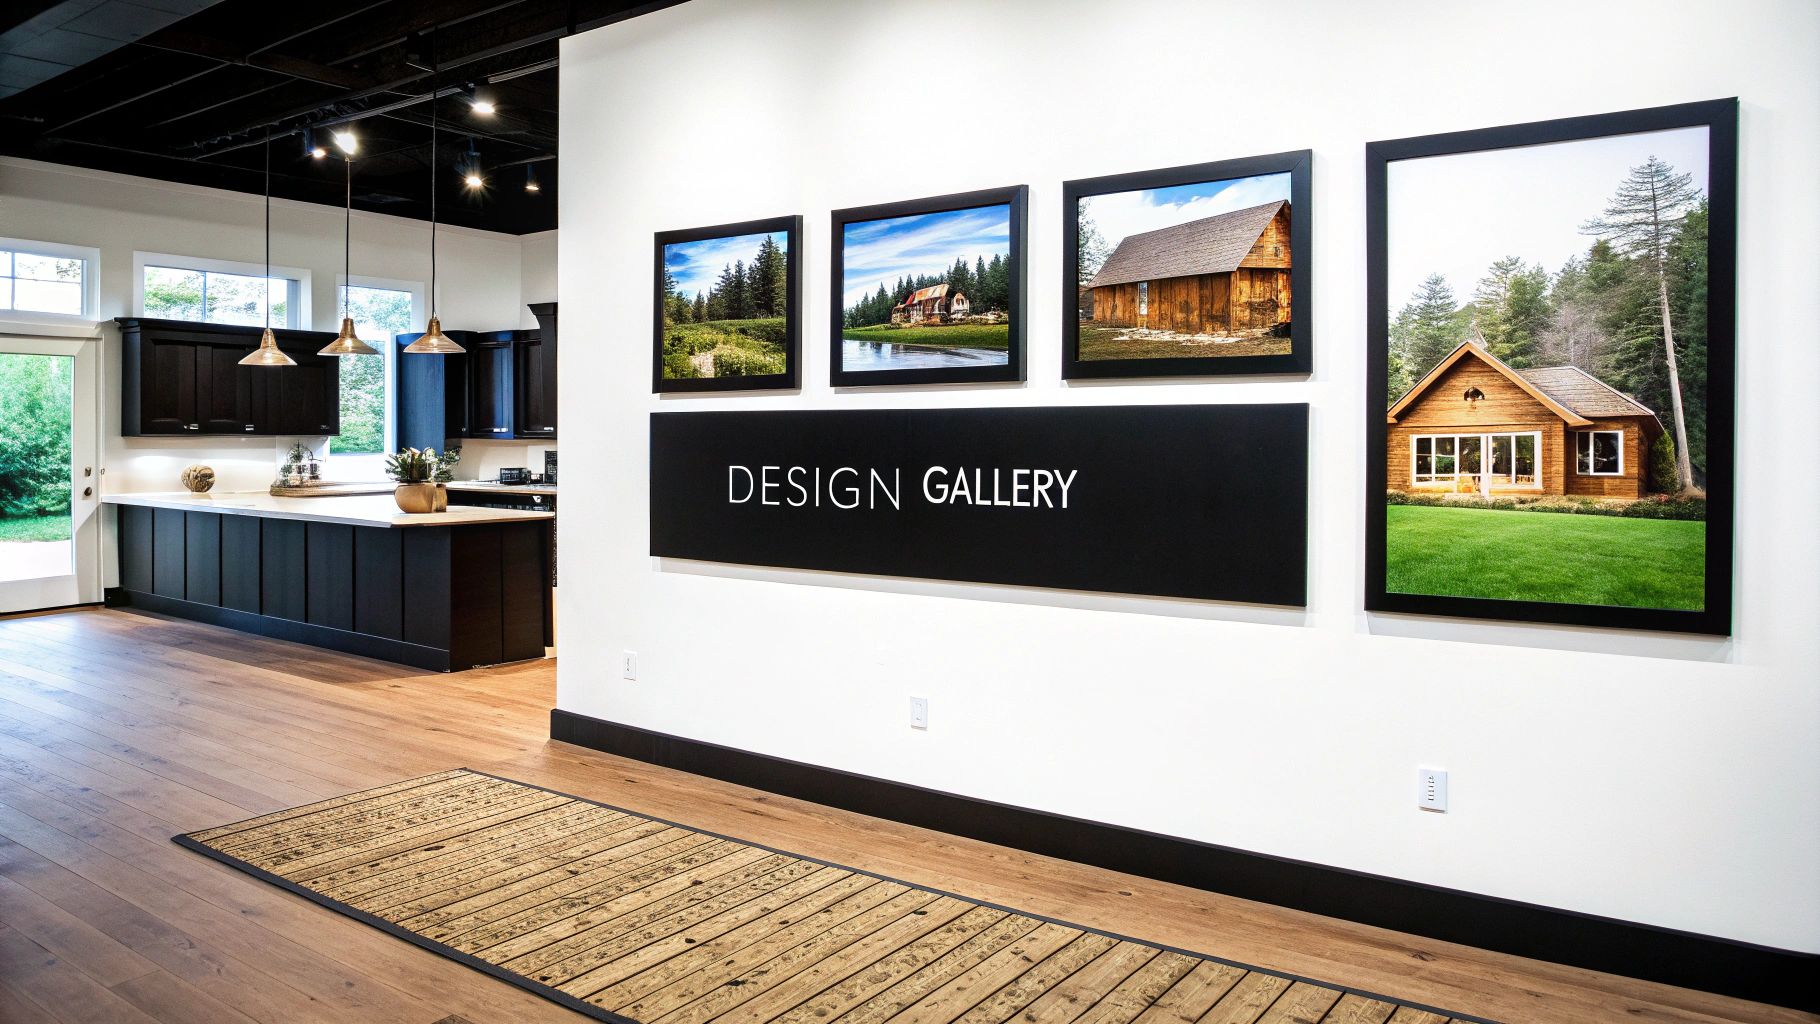
The distressed plank effect brings unexpected texture and story to a classic kitchen stage.
Project Two Urban Loft Minimalism
In a Toronto loft, sleek walnut doors with high-gloss lacquer transformed the island into a reflective centrepiece. The glossy finish bounces light around, making the space feel larger and airier. Integrated seating tucks neatly under a 15-inch overhang, keeping the footprint tight without sacrificing comfort.
Key Features:
- Walnut grain directional matching for seamless visual flow
- High-gloss lacquer that resists stains and scratches
- Hidden spice racks mounted inside the doors
Project Three Coastal Cottage
Out in Halifax, a pastel-painted birch island brings cottage charm to life with moisture-proof laminate sides. Limited floor space meant we built custom drawers that slide entirely under the overhang—no wasted room. A butcher block end cap contrasts the soft hue and offers bar seating for two.
- Core: Birch with durable laminate
- Drawer slides rated to 50 lbs each
- Integrated USB ports for quick device charging
Project Four Sleek Condo Island
In a Markham condo, we wrapped an island in matte charcoal thermofoil-clad HDF panels for a crisp, modern vibe. Open shelving on one flank balances the upper cabinets and creates a spot to display glassware or cookbooks. Working with a local MapleKing team, we cut lead times by producing parts in Markham and assembling everything on site.
- Factory-sealed panels with low-VOC finish
- Overhang featuring a hidden bookcase niche
- Final tab: $4,900 including installation
These four examples show how mixing natural wood, engineered panels and clever layouts can turn any kitchen into a practical focal point. For more inspiration and detailed project breakdowns, explore our complete gallery of finished installations.
Learn more in our detailed project gallery on MapleKing's site today.
Wood Island Kitchen FAQ
When homeowners start dreaming of a wooden island, a handful of key questions always come up. Let’s explore the most common concerns and set you on the path to a stunning, functional centrepiece.
Durable Wood Options
Home cooks need a surface that can take a beating. Maple’s tight grain offers impact resistance, making it perfect for heavy chopping and everyday spills. If you prefer a more pronounced texture, White Oak delivers a rustic look with impressive scratch resistance.
I’ve seen families run through countless meal preps on Hard Maple islands without a single dent. Before you commit, order small wood samples to feel the texture and watch how each finish absorbs.
Tips to guide your choice:
- Hard Maple for a dense, dent-resistant countertop
- White Oak to showcase bold grain patterns and fend off scratches
- Sample first to ensure the finish and feel match your vision
Painted Island Care
A painted island can brighten any kitchen—if you know how to maintain it. Wipe spills immediately with a soft cloth and mild soap to stop stains before they set. This quick step preserves that crisp, fresh finish.
Steer clear of abrasive pads or harsh chemicals; they’ll dull even the toughest paint. And don’t forget to reseal with a food-safe sealant once a year to keep your island looking brand-new.
Pro Tips:
- Keep a soft microfibre cloth within arm’s reach
- Use a gentle, pH-neutral cleaner
- Reapply sealant every 12 months
Plumbing And Installations
Thinking about adding a sink to your island? You can, but start by reinforcing the base with marine-grade plywood. This step ensures moisture won’t warp your cabinets over time.
Sketch out where the drain line and shut-off valve will go, and include removable access panels for future repairs. Choose corrosion-resistant fittings to avoid leaks and simplify maintenance.
Key Steps:
- Reinforce the cabinet base with marine-grade plywood
- Plan drain routes and valve access before cutting
- Install removable panels for easy upkeep
Lead Time Estimates
If you’re in Toronto or Markham, budget 8–12 weeks from initial design through to final installation. This timeframe covers everything from drawings and approvals to production, finishing, shipping and onsite assembly.
Keep in mind that spring and early summer are busy seasons—adding a couple of weeks for peak demand is wise. Early planning helps you dodge unwanted delays.
With these insights, you’re ready to move forward with your wood island kitchen project in Toronto or Markham.
Discover custom wood island designs at MapleKing Kitchen Cabinets and truly elevate your cooking space today.



