

Thinking about redoing your kitchen but balking at the price of a full remodel? I get it. The good news is you can completely revitalize the entire space without tearing everything out. Spray painting your kitchen cupboards is the secret to getting that professional, factory-smooth finish that makes a kitchen look brand new. This isn't just a quick coat of paint; this guide is about the specific techniques and materials that make the difference between an amateur job and a jaw-dropping, durable makeover.
Why Spray Painting Is a Smart Move for Your Kitchen
A kitchen refresh is one of the biggest-impact projects you can do in your home, and the finish on your cupboards is front and centre. A full cabinet replacement is a massive undertaking, but spray painting is a fantastic alternative that gives you that high-end look without the massive cost and disruption. When you start looking into the key factors of kitchen remodeling, you'll quickly see how much value this one upgrade can bring to the table.
The real magic of spray painting is the flawless, even surface it leaves behind. Brushing or rolling almost always leaves some texture or stroke marks, no matter how careful you are. A proper spray application, on the other hand, creates a smooth, tough coating that looks just like it came from a high-end cabinet maker.
The Payoff: Financial and Aesthetic
The return you get from spray painting cupboards in your kitchen is huge. A professional repaint doesn't just look good—it can seriously increase your home's appeal and value with a modern style that's built to last.
Here’s the breakdown:
- It's a Savvy Financial Choice: You get incredible value from a professional repaint. To put it in perspective, a full cabinet replacement for an average-sized kitchen can easily run you over $12,000. A professional spray-painting job costs a fraction of that.
- It Lasts: This isn't a temporary fix. A properly sprayed and cured finish holds up beautifully for 8 to 15 years, even in a busy kitchen. That kind of durability means your investment pays for itself over the long haul.
- The Transformation is Total: The final result is seamless and undeniably professional. If you want to see just how powerful a quality finish can be, check out this gallery of completed kitchen projects for some inspiration.
Choosing to spray paint isn't just about changing a colour; it's about elevating the entire feel and quality of your kitchen. It’s the perfect balance of budget, beauty, and lasting value, making it the top choice for homeowners who want the best result without the full renovation price tag.
Gearing Up for a Flawless Finish
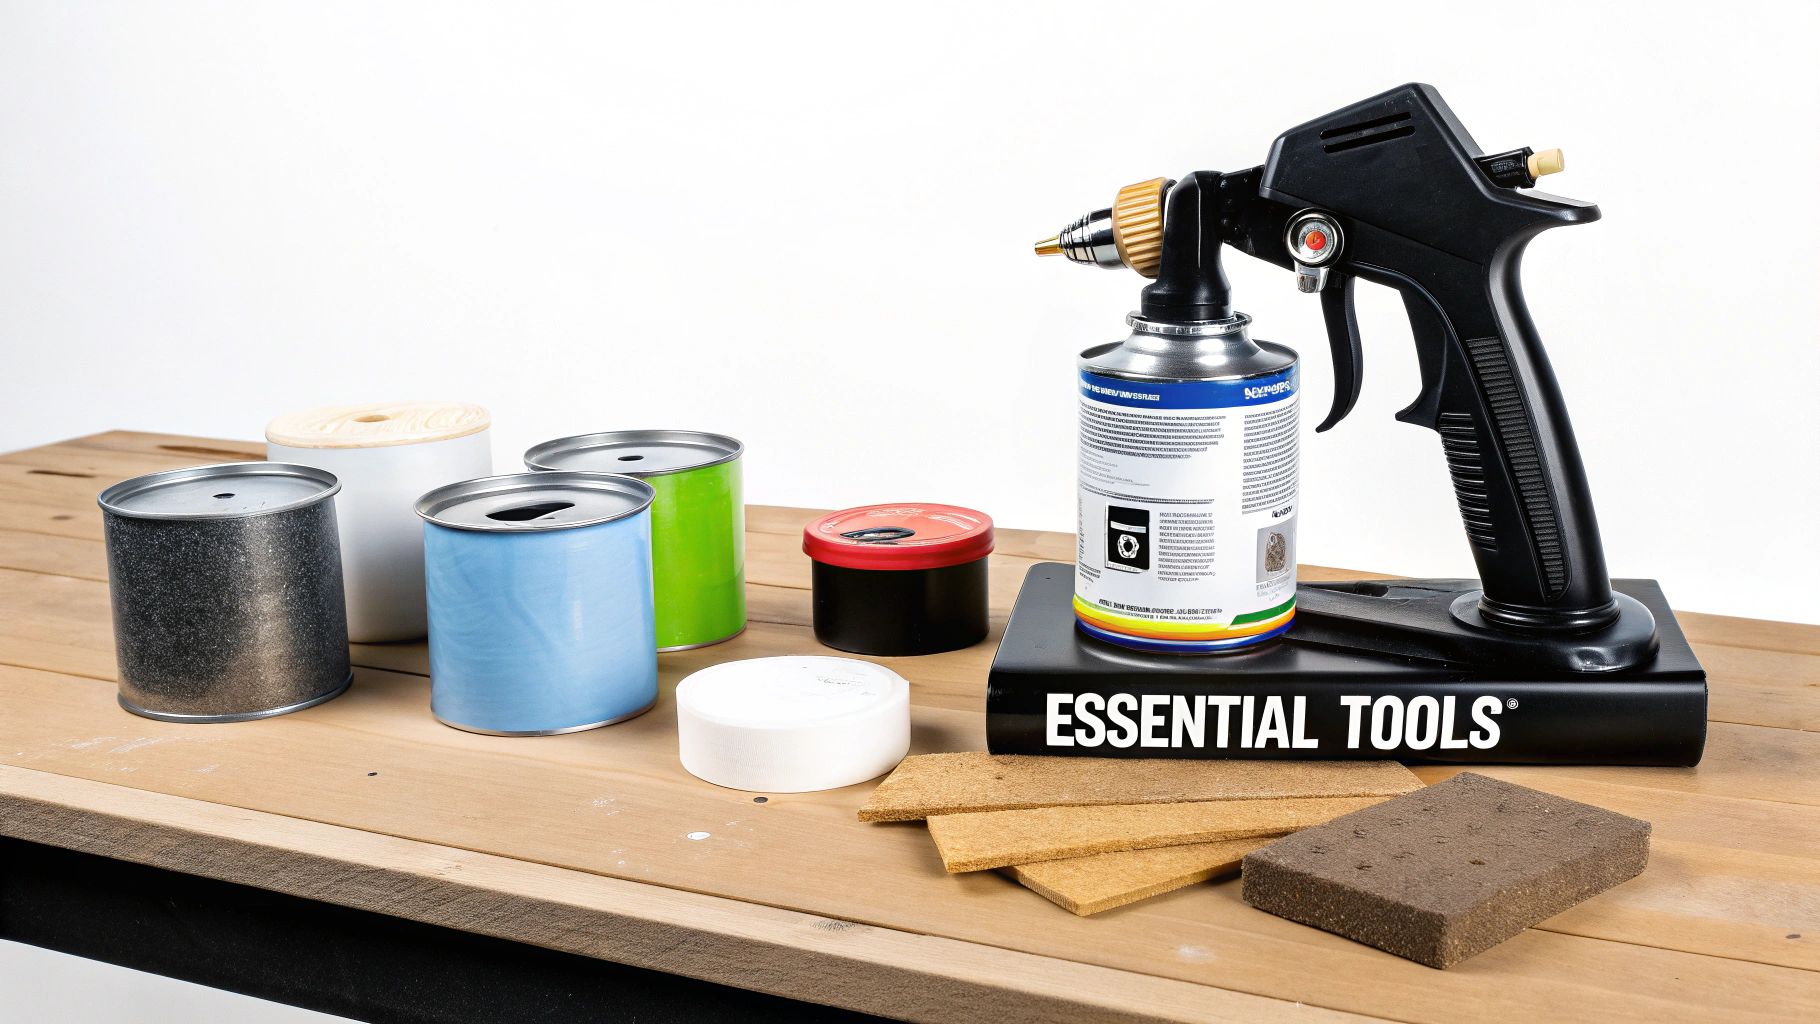
Getting that beautiful, factory-smooth finish when spray painting cupboards in a kitchen comes down to having the right gear. Going into a project like this unprepared is a recipe for frustration and countless trips to the hardware store. Let's make sure you have everything you need before you start.
The Heart of the Operation: Your Paint Sprayer
The single most important decision you'll make is choosing your paint sprayer. While big, powerful airless sprayers are amazing for covering walls in record time, they're often overkill for detailed work like cabinetry. They can blast too much paint, creating drips, thick coats, and a cloud of wasted overspray.
For the delicate touch required for cabinet doors, drawers, and frames, an HVLP (High Volume, Low Pressure) sprayer is the pro's choice. It delivers a fine, soft mist of paint that’s easy to control, giving you that perfect finish with much less mess and waste.
Choosing Your Sprayer: HVLP vs. Airless
To help you decide, let's look at a quick comparison. For kitchen cabinets, the fine control of an HVLP system almost always wins out, but it’s good to know the strengths of each.
| Feature | HVLP (High Volume, Low Pressure) Sprayer | Airless Sprayer |
|---|---|---|
| Best For | Fine-finish work: cabinets, furniture, trim, doors. | Large surfaces: interior walls, ceilings, exterior siding. |
| Paint Flow | Lower pressure, fine atomization, more control. | High pressure, high volume, very fast coverage. |
| Overspray | Minimal, leading to less paint waste. | Significant, requires extensive masking. |
| Learning Curve | Easier for beginners to achieve a smooth finish. | Steeper curve; prone to drips and "tiger stripes." |
| Paint Thinning | May require thinning paint for optimal flow. | Can handle thicker, unthinned paints easily. |
Ultimately, for the precision and elegance required for a kitchen cabinet transformation, the HVLP sprayer is the tool that will deliver the results you're looking for.
Primer and Paint: The Perfect Pair
The paint you choose is just as important as how you apply it. I’m a big fan of modern waterborne alkyd enamels for cabinets. They give you the hard, durable surface of an old-school oil-based paint but with the convenience, low odour, and easy soap-and-water cleanup of a water-based product.
Don't forget the secret weapon: a high-quality bonding primer. This isn't just any old primer. It’s made to grab onto slick, tricky surfaces—like old lacquer or varnish—without needing to sand down to bare wood. It’s the foundation that ensures your beautiful topcoat won’t chip or peel off in a year.
Here’s a tip from experience: The biggest mistake people make is not properly degreasing the cabinets first. Kitchens are full of airborne cooking grease that creates an invisible film on every surface. Paint hates grease. A thorough scrub with a good degreaser is absolutely non-negotiable.
The Prep and Masking Essentials
Meticulous prep work is what separates an amateur job from a professional one. Having these items ready will keep your project moving smoothly.
- A Powerful Degreaser: Use a TSP (trisodium phosphate) substitute or a similar heavy-duty cleaner to cut through years of grime.
- Sandpaper Variety Pack: Keep a few grits on hand. Start with a medium 120-150 grit for the initial scuff sand, and have a fine 220 grit (or higher) ready to smooth the primer before your first colour coat.
- Quality Wood Filler: You’ll need this to patch any nicks, deep scratches, or old hardware holes for a truly seamless look.
- Good Painter's Tape and Masking Paper: This is not the place to save a few dollars. Premium tape gives you crisp, clean lines and prevents paint from bleeding under onto your countertops, backsplash, and floors.
Getting your toolkit right is the first step toward a successful project. For a more comprehensive look at what you might need, this list of essential tools for homeowners is a great resource.
The Art of Meticulous Cabinet Preparation
Any pro will tell you the same thing: a beautiful paint job is earned long before you ever pick up a spray gun. When it comes to spray painting cupboards in a kitchen, the prep work isn't just a step—it's everything. It's the single most critical part of the whole project, and rushing it is the number one reason DIY jobs fail, leading to peeling, chipping, and a finish that just looks… off.
This is where you lay the groundwork for a durable, flawless look. The goal is simple: create a perfectly clean, smooth, and stable surface that the primer and paint can grab onto for dear life. Think of it less like a chore and more like the foundation that makes the final result possible.
Setting Up Your Workflow
A little organization upfront saves a world of chaos later. Before you even think about sanding, get your workspace set up for an efficient workflow.
First things first: take off every single door, drawer front, and piece of hardware. This is non-negotiable if you want a professional result. As you go, grab some painter's tape and a marker to label each piece and its home base (e.g., "Above Sink Left," "Drawer 2"). Trust me, this small step will prevent a massive puzzle-piecing headache when it's time to put everything back together.
A common oversight is forgetting to create a temporary kitchen setup. You'll be without doors and drawers for several days, so move essential items to a clear counter or a separate table to keep your kitchen functional during the project.
The Crucial Deep Clean
Over the years, your cabinets have collected an invisible film of airborne grease, oils, and general kitchen grime. Paint and primer absolutely will not stick to that stuff. Even cabinets that look perfectly clean need a serious degreasing.
Get yourself a strong TSP (trisodium phosphate) substitute or a dedicated kitchen degreaser. Apply it with a non-abrasive scrub pad and get to work, cleaning every square inch of the doors, drawers, and cabinet frames. You'll want to pay extra attention to the areas around the stove and the handles, as they're always the grimiest. Once you’ve scrubbed everything down, wipe it all clean with a water-dampened rag to get rid of any residue, then let it all air dry completely.
Sanding for Adhesion, Not Removal
Let's be clear about sanding. The goal here isn't to strip the old finish down to bare wood. You're simply "scuff sanding" to knock down the gloss and create a fine, microscopic texture for the primer to grip onto. This step dramatically boosts adhesion.
For this job, a medium-grit sandpaper (120 to 150-grit) is your best friend. You can use an orbital sander on the big flat areas to speed things up, but you'll still need to do some hand sanding. Your goal is a uniform, dull, and matte appearance across the entire surface. When you're done, it should feel smooth to the touch but have absolutely no shine left.
Flawless Repairs for a Seamless Finish
With the surface clean and scuffed, now's the time to play detective and fix any imperfections. Dings, deep scratches, or old hardware holes will stick out like a sore thumb under a fresh coat of paint, so they need to be handled perfectly.
- Filling Holes: For old hardware holes or deep gouges, use a high-quality, paintable wood filler. Overfill the spot just a little bit, as most fillers tend to shrink as they dry.
- Sanding Repairs: Once the filler is completely cured, sand it perfectly flush using your 150-grit paper. Then, feather the edges with a 220-grit paper to make the repair blend in seamlessly with the surrounding wood.
Taking the time to handle these details is what separates a factory-quality finish from a sloppy cover-up job. This meticulous prep work is undeniably labour-intensive, which is why many homeowners also look into professional kitchen cabinet installation services to ensure they're starting with a perfect foundation from the get-go.
Mastering Your Spray Painting Technique
With all the prep work behind you, it’s time for the fun part: laying down that beautiful new colour. This is where your meticulous prep pays off. A flawless, factory-like finish comes down to control, consistency, and just a little bit of patience with the sprayer in hand.
First things first, you need a clean space to work. You'll want to set up a temporary spray booth—it doesn't have to be fancy. Sectioning off a corner of your garage or workshop with plastic sheeting works perfectly. The main goals are to keep dust from settling on your wet paint and to contain the overspray. Good ventilation is non-negotiable, so crack open some windows and get a fan going to keep the air circulating.
The whole process is a methodical one, with each step building on the last to get you that perfect result.
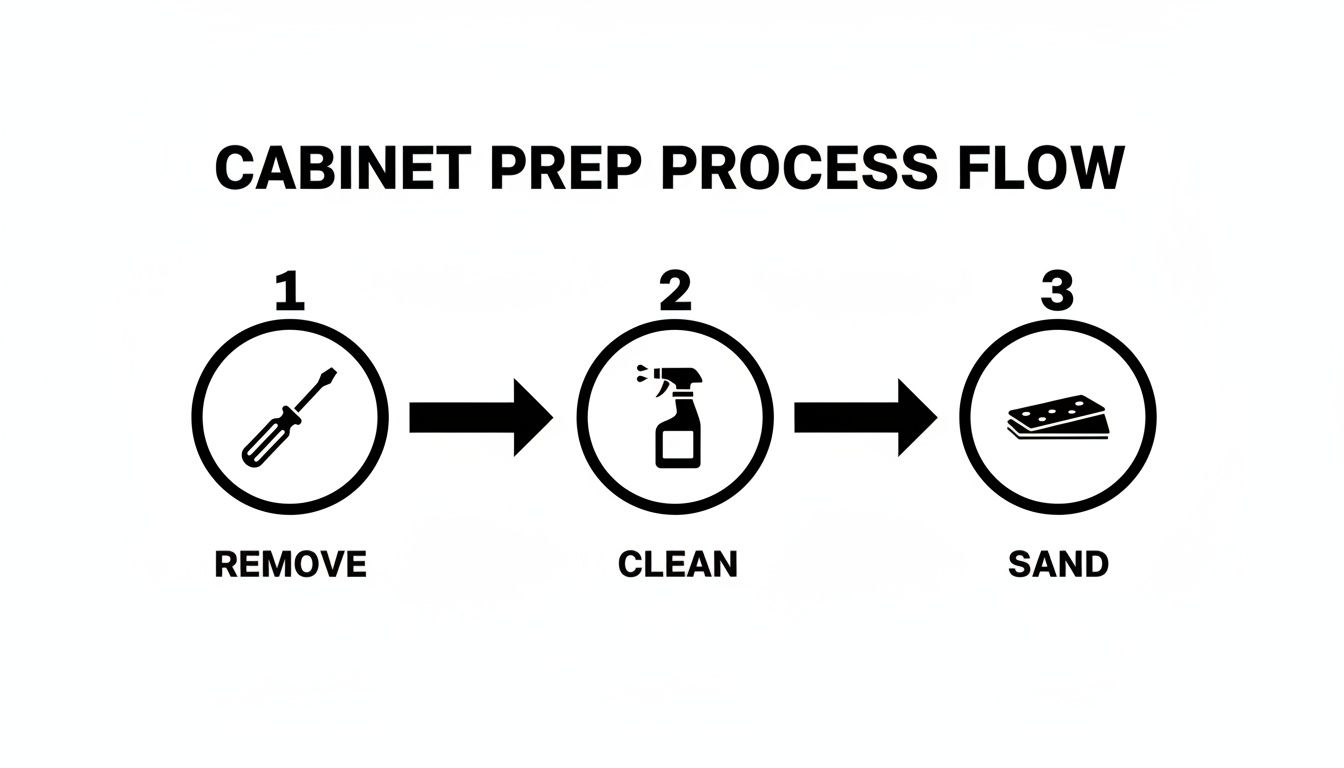
As you can see, the actual painting is just one piece of the puzzle. It all starts with careful, stage-by-stage prep work long before you even think about pulling the trigger.
Dialing In Your Spray Gun Settings
Before a single drop of paint hits a cabinet door, you need to get your equipment dialled in. Every sprayer is a bit different, and every paint has its own personality. Spending a few minutes testing on a scrap piece of cardboard can save you hours of headaches later.
You're mainly focused on two things: the fluid flow and the fan pattern. Start with the manufacturer's recommendations and then make small tweaks. You're looking for a nice, even, oval-shaped pattern. If the paint is coming out in a sputter, you might need to thin it a touch or bump up the pressure. If it's laying on way too thick, dial back the fluid flow.
Pro Tip: The ideal spray pattern should look like a fine, even mist. If you see big droplets or "fingers" at the edges of the spray fan, you're not there yet. A perfectly tuned sprayer is what separates a glassy-smooth finish from a bumpy, inconsistent one.
This level of precision is why the pros can charge what they do. High-end painters often price per piece—think around $100 per drawer and $175 per door—because achieving that finish with an HVLP sprayer takes serious control. They apply multiple thin coats of both primer and paint, which is the secret to a durable, even surface. You can actually learn more about professional cabinet painting standards to see how the experts approach it.
Achieving the Perfect Spraying Motion
How you move the gun is just as critical as its settings. The name of the game is consistency in both speed and distance. Imagine you're a robot on an assembly line—your movements should be smooth, steady, and deliberate.
- Keep Your Distance: Hold the nozzle about 6 to 8 inches from the surface. Any closer and you'll get drips and runs; too far back and the paint will dry mid-air, leaving a gritty, sandy texture.
- Stay Parallel: The sprayer should always be perpendicular to the cabinet door. It's tempting to flick your wrist at the end of a pass, but that changes the angle and leads to an uneven coat.
- Overlap Your Passes: Overlap each new pass over the previous one by about 50%. This is the key to getting full coverage without any light spots or stripes.
- Start and Stop Off the Piece: Pull the trigger just before the gun reaches the edge of the door, and don't let go until you're past the other side. This simple trick prevents a heavy buildup of paint at your start and end points.
The Right Sequence for Full Coverage
There’s a method to the madness of painting doors that ensures every nook, cranny, and edge is perfectly coated. Always start with the edges.
Give all four edges a quick, even coat first. Then, while they're still wet, immediately move on to the front and back faces. This "wet-on-wet" approach allows the paint to melt together seamlessly, leaving you with a uniform finish without any tell-tale lines or overlap marks. Following this sequence is the surefire way to get complete, beautiful coverage on every single piece.
Curing, Reassembly, and Final Details
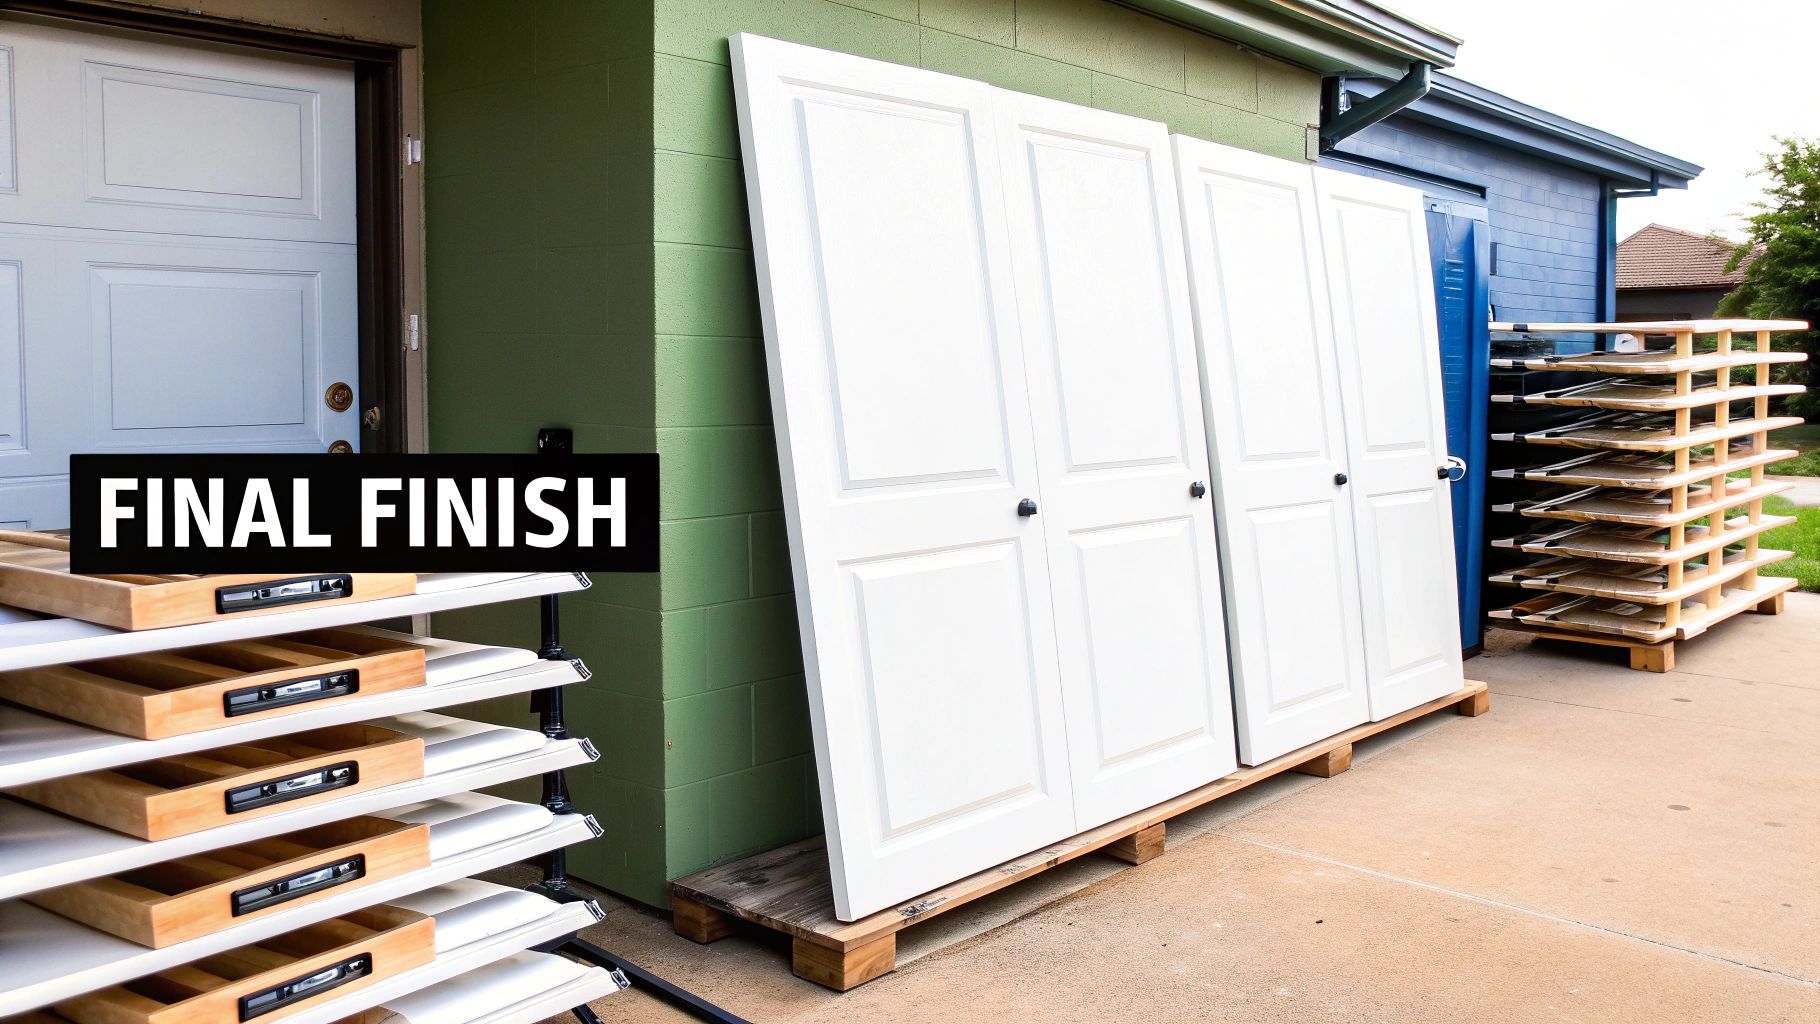
That final coat is on, and your cabinet doors look absolutely flawless. It's incredibly tempting to get them hung right away and see the finished product, but hold on. This last leg of the journey is all about patience, and rushing it can ruin all that meticulous work you've just put in.
There’s a massive difference between paint being dry to the touch and being fully cured. Your cabinet doors might feel dry in a few hours, but underneath that thin top layer, the paint is still soft and incredibly easy to damage. Curing is the chemical process where the paint molecules cross-link and harden into a tough, durable shell. It takes time.
Rushing the curing process is the number one cause of premature chipping and damage on newly painted cabinets. Giving the paint adequate time to fully harden is what locks in that durable, factory-like finish you've worked so hard to achieve.
Understanding Curing Times
When it comes to spray painting cupboards kitchen cabinets, you have to play the long game. Every paint is different, so your first stop should always be the manufacturer's technical data sheet for precise timelines. That said, I've found a few general rules of thumb that work well for most of the high-quality waterborne alkyd enamels we use today.
Here's a practical timeline to keep in mind:
- Handling Time: After about 24 hours, you can usually handle the doors gently. Think moving them to a different drying rack or carefully flipping them over to paint the other side. No rough stuff.
- Reassembly Time: Give it a solid 3 to 5 days before you even think about re-installing the doors and drawers. This gives the finish enough integrity to handle the minor bumps and jostling that come with reassembly.
- Full Cure: The paint won’t reach its maximum hardness and scuff-resistance for 21 to 30 days. Be extra gentle during this month. Avoid any harsh cleaning chemicals and stick some small felt pads on the inside corners of the doors where they meet the frame. This little trick prevents them from sticking.
Putting It All Back Together
Once you've given the doors several days to cure, it's time for the final, careful reassembly. Remember all that labelling you did at the beginning? This is where it pays off big time.
Get your hardware organized. I find it easiest to reinstall the hinges onto the doors first, then move on to hanging the doors on the cabinet frames. Work methodically—one cabinet at a time—to keep things straight. Check your labels to make sure every single door goes back in its original spot. This is the secret to getting those perfect, even gaps you started with.
This is also a fantastic chance for an upgrade. A fresh set of modern handles or pulls can completely transform the look and feel of your kitchen. If you're drilling new holes for updated hardware, just remember the old carpenter’s rule: measure twice, drill once. A simple drilling template will be your best friend here, ensuring every handle is perfectly level and placed consistently from one door to the next.
With everything back in place, take a step back. You did it. Enjoy that incredible transformation.
DIY vs. Hiring a Pro: What’s Right for You?
Taking on a DIY project like spray painting cupboards in a kitchen can feel incredibly rewarding. There’s a real sense of pride that comes from transforming your own space. But let’s be honest—this isn’t a simple weekend job. It's a major undertaking that requires a serious amount of time, a fair bit of skill, and a dedicated workspace that can stay free of dust and household traffic.
When you go the DIY route, you have to accept that your kitchen will be a chaotic work-in-progress for a while. Think about it: all the doors and drawers will be off, your garage or basement will essentially become a paint booth, and the smell of solvents will be your new house guest. If you haven't done this before, it’s all too easy to end up with an uneven finish, frustrating drips, or a surface that just doesn’t cure right, leading to chips and peeling down the road.
Assessing Your Readiness for a DIY Project
Before you even buy a can of primer, have a frank conversation with yourself. Do you truly have the patience and the physical space to see this through? A DIY approach can certainly save you money on labour, but the cost of good equipment, professional-grade paint, and all the prep materials adds up. And don't forget your own time—it's your most valuable asset.
If your schedule is already stretched thin, a project that was supposed to be fun can quickly become a source of major stress, disrupting your entire home life for weeks on end.
Ultimately, the choice boils down to a classic trade-off: time versus money. You might save on a professional's labour, but you're spending your own time and shouldering all the risk. A mistake could easily cost more to fix than hiring a pro in the first place.
For those living in major Canadian cities like Toronto, the numbers get even more interesting. The cost for professional cabinet spray painting can be surprisingly close to what you’d see in places like California, with labour often falling between $1,500 to $5,000. Once you factor in your own material costs and the sheer time commitment for a DIY job, it's easy to see why many homeowners start looking at other options.
When to Call in the Professionals
If you’re after a guaranteed, factory-perfect result without living in a construction zone, hiring a professional service is the clear winner. A pro team brings the right equipment, a controlled spray environment, and years of experience to the table. They know how to handle unexpected issues and deliver a durable, flawless finish every time. For you, it’s a seamless and stress-free upgrade.
This is particularly true if you have high standards for your finish. If you want that premium, glass-smooth look without the mess and uncertainty of doing it yourself, looking into professionally finished kitchen cabinets in Toronto is a smart move. It’s a fantastic alternative that guarantees a high-end result from day one.



