

Before you even think about pulling the trigger on a paint sprayer, you need to get your gear in order. Getting a factory-smooth finish on your cabinets is all about the prep work and having the right tools for the job. This isn't like rolling paint on a wall; cabinet work demands precision, and your toolkit is what gets you there.
Gathering Your Essential Spray Painting Toolkit
Turning your tired kitchen into something that looks brand new is a hugely rewarding project, but it’s not one you can half-ass. The difference between a stunning, durable finish and a peeling, blotchy mess often comes down to the quality of your equipment. For sourcing the best gear, you'll want to find suppliers that offer top-tier painting solutions to ensure every part of your kit is up to the task.
From the sprayer itself down to the last sheet of sandpaper, every item plays a part in achieving that smooth, professional look.
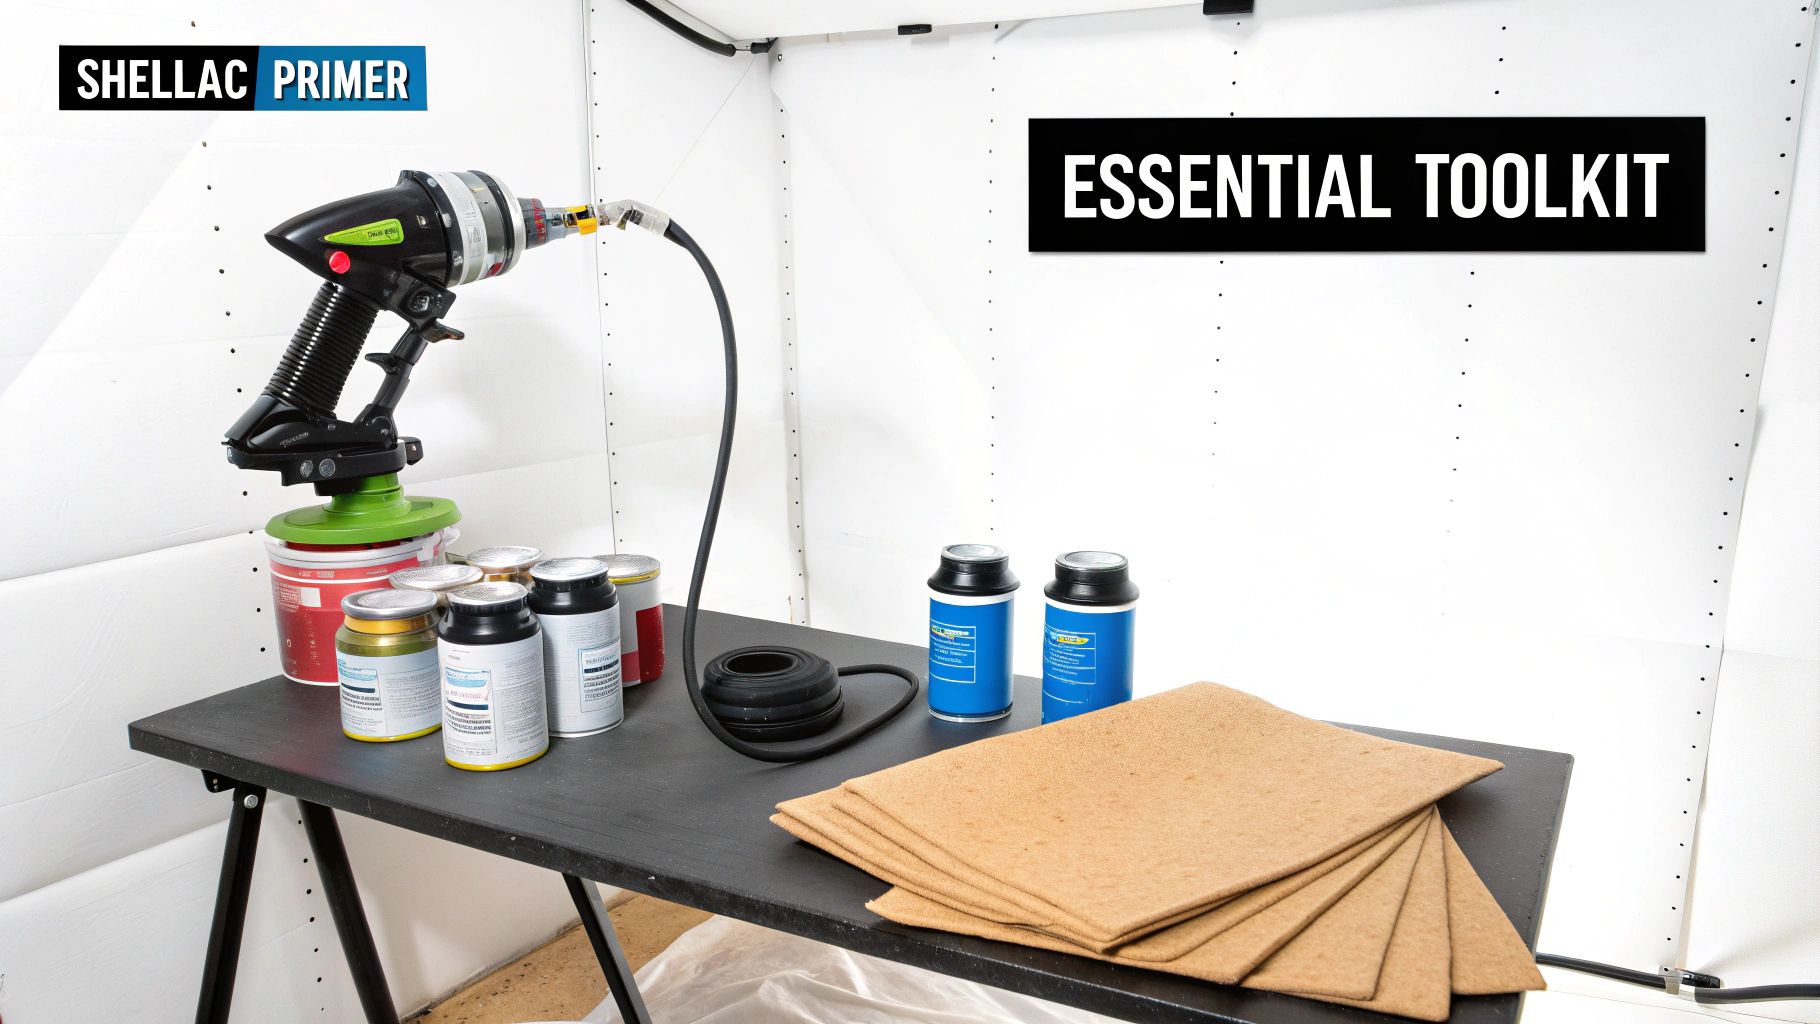
The Heart of the Operation: The Sprayer
Let’s be clear: your paint sprayer is the most important piece of equipment you’ll buy. While you might see airless sprayers being used for big jobs, for the fine detail work of cabinets, a High Volume, Low Pressure (HVLP) sprayer is what you want.
HVLP systems give you incredible control. They atomize the paint into a very fine mist with less force, which drastically cuts down on overspray. That means more paint lands on your cabinet doors and less floats around your garage. It’s perfect for laying down thin, even coats that melt into a flawless, drip-free surface.
Creating the Perfect Canvas: Prep Materials
I can't stress this enough: a perfect finish is impossible without perfect prep. The durability of your paint job is directly tied to the effort you put in before you even open a can of primer.
- Degreaser: Kitchens are greasy environments. You absolutely have to get every bit of grime off those cabinets. A good TSP (trisodium phosphate) substitute will cut through years of buildup and ensure your primer actually sticks.
- Sandpaper: You’ll need a couple of different grits. Start with 120-grit to rough up the existing finish so the primer has something to bite into. After priming, you’ll switch to a finer 220-grit to get everything silky smooth for your topcoat.
- Wood Filler: Every kitchen has a few dings and scratches. A quality, sandable wood filler is your best friend for making those imperfections disappear, especially if you're filling old hardware holes.
If you want an inside tip from the pros, use a shellac-based primer. It's a game-changer for blocking stains, especially the tannins in old oak cabinets that love to bleed through and create ugly yellow blotches in your final finish.
Primer and Paint: The Finishing Coats
The coatings you choose are just as important as the tools you use to apply them. As I mentioned, a shellac-based primer like Zinsser B-I-N is fantastic. It seals everything in and dries incredibly fast.
For the paint itself, I always recommend a waterborne alkyd urethane enamel. This is modern paint chemistry at its best. It gives you the beautiful, self-levelling flow of an old-school oil-based paint but with the easy water cleanup and low VOCs of a latex. The finish it creates is incredibly hard and durable—exactly what you need for high-traffic kitchen cabinets in Toronto.
Safety and Workspace Setup
Spray painting atomizes paint into fine particles, so taking safety seriously is not optional. You absolutely need a well-ventilated area to work in.
- Respirator: Don't even think about spraying without a NIOSH-approved respirator fitted with organic vapour cartridges. Your lungs will thank you.
- Eye Protection: A simple pair of goggles will keep paint mist out of your eyes.
- Spray Booth: You can make a huge difference in your final quality by setting up a temporary spray booth. Just hang some plastic sheeting in your garage or workshop. It contains the overspray and, more importantly, stops dust from settling on your wet paint and ruining that perfect finish.
Investing in the right equipment from the start can feel like a big expense, but it's crucial for getting the results you want. Here's a quick look at where a serious DIYer can invest versus what the pros typically use.
DIY Essentials vs Professional Grade Tool Comparison
| Tool/Material | DIY Essential Option | Professional-Grade Standard | Key Difference |
|---|---|---|---|
| Paint Sprayer | Wagner FLEXiO or Graco Project Painter Plus | Fuji Spray or Graco Contractor Series | Professional models offer finer atomization, more durable components, and greater adjustability for a superior finish. |
| Primer | Zinsser B-I-N Shellac-Based Primer | Industrial Conversion Varnish or 2K Urethane Primer | Professional primers provide unparalleled adhesion and chemical resistance, creating a harder, more chip-resistant base. |
| Topcoat Paint | Benjamin Moore ADVANCE or Sherwin-Williams Emerald Urethane | Milesi or Renner 2K Polyurethane Topcoats | These are industrial wood coatings that cure chemically for a factory-hard finish far more durable than any retail paint. |
| Sanding | Orbital Sander & Sanding Sponges | Mirka DEROS or Festool Rotex Sanders with Dust Extraction | Pro sanders with integrated dust collection create a cleaner workspace and a smoother, swirl-free surface for painting. |
Choosing where to invest your money depends on your goals. For a one-time project, high-quality consumer-grade tools will get you great results. But if you’re aiming for that truly flawless, showroom-quality finish, understanding what the pros use shows you where the next level of quality comes from.
The Critical Cabinet Preparation Process
Let’s be honest, the secret to a durable, glass-smooth finish isn't in the paint can—it's earned through good old-fashioned prep work. This is where you lay the foundation for a professional result. Rushing this process is the single biggest mistake you can make, and it's a surefire way to get a finish that chips, peels, or just looks amateurish.
Think of it this way: paint is only as good as the surface it’s stuck to. Years of cooking grease, finger oils, and everyday grime create a barrier that even the best primers can't properly bond to. Taking the time to prep ensures your new coating grabs on tight for a finish that actually lasts.
Systematize Before You Start
Before you even think about touching a screwdriver, you need a simple but foolproof labeling system. I know it sounds tedious, but it will save you a world of frustration when you’re staring at dozens of identical-looking pieces during reassembly.
A roll of masking tape and a marker are your best friends here. Number each cabinet box in a hidden spot (like inside the hinge area) and give the matching door the same number. For instance, the door on the upper cabinet to the left of the sink can be "U1," and the box gets a corresponding "U1" label.
- Doors: Label the door itself and the cabinet box it belongs to.
- Drawers: Put a label on the drawer front and another inside the drawer box.
- Hardware: Pop all the hinges, screws, and pulls for each door into a numbered plastic bag. Bag "U1" will hold all the hardware for door "U1".
This little bit of organization prevents the chaotic puzzle of figuring out which door goes where later on, which is a lifesaver since older cabinets often have slight variations in how they hang.
The All-Important Degreasing Step
Kitchen cabinets are coated in an invisible film of airborne grease and grime. You cannot paint over this, period. Your paint will fail, sometimes within weeks. That makes a powerful degreaser your most critical cleaning tool.
While Trisodium Phosphate (TSP) was the old standard, there are plenty of excellent TSP substitutes that are less harsh but just as effective. Mix your chosen solution according to the directions, and use a non-abrasive scrub pad to get into every square inch of the cabinet boxes, doors, and drawer fronts.
Don't be shy with the elbow grease, especially on the cabinets near the stove and sink—they're always the grimiest. After a thorough scrubbing, rinse the surfaces with a clean, damp cloth to wipe away any chemical residue, then let everything dry completely.
Here's a pro tip for checking your work: Once everything is dry, slip on a nitrile glove and run your hand over the surface. If you feel any tackiness or see an oily sheen on the glove, it’s not clean enough. Time for another pass.
Repairing and Perfecting the Surface
With the surfaces squeaky clean, it's time to play doctor. This is your chance to make your old cabinets look brand new, not just repainted. Scan every piece for dings, deep scratches, or old hardware holes you want to fill.
For this job, a high-quality, two-part wood filler (like Bondo) is leagues better than standard spackle. It dries harder, sands smoother, and won't shrink over time, which means your repair will stay invisible. Overfill the damaged area just a little, as the filler will shrink a tiny bit as it cures.
Once the filler is rock-hard, you can move on to the most important surface preparation step of them all: sanding.
Sanding for a Rock-Solid Bond
Sanding isn't about stripping the old finish right down to bare wood. The goal is much simpler: you're just creating a "tooth" for the primer to grip onto. This microscopic texture is what gives you the mechanical adhesion needed for an incredibly durable finish.
I recommend starting with 120-grit sandpaper. Use an orbital sander for the flat areas to make quick work of them, and switch to a sanding sponge for any detailed profiles or edges. You're just trying to scuff the entire surface and knock the sheen off the old clear coat. When you're done, it should look uniformly dull.
After the initial sanding, vacuum all the dust off every piece. I mean all of it. Then, go over them one last time with a tack cloth. A tack cloth is a sticky piece of cheesecloth designed to pick up the super-fine dust particles that vacuums and rags always miss. Getting the surface perfectly clean at this stage is the real key to achieving that flawless, factory-like result you're after.
Mastering Your Cabinet Spraying Technique
All that prep work has brought you here—the moment you finally get to see your vision come to life. This is where those perfectly cleaned, sanded, and primed surfaces get their flawless new colour. Trust me, getting a professional spray finish isn't some innate talent; it’s all about getting a feel for your equipment and developing a steady, consistent hand.
The very first hurdle, and one that trips up a lot of first-timers, is getting the paint to the right consistency. Paint straight out of the can is almost always too thick for an HVLP sprayer. If you try it, you’ll be fighting clogs, splatters, and that dreaded bumpy "orange peel" texture. The goal is to thin the paint just enough so it flows like silk through the gun and atomizes into a fine, controllable mist.
Dialing in Your Sprayer Settings
Before a single drop of paint hits a cabinet door, you need to tune your sprayer. Think of it like tuning a guitar—a few minor adjustments are the difference between noise and music. Grab a big piece of scrap cardboard; this will be your practice canvas.
Start by getting familiar with the three main controls on your HVLP gun:
- Nozzle Size: Your sprayer probably came with a few nozzle and needle sets. For the super-fine finish cabinets demand, you'll want a smaller tip size. Something in the 1.3mm to 1.5mm range is perfect for laying down thin, even coats of both primer and paint.
- Air Pressure (PSI): Always check the manufacturer's guide, but a great starting point is usually between 20-25 PSI at the gun. Too much pressure just creates a cloud of overspray and wastes paint. Too little, and the paint won't atomize properly, leading to splatters.
- Fan Pattern: This dial shapes your spray from a tight circle into a wide, flat fan. For big, flat surfaces like cabinet doors, a wide vertical fan is your best friend. You can crank it down to a smaller circle or a horizontal fan for getting into the narrow parts of face frames.
Now, spray a test pass on your cardboard. What you're looking for is a clean, even, cigar-shaped pattern. The droplets at the edges should be finely atomized. If you see heavy runs or "fingers" at the top and bottom, your pressure is likely too low or the paint is still too thick. If the pattern is thin in the middle and heavy on the edges, your pressure might be too high. Keep tweaking until that test pattern looks perfect.
This quick diagram shows the foundational work that makes this stage a success.
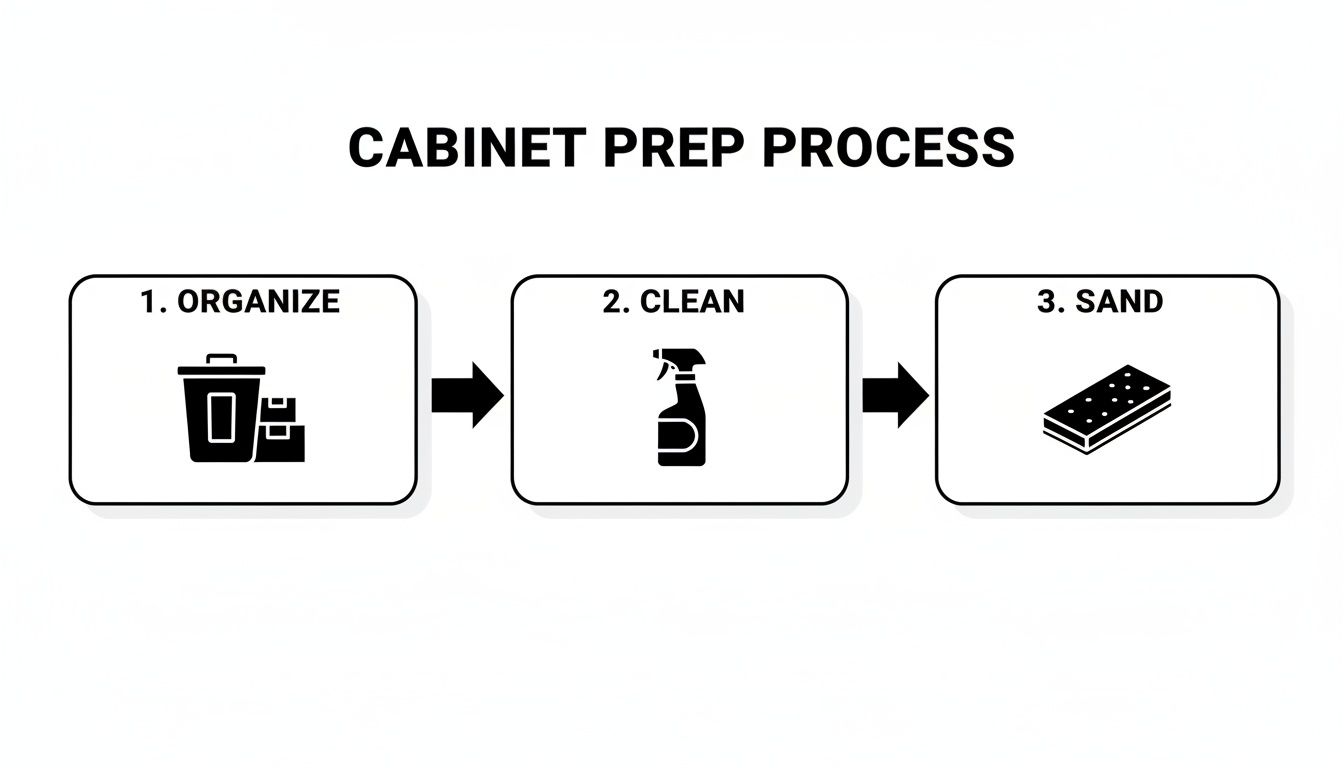
That simple flow—organize, clean, sand—is the absolute non-negotiable groundwork for a finish you can be proud of.
Perfecting Your Spraying Motion
Okay, let's turn that perfect test pattern into a beautiful finish on your actual cabinets. The secret to avoiding runs, drips, and patchy spots is all in the movement. You need to move with your arm, not by flicking your wrist.
Keep the sprayer a consistent 6-8 inches (15-20 cm) away from the surface. If you get too close, the paint will pile up and run. If you're too far away, the paint particles start drying in the air, landing as a dusty, uneven coat.
Here’s the technique the pros use every single day:
- Start Moving First: Get your arm moving across the workpiece before you even think about pulling the trigger.
- Spray Past the Edge: Pull the trigger just as you approach the edge of the door, continue in one smooth motion across the surface, and keep spraying until you're past the opposite edge.
- Release the Trigger: Only let go of the trigger after the gun has completely cleared the cabinet door.
This method, often called "banding," is crucial. It prevents that heavy buildup of paint right where you start and stop each pass, which is a dead giveaway of an amateur job.
Achieving Full Coverage
Don't expect to get that deep, rich colour in a single coat—it just won't happen. The real goal is to build up the finish with several light coats instead of blasting on one thick one. A thick coat is a surefire recipe for drips and an inconsistent sheen.
Your mantra here should be a 50% overlap with each pass. As you move, aim the centre of your spray fan directly over the edge of the pass you just made. This technique ensures every square inch of the surface gets a double dose of paint with every set of passes, creating a beautifully uniform layer.
For doors with fancy profiles or routered edges, tackle those tricky spots first. Spray the inside panels and detailed edges, then finish with long, straight passes over the flat parts. This little trick helps keep paint from pooling up in the corners.
Once your project is done and looking fantastic, check out a gallery of professionally finished kitchens to get inspired for your next one. You’ll start to see exactly how these techniques come together to create a truly stunning result.
Drying, Curing, and Reassembly for a Durable Finish
You’ve sprayed that final, beautiful coat, and your cabinet doors look absolutely perfect. It’s a great feeling, but this is where a little patience separates a stunning, long-lasting finish from a job that looks great for a month before it starts to show wear. The final stage is a waiting game, but it's the most important one you'll play.
Your freshly painted surfaces might feel dry to the touch within a few hours, but don't be fooled. That paint is nowhere near ready for the rigours of a busy kitchen.
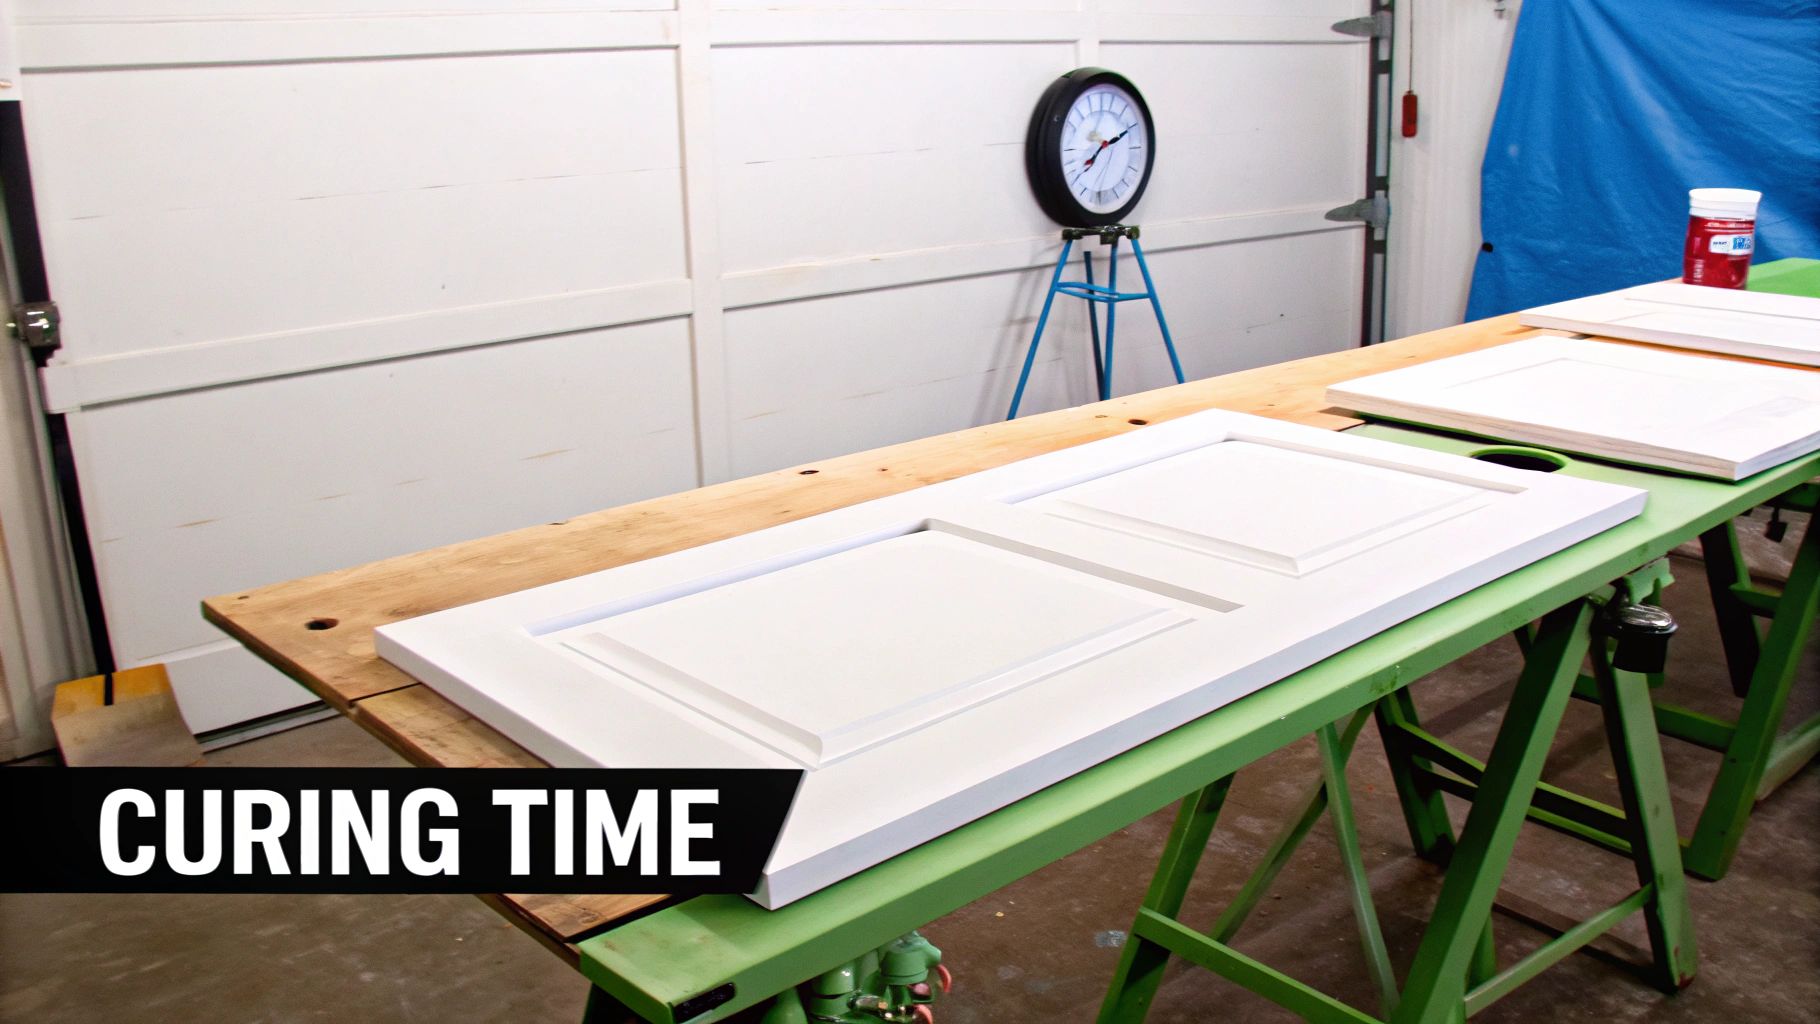
The Difference Between Drying and Curing
It's really important to understand that "drying" and "curing" are two totally different things. Drying is just the solvents evaporating, which makes the surface feel non-tacky. Curing, on the other hand, is the chemical reaction where all the paint molecules link together to form a tough, resilient film.
A dried paint surface is still soft and incredibly vulnerable to scratches and dings. A fully cured finish has reached its maximum hardness and is finally ready for daily use, cleaning, and all the abuse a kitchen can throw at it.
Rushing this process is the fastest way to ruin all your hard work. If you stack doors too soon, reattach hardware, or hang them back on the cabinets before they're fully cured, you’ll almost certainly get dents, chips, or permanent marks in your otherwise flawless finish.
Creating the Ideal Curing Environment
To help your new finish get as hard as possible, you need to control the environment. The goal is a stable space free of contaminants.
- Temperature: Try to keep the room at a consistent temperature between 18°C and 25°C. If it gets too cold, the curing process will slow right down.
- Humidity: Keep humidity below 50%. High humidity can stop the paint from hardening properly and sometimes leaves a cloudy, hazy look.
- Airflow: Gentle, indirect airflow is your friend. A fan can help, but never point it directly at the painted surfaces. That's a surefire way to blow dust onto the wet paint and can cause the surface to dry too quickly, which messes with a proper cure.
- Dust Control: This one’s a biggie. Keep the area as clean as you possibly can. Don't do any sanding, sweeping, or anything else that kicks up dust in the same room where your cabinets are curing.
While your cabinets are curing, don't forget about the air quality in your home. It’s worth looking into options for managing VOCs and paint fumes during drying to keep your indoor environment healthier.
A Realistic Curing Timeline
Patience, patience, patience. This is especially true with modern cabinet paints. While you can usually handle the pieces carefully after 24-48 hours, the full curing time is a lot longer than most people think.
For most high-quality waterborne alkyd enamels—which are a fantastic choice for cabinets—you're looking at at least 21 to 30 days to reach full hardness. That first week is when the finish is at its most delicate. I always recommend leaving the doors and drawers lying flat in a clean, controlled space for at least 3-5 days before you even think about moving them.
Careful Reassembly and Installation
Once you've given the paint a solid week to harden up, you can start the reassembly process. Just remember to work slowly and methodically, treating every piece as if the paint is still wet.
- Attach Hardware First: It’s so much easier and safer to install your knobs and pulls while the doors are still lying flat. This keeps you from fumbling with screws and a screwdriver right next to your newly painted cabinet frames.
- Add Bumper Pads: Before you hang the doors, stick small, soft-close bumper pads on the inside corners. This simple step prevents the fresh paint on the door from sticking to the fresh paint on the frame.
- Rehang Doors and Install Drawers: Grab that labelling system you made during prep—this is where it pays off! Carefully rehang each door on its original cabinet. Take your time adjusting the hinges to get the alignment perfect.
After everything is back in place, continue to be gentle for the next few weeks. Avoid any aggressive cleaning and just be mindful of bumps and scrapes as the paint completes its journey to that rock-hard, durable finish you worked so hard for.
Deciding Between DIY and a Professional Finish
The idea of transforming your kitchen yourself is exciting, no doubt. But tackling a spray painting cabinet project is a major commitment, and it's smart to weigh the real costs before you even pick up a sandpaper sheet. I'm not just talking about the price of paint and a sprayer; I'm talking about your time, your space, and a whole lot of effort.
A top-notch DIY job takes more than just a free weekend. You'll need a dedicated, well-ventilated area—like a garage—that you can afford to have out of commission for several days, if not longer. This space has to be kept almost surgically clean, because even a little dust can completely ruin your finish. Then there’s the cost of specialized tools, like a quality HVLP sprayer, which you might only ever use for this one job.
When to Call in the Professionals
While a determined DIYer can achieve great results, there are times when handing the job over to a professional is simply the smarter move. If you're dreaming of a flawless, glass-smooth look or a specialty finish, the equipment and experience a pro brings to the table are indispensable.
Here are a few situations where I’d strongly recommend hiring a pro:
- Intricate Cabinet Designs: If your cabinets have complex routed edges, beadboard panels, or any kind of detailed moulding, getting an even spray without drips or runs is incredibly difficult for a beginner.
- High-Gloss Finishes: A true, mirror-like high-gloss finish is next to impossible to achieve at home. It demands industrial-grade coatings and a perfectly controlled, dust-free spray booth.
- You're in a Hurry: Let's be realistic. A professional crew can get your kitchen back up and running in a fraction of the time it takes someone doing it for the first time.
A professional factory application provides a level of durability and perfection you just can't get from a can. Pros use specialized coatings like catalyzed lacquers and 2K polyurethanes. These materials cure through a chemical reaction, creating a much harder, more resilient surface than any retail paint. That’s how you get a finish that stands up to real-life kitchen abuse for years.
The Value of Expert Craftsmanship
Hiring a professional isn't just about saving yourself a headache; it's an investment in a guaranteed, high-quality result. There’s a reason skilled painters are in high demand. In California alone, there are 11,010 Coating, Painting, and Spraying Machine Operators—a testament to the need for this specialized labour. These pros know how to apply coatings with precision, minimizing waste and ensuring a perfect look.
The demand for quality is also reflected in the supply chain; the state's paint wholesaling sector, which outfits these projects, comprised 384 businesses as of 2025. You can get a closer look at the paint supply industry trends on Ibisworld.com.
Companies offering factory-direct solutions give you access to these premium, professional-grade finishes. By exploring the professional cabinet refinishing services available, you can weigh the long-term value of an expert coating against the potential risks and hidden costs of a DIY attempt. In the end, the best choice is the one that lines up with your budget, your timeline, and your vision for a beautiful kitchen.
Got Questions About Spray Painting Your Cabinets?
It's one thing to have a plan, but when you're about to take on a project as big as painting your cabinets, a lot of questions pop up. It's completely normal. Getting some straight answers is the best way to build your confidence and know what you're getting into. Let's dig into some of the most common things homeowners ask.
What's This Going to Cost Me?
The price tag for spray painting kitchen cabinets can vary—a lot. It really boils down to one thing: are you doing it yourself, or are you calling in the pros?
If you’re going the DIY route, your biggest costs are the materials and any tools you need to rent or buy. For a quality sprayer, good primer and paint, sandpaper, and all the necessary safety gear, you're likely looking at a budget of $500 to $1,500. It's a fantastic way to save a bundle, but only if you have the time and, frankly, the patience for all the detailed prep work.
Hiring a professional crew in the Toronto area is a different story. For a pro job, expect to see quotes anywhere from $3,000 to $7,000, sometimes more. The final price depends on how big your kitchen is and how intricate your cabinet design is. Yes, it's a bigger investment upfront, but what you're really paying for is their expertise, speed, and a flawless, factory-quality finish that saves you a mountain of time and frustration.
Is Spraying Really Better Than Rolling?
For that perfectly smooth, straight-from-the-factory look on your cabinets? Absolutely. Spraying is, without a doubt, the superior method.
While a roller and brush are fine for walls, they just can't compete on the flat, smooth surfaces of cabinets. They always leave behind some texture or faint brush strokes, no matter how careful you are.
Spraying works by atomizing the paint into an incredibly fine mist. This mist settles onto the surface in a thin, perfectly even layer that levels itself out as it dries. This is the secret to getting that durable, easy-to-clean finish that looks and feels like brand-new cabinets. It does mean more prep work to control overspray, but the polished result is well worth it.
What’s the Best, Most Durable Paint to Use?
This is critical. The paint you choose will make or break the longevity of your finish. Your standard latex wall paint just isn't built to withstand the constant wear and tear kitchen cabinets face every single day.
For a job that will actually last, you need a specialty cabinet coating designed for hardness and resilience. Here are the top contenders:
- Waterborne Alkyd Urethane Enamels: These are the modern workhorses. They give you the hard-as-nails, self-levelling finish of old-school oil-based paints, but with the major benefits of easy water cleanup and low VOCs.
- Catalyzed Lacquers or Conversion Varnishes: This is the stuff the pros often use. These are industrial-grade coatings that cure through a chemical reaction, creating an incredibly tough, chip-resistant surface. It’s the ultimate in durability.
How Long Does This Whole Process Take?
Here again, the timeline looks very different for a DIY project versus a professional one.
If you're tackling this yourself, an average-sized kitchen can easily eat up 40 to 80 hours of your time. That's just the active work, mind you. You'll need to spread this out over one or even two weeks to allow for proper drying time between coats. It’s a serious commitment.
A professional team, on the other hand, moves much faster. With their experience and specialized gear, they can often have the on-site portion of the job wrapped up in just 3 to 5 days.
No matter who does the work, remember this: the paint needs weeks to fully cure. You might get your cabinet doors back on after a few days, but the finish is still soft and vulnerable. It needs up to a month to reach its maximum hardness, so you'll need to be gentle with it.
Ready to skip the questions and get a guaranteed professional result? The experts at MapleKing Kitchen Cabinets deliver flawless, factory-direct finishes that transform your space with lasting beauty and durability. Explore our premium cabinet solutions today and let us bring your vision to life. Learn more at https://maplekingkitchencabinets.com.



