

Finding the sweet spot for your range hood height is one of those small details that makes a huge difference in your kitchen's function and feel. The general rule of thumb is to mount it somewhere between 24 and 36 inches above your cooktop.
Think of it like positioning a microphone to capture sound. Too far, and you miss everything. Too close, and you get distortion and interference. It's the same principle for capturing smoke, grease, and cooking odours.
Getting Your Range Hood Height Just Right
Nailing the right mounting height isn't about a single, magic number. It's really a balancing act between three key things: raw performance, everyday safety, and how it looks in your kitchen. This one measurement is what determines whether your hood actually captures cooking fumes or just lets them escape into your home.
Get it wrong, and you'll either be dealing with a greasy film on your cabinets or creating a potential fire hazard. The goal is to place the hood perfectly within its "capture zone"—the area where its suction is most effective. Several factors play into finding that perfect spot, and understanding them is the first step to getting it right.
Core Factors Influencing Installation Height
Before you even think about grabbing a tape measure, you need to consider the specific ingredients of your kitchen setup.
- Cooktop Type: A gas range burns hotter and produces more intense fumes than its electric or induction cousins. That extra heat means it needs a bit more clearance for safety.
- Hood Power (CFM): The muscle of your range hood is measured in Cubic Feet per Minute (CFM). A more powerful fan can often be mounted a little higher and still do a fantastic job.
- Kitchen Design: Your ceiling height and the layout of your cabinetry—like the custom units we build for homeowners in Toronto and Markham—play a huge role. The hood needs to fit seamlessly into the overall design without looking awkward or out of place.
It all comes down to finding harmony between these three elements.
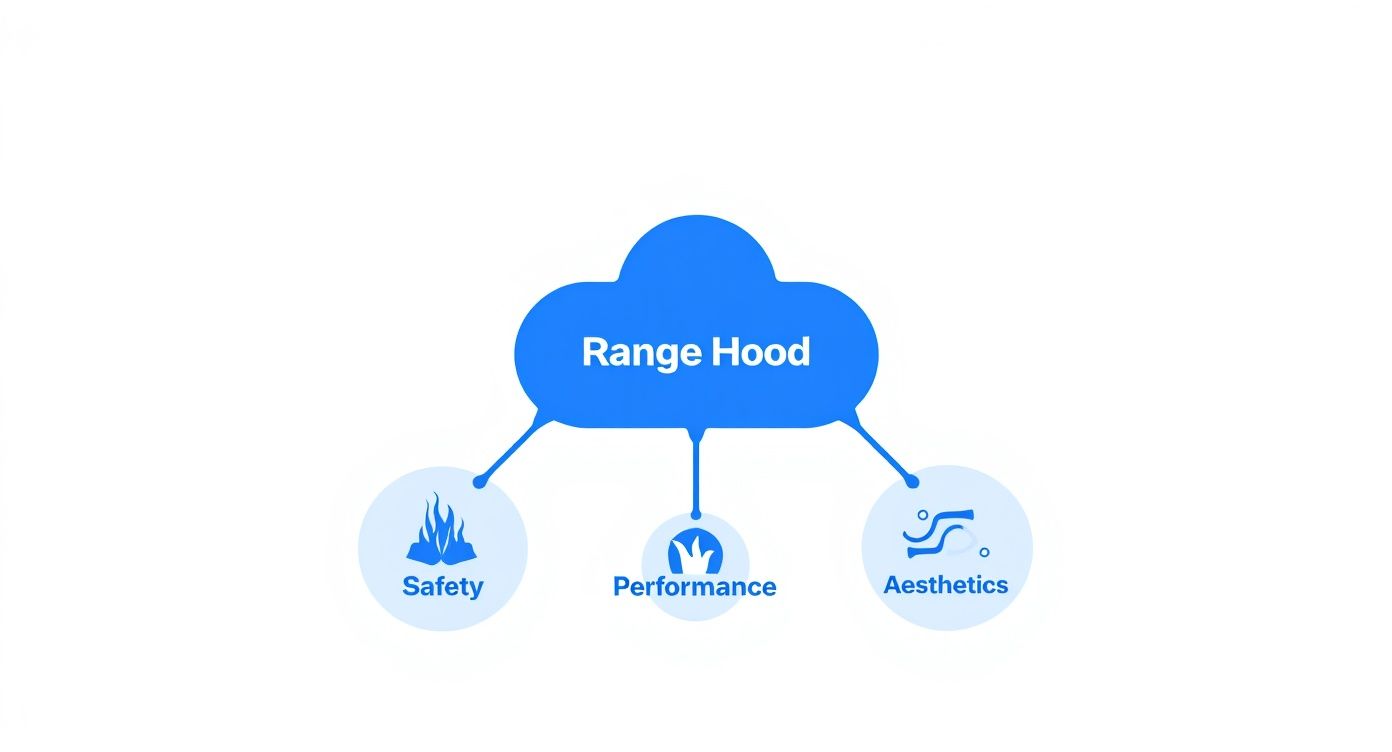
When you get the balance right, your kitchen is not only safer and cleaner, but it also looks professionally designed. To help you get started, here's a quick summary of the standard recommendations.
Quick Reference for Recommended Range Hood Heights
This table breaks down the typical mounting heights based on your cooktop and the style of your range hood.
| Cooktop Type | Range Hood Type | Recommended Height Above Cooktop |
|---|---|---|
| Electric or Induction | Under-Cabinet or Wall-Mount | 24 to 30 inches |
| Gas Range | Under-Cabinet or Wall-Mount | 28 to 36 inches |
| Any Cooktop | Island Hood | 30 to 36 inches |
Remember, these are starting points. Always check the manufacturer's installation guide for your specific model, as their recommendations should be your primary guide.
Why the Right Height Is a Game-Changer for Kitchen Safety
Getting your range hood height right is about so much more than just making your kitchen look good. It's a critical piece of the puzzle for a safe, clean, and healthy cooking space. That recommended height isn't just a random number; it's rooted in the science of how heat, air, and cooking fumes behave above your stove. Nailing this one measurement is one of the most important things you can do to protect your home.
Think of it this way: an invisible cone of air rises from your cooktop every time you turn it on. This is the "cone of capture," and it’s the natural path that steam, smoke, grease, and odours take as they expand upwards from your pots and pans. Your range hood’s job is to sit right in the sweet spot of that cone, pulling everything out before it escapes.
What Happens When the Height Is Wrong?
If you mount your range hood too high, it’s like trying to catch rain in a bucket from a second-story window. The fan might be spinning like crazy, but it’s sitting way outside that cone of capture. Most of the grease and fumes will just float right by, settling on your cabinets, walls, and making a mess of your indoor air quality.
On the flip side, mounting it too low is a serious safety hazard, plain and simple.
- Fire Hazard: A low-hanging hood puts the internal parts—like filters and electrical components—dangerously close to the open flame of a gas stove or the intense heat of an electric cooktop. That's a major fire risk.
- Obstructed View: It also just gets in the way. You shouldn't have to duck and weave around your appliance just to see what you're stirring. Cooking becomes a chore, and a clumsy one at that.
Finding that perfect balance between capture efficiency and safety isn't just a suggestion; it's essential.
A properly positioned range hood is your first line of defence against grease fires and poor indoor air quality. It’s an active safety feature, not just a passive appliance.
Building Codes and Why They Matter
This isn't just a recommendation from appliance manufacturers, either. The risk is real enough that building codes often have specific rules about range hood height. These local regulations are there to set a minimum safety standard, protecting homeowners from accidents that are entirely preventable.
For instance, some places have very clear-cut rules. In California, residential building codes often require range hoods to be installed at a minimum height of 30 inches above the cooking surface. This is designed to hit that sweet spot between effective ventilation and safe clearance from heat. You can learn more about how building codes influence range hood installation guidelines at fotileglobal.com.
At the end of the day, the correct range hood height makes your entire ventilation system work the way it was designed to. It saves your cabinetry from a sticky film of grease, keeps harmful pollutants out of the air you breathe, and helps you avoid dangerous fire hazards. This single measurement directly impacts the safety, cleanliness, and comfort of your kitchen, making it a crucial decision in your design process.
Alright, let's get down to the brass tacks of measuring for your new range hood. Now that we've covered the "why" behind the right height, it's time for the "how." Don't worry, this isn't complicated, but getting it right is the difference between a professional-looking kitchen and a DIY disaster.
Taking a few precise measurements ensures your hood not only works perfectly but also looks like it truly belongs in your kitchen. All you'll need is a tape measure, a pencil, and a level. Follow these steps, and you'll know exactly where your new hood needs to go, whether you're installing it yourself or handing the job off to a pro.
Step 1: Find Your Starting Point—The Cooktop
First things first, you need to find your "zero point." Every measurement we take starts from the very top of your cooking surface. For a gas stove, that’s the top of the metal grates where your pots sit. If you have an electric or induction cooktop, it's the flat glass surface.
This is a common mistake people make—they measure from the countertop. Don't do that. Measuring from the actual cooking surface gives you the true clearance between the heat and your hood, which is what really matters.
Step 2: Consult the Manufacturer's Manual
Before you even think about putting a pencil to the wall, grab the installation manual for your range hood. This little booklet is your golden ticket. It contains the specific minimum and maximum mounting heights for your exact model, which are determined by its power (CFM) and design.
Think of the manual as the final word. General guidelines are great, but your manufacturer's specs are what you must follow to ensure safety and keep your warranty intact.
Step 3: Measure and Mark Your "Safe Zone"
Okay, now it's time to measure. Starting from the cooktop surface, measure straight up the wall. Use your pencil to make a light mark at the minimum height listed in the manual, and another one at the maximum height. For instance, if the manual says 28 to 36 inches, you’ll have two small ticks on your wall.
What you've just created is your installation "safe zone." Placing the bottom of the hood anywhere between these two marks is technically correct. This flexibility allows you to perfectly align it with your surrounding cabinets or the top of your backsplash for a seamless look.
Step 4: Pinpoint Your Drill Holes
With your height range clearly marked, hold the hood's mounting bracket (or the hood itself, if it’s light enough) against the wall inside that zone. Place your level on top to make sure it’s perfectly horizontal—nobody wants a crooked range hood.
Once you’ve found the sweet spot that looks best, use your pencil to mark the drill holes right through the openings on the bracket. These little marks are your roadmap for a smooth installation. For homeowners here in the Toronto and Markham area tackling a bigger renovation, making sure this step lines up with your new cabinetry is key. You can get a perfectly integrated result by working with professional kitchen cabinet installation services, ensuring every element fits together flawlessly.
When you're installing a new range hood, the general guidelines are a fantastic place to start. But before you grab your drill, there are two rulebooks you absolutely can't ignore: the manufacturer's installation manual and your local building codes.
These documents aren't just helpful suggestions. They are the final word on what's safe, what's legal, and what will actually make your range hood work properly.
Your Manufacturer's Manual Is the Ultimate Guide
Think of the manual that came in the box as the most important document for this job. Sticking to the manufacturer's specified height range is a must for a few key reasons.
-
Safety Comes First: The company that built your hood has tested it extensively to find the safest distance from cooking heat. Going too low isn't just a performance issue; it can be a fire hazard.
-
Guaranteed Performance: That recommended height isn't random. It’s the sweet spot where the fan is designed to capture the most smoke, steam, and grease effectively.
-
Protecting Your Warranty: If you decide to go rogue and install the hood outside the recommended range, you could void your warranty. That means any future repairs or malfunctions could be on your dime.
Ignoring the manual is a bit like ignoring your doctor’s dosage instructions—it might seem okay at first, but it can lead to serious problems later on.
Always treat the manufacturer's manual as the primary source of truth for your installation. Its guidelines are tailored to your specific model and override any general advice you might find online.
Now, let's look at how these specific instructions stack up against the general advice we've been discussing.
General Height Guidelines vs. Manufacturer Specifications
| Factor | General Guideline | Manufacturer Specificity (Example) | Why It Matters |
|---|---|---|---|
| Height Range | Suggests a broad range, like 24-36 inches. | A high-power Wolf hood might demand a stricter 30-36 inch range. | High-performance hoods need more space to prevent damage from intense heat and to function correctly. |
| Material | Focuses on height, not necessarily the materials around the hood. | The manual will specify clearances from combustible materials like wood cabinets. | This is a critical fire safety rule. The manual's specs are based on UL/CSA testing for your specific unit. |
| CFM Power | No direct link to height in general advice. | A 1200 CFM model will have different height and ducting rules than a 400 CFM one. | Stronger fans create different airflow patterns and may require a greater distance to work without causing turbulence. |
| Cooktop Type | Groups gas and electric together. | Manuals often have separate, stricter (higher) requirements for gas cooktops. | Gas cooktops produce more intense, concentrated heat, which necessitates a greater safety clearance. |
As you can see, the manufacturer's guide gets into the nitty-gritty details that are unique to your appliance. It's tailored advice, not one-size-fits-all.
Understanding Local Building Codes
On top of the manufacturer's rules, you have to follow the law. For homeowners in Markham, Toronto, and the surrounding areas, the Ontario Building Code sets the minimum legal standards for kitchen safety.
These codes are all about preventing fire hazards and ensuring the air in your home is healthy to breathe. They often have strict rules about the minimum clearance required between a cooktop and any combustible materials nearby—which directly impacts your range hood height.
A professional installer will be completely up to speed on these local regulations. Bringing in an expert for your project ensures everything is done by the book. Getting expert advice on your overall kitchen plan can help you seamlessly integrate these requirements. Learn more about how professional kitchen renovation services can ensure your project meets all necessary codes and standards.
It’s no surprise that regions focused on healthy living have led the charge on these rules. For instance, California has had tough ventilation standards in its building codes for years to protect people from pollutants created during cooking. You can discover more insights about California's pioneering residential ventilation requirements on acgov.org.
At the end of the day, everything from your hood's CFM power to the type of cooktop you own plays a role. By respecting both the manufacturer's manual and the local building code, you're not just getting a beautiful kitchen—you're getting one that's efficient, safe, and legally sound.
Finding the Perfect Height for Your Kitchen's Layout
While the "rules" for range hood height give us a great starting point, the truth is that no two kitchens are exactly alike. Your unique layout, whether it features soaring ceilings or custom-fit cabinets, calls for a more tailored approach. The goal is to adapt those guidelines to make sure your ventilation isn't just powerful but also looks like it truly belongs in your space.
Think of it this way: every kitchen has its own personality, and your range hood installation should complement its unique features. A standard measurement might look awkward with a sloped ceiling, feel out of place over an extra-deep countertop, or simply not work with your cabinet design. The trick is to see the guidelines as a flexible framework, not a set of hard-and-fast rules.
Matching the Hood to Your Cooktop and Kitchen Style
The first big variable is the type of range hood you've chosen. An island hood, for example, is out in the open, exposed to air currents from every direction. To compensate, it usually needs to be mounted higher, somewhere in the 30 to 36-inch range, to create a capture zone wide and strong enough to pull in steam and smoke effectively. On the other hand, a wall-mount or under-cabinet hood gets a helping hand from the wall and surrounding cabinets, which naturally funnel fumes upward, often allowing for a slightly lower placement.
What you're cooking on matters just as much. A professional-style gas range puts out some serious heat and sends up powerful plumes of smoke and grease. For these powerhouse cooktops, mounting the hood closer to the 36-inch maximum is often the best bet. This protects the hood’s internal wiring and filters from heat damage and keeps things safe. An induction cooktop, which generates very little ambient heat, gives you much more wiggle room to place the hood lower within that safe zone.
The real aim here is to find a custom fit. Start with the manufacturer's recommended range, then adjust within that window to perfectly suit your specific hood, your cooktop, and the unique quirks of your kitchen's design.
This thoughtful approach is what makes a kitchen feel complete. You can see how different hood styles and heights come together by exploring a gallery of completed kitchen projects, which is a great way to see how hoods are integrated with various cabinet and layout designs.
Solving for High Ceilings and Custom Cabinets
High ceilings are a popular feature, but they can create a real puzzle for range hood installation. If you have a 10-foot ceiling or higher, a standard chimney piece can look comically short, and pushing the hood up too high will make it almost useless.
Here’s how to handle it:
- Chimney Extensions: Most brands sell extension kits designed specifically for this problem. They bridge the extra distance, letting you maintain the correct range hood height over the cooktop while creating a clean, seamless visual line all the way to the ceiling.
- Custom Shrouds: For a truly high-end, integrated look, a custom-built shroud is the way to go. This can be designed to match your cabinetry or other finishes, elegantly hiding the ductwork and making the hood a deliberate architectural feature.
Custom cabinetry also demands careful coordination. You want the bottom edge of your range hood to align beautifully with the bottom of your upper cabinets. An under-cabinet model, for instance, has to fit perfectly into its designated spot, which essentially sets the height for you. The objective is to create clean, uninterrupted lines that guide the eye smoothly across the kitchen.
Finally, remember that safety codes often have the last word. For example, building regulations will confirm that a hood mounted within the recommended 24 to 36 inches also meets minimum airflow rates (CFM) to properly clear out pollutants and keep your indoor air healthy. You can read the full details on these mechanical code standards to see how height and power are legally linked. By carefully adapting the height, you’re not just designing a beautiful kitchen—you’re creating one that’s safe, functional, and a joy to cook in.
A Few Lingering Questions About Range Hood Height
Even with all the guidelines laid out, there are always a few specific questions that pop up when you're finalizing your kitchen plans. This is where we tackle those "what-ifs" and "why-nots" to make sure you're completely confident before you drill a single hole.
Think of this as your final check-in. Getting these last details right is what separates a good kitchen from a great one. Let's clear up any last-minute doubts.
Can a Range Hood Be Higher Than 36 Inches?
Technically, yes, but it’s a big trade-off. You can mount a range hood higher than the recommended 36-inch maximum, but you should expect a noticeable drop in performance. The further the hood is from the cooktop, the more chances smoke, steam, and grease have to escape into your kitchen.
It’s a bit like trying to use a vacuum cleaner from too far away. The closer the nozzle is to the mess, the better it works. As you pull it back, its suction power becomes less effective over that distance. Your range hood works on the exact same principle; distance is the enemy of efficiency.
What Are the Risks of a Hood That Is Too Low?
Mounting a range hood too low is a much bigger problem than mounting it too high. First and foremost, it's a safety issue. If the unit is too close to a gas flame or a scorching-hot electric element, the grease trapped in the filters can easily catch fire. It’s a serious hazard.
But beyond the immediate danger, a low-hanging hood causes a cascade of other issues:
- Heat Damage: The constant high heat can wreck the hood’s internal parts, like the fan motor and electronics, drastically shortening its lifespan.
- Obstructed View: It just gets in the way. A hood that's too low will block your view of the back burners, making for a cramped and frustrating cooking experience.
- Cleaning Nightmares: All that cooking splatter will be caked onto the underside of the hood, making it a real chore to keep clean.
Never, ever go below the manufacturer's minimum height recommendation. This isn't just a suggestion—it's a critical safety standard put in place to prevent fires and protect your appliance.
Does a Higher Installation Need a More Powerful Hood?
It absolutely does. There's a direct link between mounting height and the power needed for proper ventilation, which we measure in Cubic Feet per Minute (CFM). As you increase the distance between your cooktop and the hood, you need more raw suction power to pull cooking fumes up and out.
If you’re planning to install your hood toward the upper end of the recommended range (say, 34 to 36 inches), investing in a model with a higher CFM rating is a wise decision. This ensures the fan is strong enough to create an effective capture area despite the extra height. A standard 400 CFM hood might struggle at 36 inches, but a 600 CFM model (or higher) will handle it without breaking a sweat.
At the end of the day, finding that perfect balance between height and power is what will keep your kitchen fresh, safe, and a genuine pleasure to cook in.
Ready to create a kitchen where every detail is perfectly aligned? At MapleKing Kitchen Cabinets, we design and install custom cabinetry that seamlessly integrates with your appliances for a flawless look. Explore our custom kitchen solutions today.



