

Choosing to spray paint your kitchen cabinets is your ticket to that smooth, factory-like finish that a brush or roller just can't touch. It’s a method that delivers a perfectly even, professional-grade coating, capable of seriously boosting your home’s look and value without a massive investment.
Why Spray Painting Is The Secret To A Pro-Level Kitchen
Think about the last time you saw a brand-new kitchen. What probably stood out was the flawless, consistent finish on the cabinetry, right? That seamless look is the signature of a spray application. The technique atomizes paint into a fine mist, coating surfaces without leaving behind a single brush stroke or hint of roller texture.
For homeowners trying to make an impact in competitive real–estate markets, achieving this high-end appearance is a huge plus.
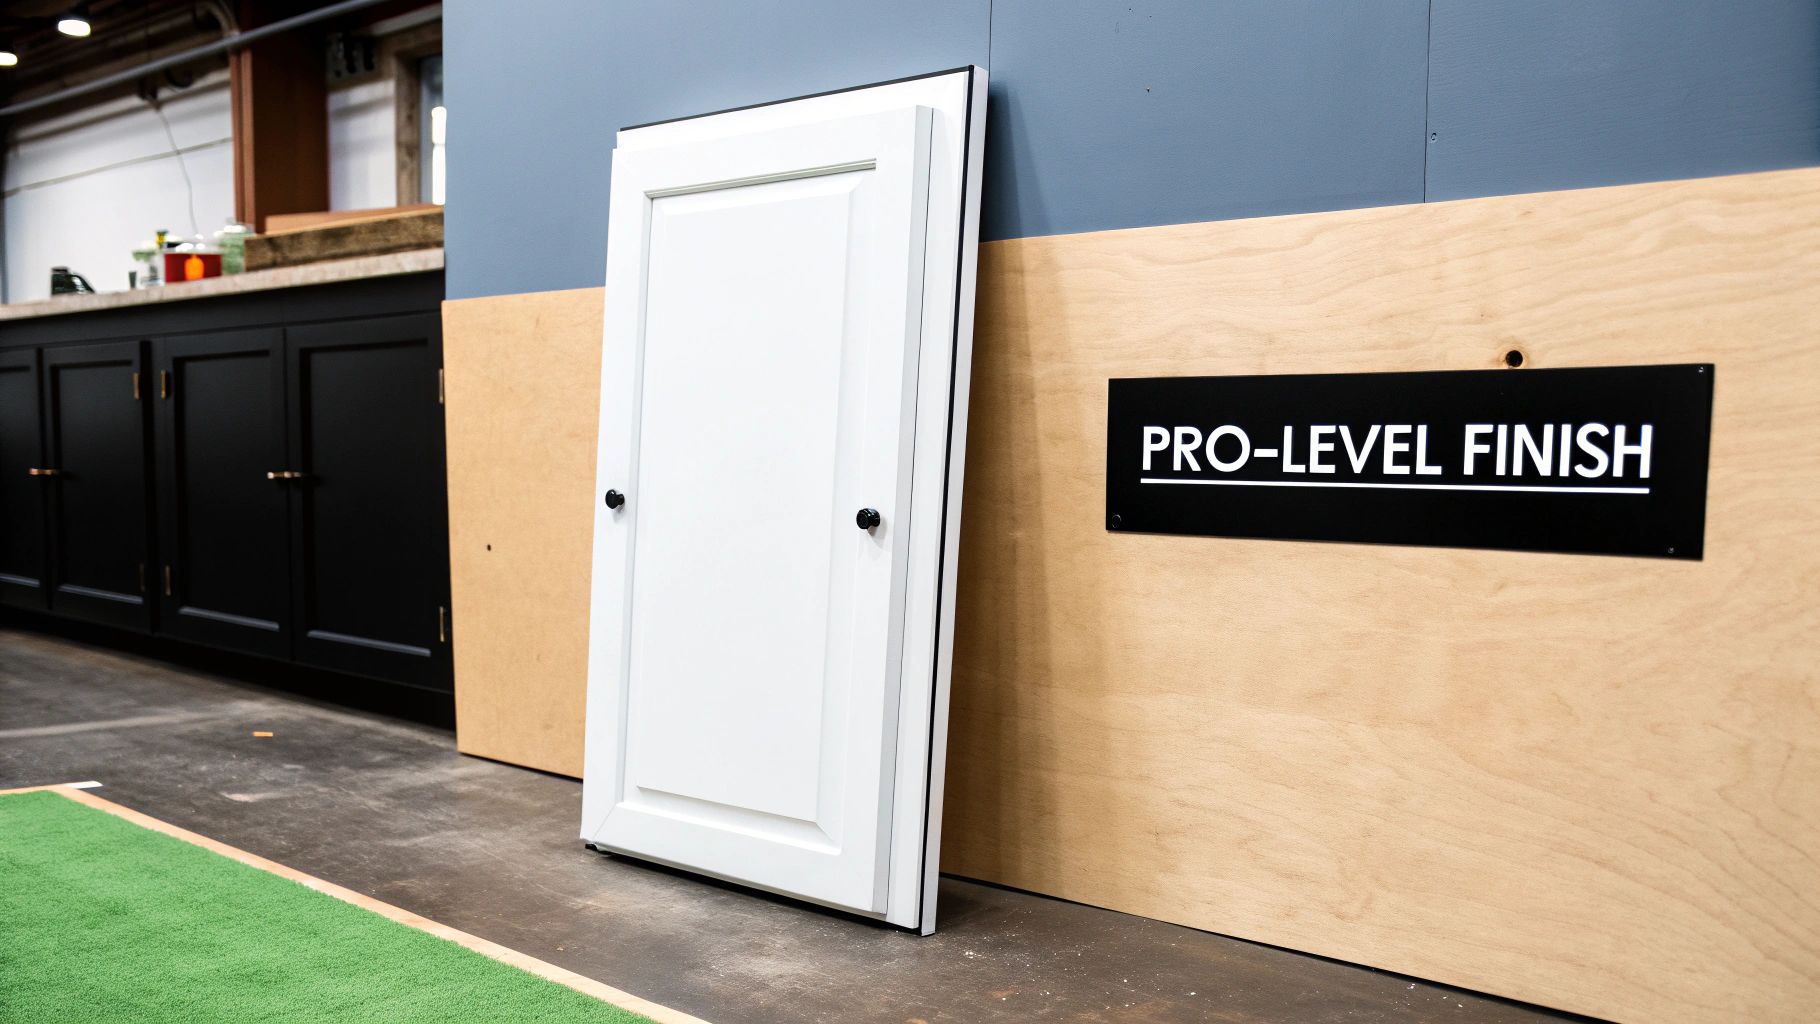
Let's be real, though. This guide is here to set some honest expectations. While the final result can be absolutely stunning, it all comes down to meticulous preparation and using the right gear. I always tell people it's 90% prep and 10% painting. If you cut corners on the cleaning, sanding, or masking, believe me, it will show in the final product.
The True Cost And Benefit Analysis
So, why is this project so popular? It really comes down to value. A full, professional kitchen remodel can easily run into the tens of thousands. Refinishing your existing cabinets, on the other hand, gives you a similar visual transformation for a tiny fraction of that cost. Your main investment is your time, followed by the cost of a good sprayer, paint, and primer.
Here’s what you get for your effort:
- Dramatic Aesthetic Upgrade: You can turn dated, worn-out cabinets into the clean, modern centrepiece of your home.
- Increased Home Value: A refreshed kitchen consistently ranks as one of the home improvements with the highest return on investment.
- Total Customization: You have complete control over the colour and sheen, letting you dial in your design vision perfectly.
It's also critical to know when to paint and when it's time to replace. If your cabinet boxes are falling apart, have peeling thermofoil, or you just don't have the space and time for a big DIY undertaking, a professional solution might be the smarter move. It's worth taking a look at a gallery of factory-finished custom cabinets to get a clear picture of what a premium, long-term investment looks like. In the end, it’s a balancing act between your budget, your timeline, and the actual condition of your kitchen.
Getting Your Toolkit Dialled In for a Flawless Finish
Let's be honest: getting that glass-smooth, professional look when you spray paint kitchen cabinets isn't about luck. It's about having the right gear. Your toolkit is the foundation of the entire project, and every choice you make, from the sprayer to the sandpaper, directly impacts the quality and durability of your new kitchen. This isn't just a shopping list; understanding why you need certain tools will help you get it right the first time.
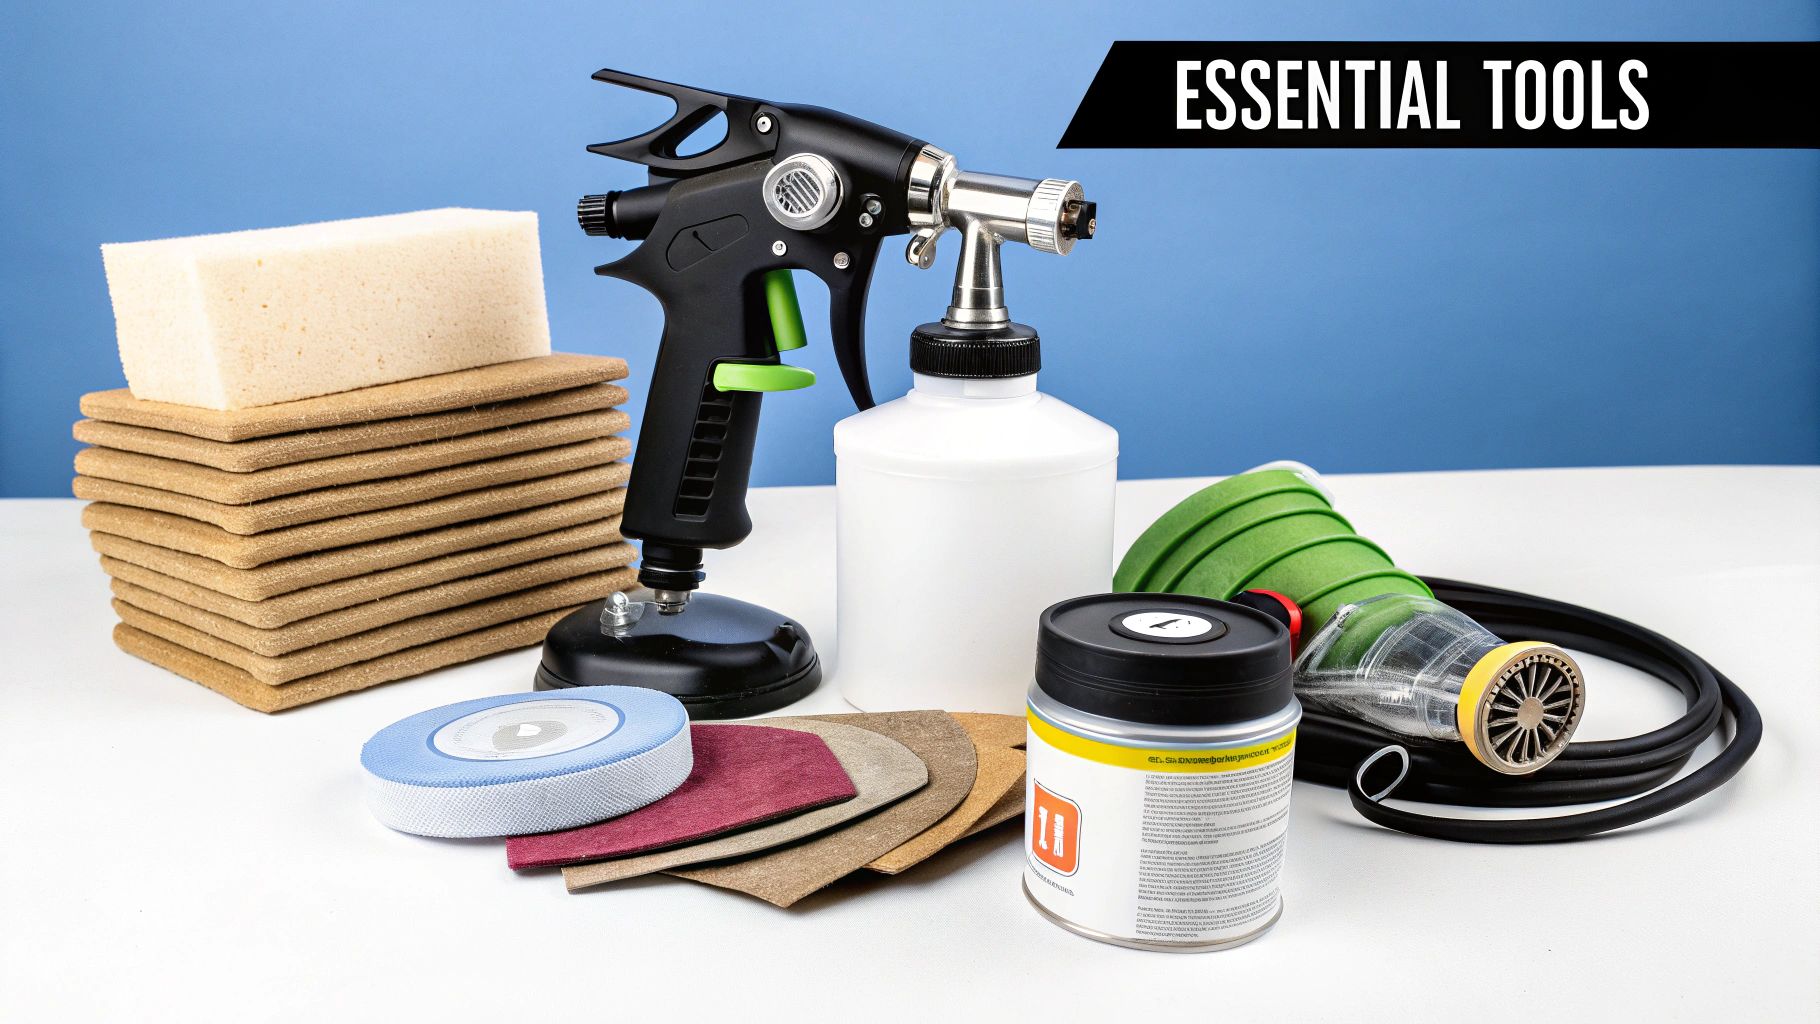
H3: The Heart of the Operation: Your Paint Sprayer
The single biggest decision you'll make is choosing your paint sprayer. The debate often comes down to Airless sprayer vs. HVLP systems. Both can give you a fantastic result, but they get there in completely different ways.
-
HVLP (High Volume, Low Pressure) Sprayers: Think of these as the detail artists. They use a high volume of air at a lower pressure, which atomizes the paint into a fine, controllable mist. The real win here is minimal overspray, which is a lifesaver when you're working with intricate cabinet door profiles and want to avoid wasting paint. For most homeowners tackling a kitchen, an HVLP is the way to go for that fine-finish control.
-
Airless Sprayers: These are the workhorses. They pump paint at incredibly high pressure through a tiny tip to create the spray pattern. They're much faster and can handle thicker paints right out of the can without much thinning. The trade-off? A lot more overspray, which means you need to be much more thorough with your masking.
To make the choice clearer, let's break down how these two sprayers stack up for a typical cabinet job.
Paint Sprayer Comparison For Cabinet Projects
| Feature | HVLP Sprayer | Airless Sprayer |
|---|---|---|
| Best For | Fine finishing, detailed work, less experienced users | Large surfaces, speed, thicker materials |
| Overspray | Low | High |
| Paint Thinning | Often required | Usually not required |
| Speed | Slower, more deliberate | Very fast |
| Learning Curve | Easier for beginners to control | Steeper; requires practice to avoid runs |
| Cost | Generally more affordable for good-quality models | Can be more expensive for professional units |
Ultimately, for that delicate, factory-like finish on cabinet doors, the control offered by an HVLP sprayer is hard to beat for a DIY project.
Paint and Primer: The Real Secret to Durability
Your sprayer is important, but the coatings you put through it are just as critical. The paint you choose determines the look, feel, and, most importantly, the long-term durability of your kitchen. Cabinet paint has a tough job—it needs to stand up to daily cleaning, bumps, grease, and grime.
Water-based acrylic-alkyd hybrid enamels are my go-to recommendation. These modern formulas give you the hard-as-nails, durable finish of old-school oil-based paints but with the easy water cleanup and low odour of acrylics. They also self-level beautifully, which is a huge help in hiding minor imperfections and brush strokes (if you're doing any touch-ups), creating that coveted factory-smooth feel.
But the real magic isn't the colour; it's what's underneath.
Using a high-quality stain-blocking primer is non-negotiable. I can't stress this enough, especially if you're painting over wood cabinets like oak, cherry, or mahogany. These woods contain natural oils called tannins that will eventually bleed through water-based paint, leaving ugly yellow or brownish stains on your beautiful new finish. A shellac-based or oil-based primer is your best defence, creating a bulletproof barrier that locks those tannins in for good.
The push for high-quality painted finishes is a huge driver in the home renovation world. With the residential remodelling sector growing at a compound annual rate of 8.1%, homeowners expect a durable, professional look that adds real value. Choosing the right materials is what gets you there.
The Prep and Safety Gear You Can't Skip
Finally, let's round out your toolkit with the unsung heroes of any good paint job: the prep and safety supplies. Skimping here is what separates a clean, professional result from a messy, frustrating ordeal.
Make sure you have these on hand:
- Degreaser: You need to get years of kitchen grime off before you do anything else. A TSP (Trisodium Phosphate) substitute is perfect for this.
- Sandpaper: Grab a variety of grits. I usually keep 120, 180, and 220-grit on hand for scuffing the old finish and smoothing between coats.
- Wood Filler: Absolutely essential for patching any dings, deep scratches, or old hardware holes for a seamless look.
- Masking Supplies: Don't cheap out. Get high-quality painter's tape that won't bleed and plenty of masking paper or plastic sheeting.
- Safety Gear: This is non-negotiable. You need a respirator rated for paint fumes, not a simple dust mask. Add safety glasses and gloves to your list.
The Preparation Phase That Guarantees Success
Any pro will tell you the real secret to a glass-smooth finish isn't in the spraying itself. The magic happens long before you pull the trigger. We live by the rule: it’s 90% preparation and 10% painting. This is the non-negotiable groundwork that makes or breaks your entire project. If you cut corners here, you’re setting yourself up for peeling paint and an amateur-looking job. Let's do it right.
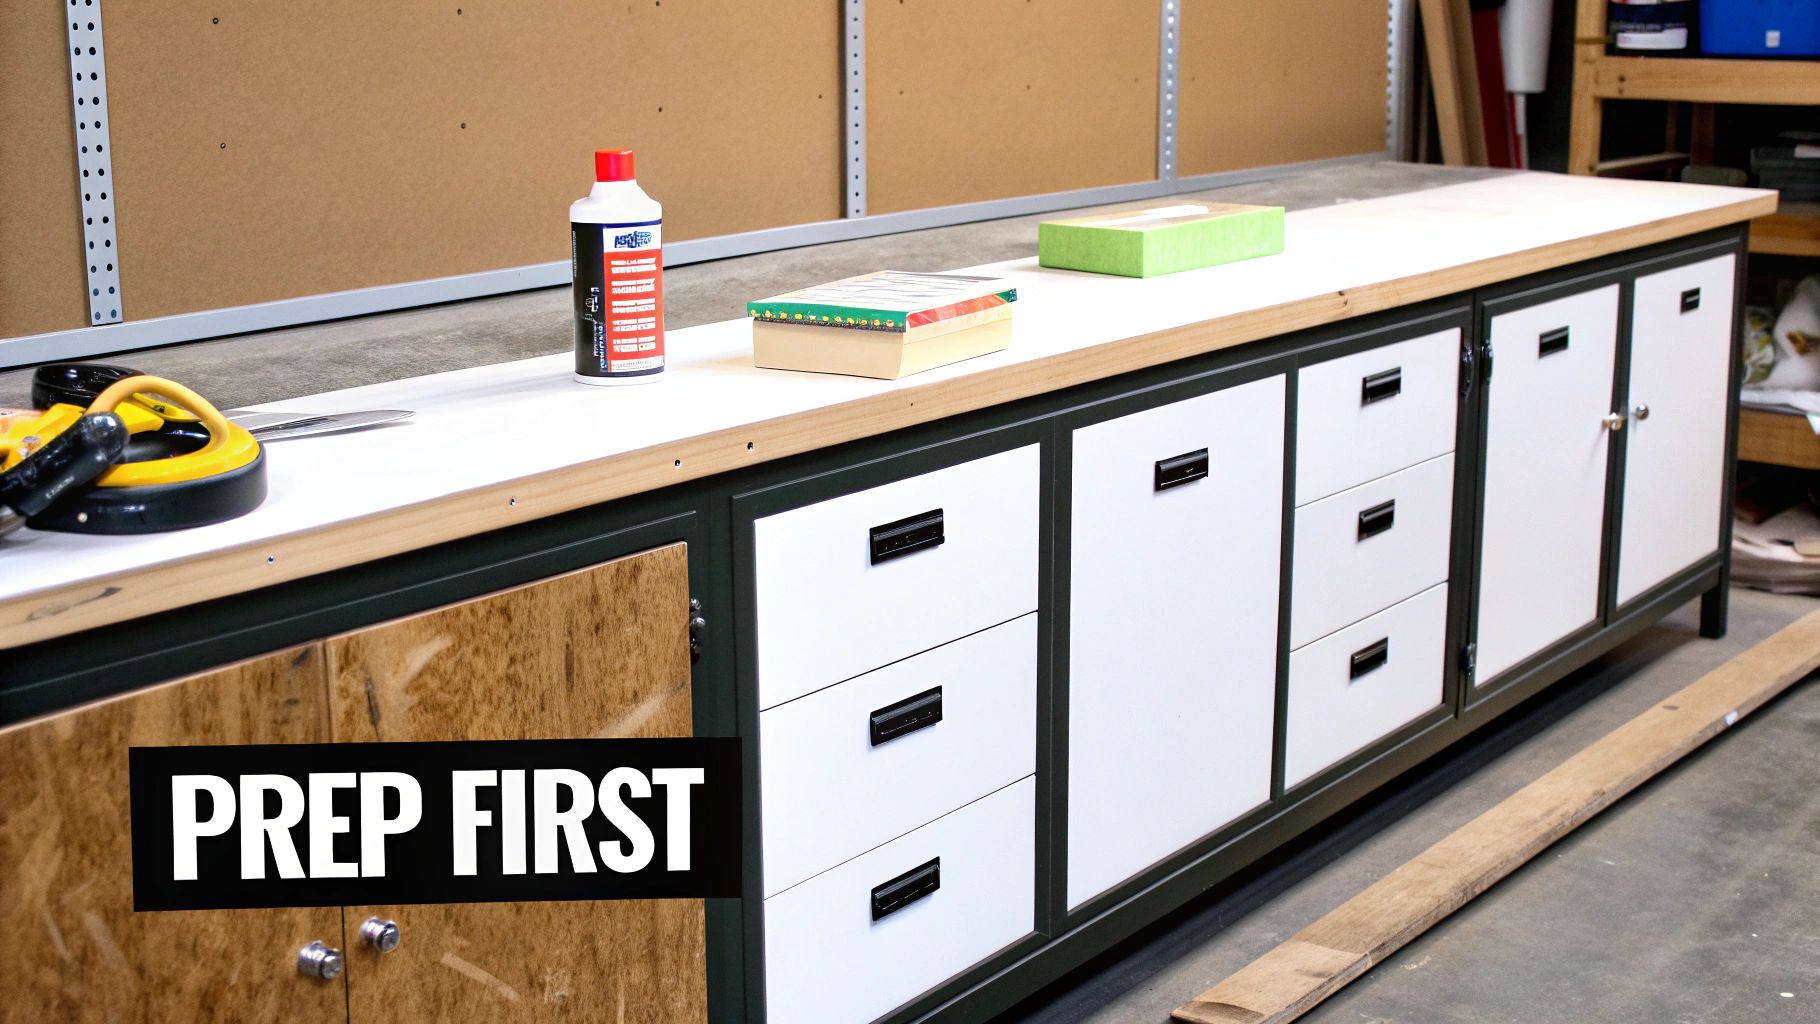
Systematic Dismantling and Labelling
Before a drop of cleaner or a grain of sandpaper touches a surface, you need to take your kitchen apart methodically. Start by removing all the doors and drawer fronts from the cabinet boxes. As each one comes off, give it a unique number.
A small piece of painter's tape on the back of the door and a matching piece inside its cabinet frame is all it takes. This simple habit is an absolute lifesaver when it's time to put everything back together, guaranteeing a perfect fit.
Next, take off all the hardware—hinges, handles, pulls, everything. Pop the hardware for each door into a small, labelled bag that corresponds to the door’s number. This keeps all those tiny screws organised and saves you a world of frustration later.
I can't tell you how many times I've seen people skip this, thinking they'll remember where everything goes. A week later, staring at a room full of identical doors, they're faced with a giant, frustrating puzzle. Label everything meticulously.
The Crucial Deep Clean
Kitchen cabinets are absolute magnets for grease, cooking oils, and food residue, especially near the stove and sink. Even if they look clean, there’s an invisible film of grime that will sabotage your paint job, leading to chipping and peeling down the line.
Your goal here is to obliterate every last trace of that buildup. For this, a powerful degreasing agent like a TSP (Trisodium Phosphate) substitute is your best friend. Mix it up as directed and get to work with a non-abrasive scrub pad, cleaning every single surface that will be painted. Pay special attention to the areas around knobs and handles where oils from hands collect.
After a thorough scrub, wipe everything down with a clean, damp cloth to remove any chemical residue. Then, let it all dry completely.
Creating the Perfect Surface for Paint
Now that your cabinets are truly clean, it’s time to create a surface the primer can really bite into. This means sanding to "scuff" the existing finish—you aren't trying to strip it down to bare wood. A light but thorough sanding creates millions of microscopic grooves that give the primer a strong mechanical bond.
- For Wood Cabinets: Stick with a 120 to 180-grit sandpaper. You're just looking to dull the current sheen.
- For Laminate or Glossy Surfaces: I find a slightly finer 220-grit works better here, as it's less likely to leave deep scratches.
Once everything is sanded, wipe away every speck of dust. A tack cloth is great, but a microfibre cloth lightly dampened with denatured alcohol also works wonders. Remember, dust is the mortal enemy of a smooth finish.
If you're working with wood, knowing how the material behaves is a huge advantage. To really get your cabinets ready, looking into broader techniques like how to refinish wood cabinets can give you some valuable perspective on prepping your surfaces.
Filling Imperfections for a Seamless Look
This is your chance to make the cabinets look better than new. Go over each piece and fix any dings, deep scratches, or old hardware holes you won't be reusing. Use a high-quality wood filler and a small putty knife, overfilling the spot just a little to account for shrinkage.
Once it has fully cured, sand the filled areas flush with the surrounding surface using 220-grit sandpaper until you can't feel the transition.
This is the kind of detail work that delivers a truly professional result. It’s no surprise that homeowners are investing more in kitchen makeovers, with residential projects expected to make up 82.35% of cabinetry revenue in 2025. People want that refined, flawless look, and spending the time to perfect the surface is how you achieve it.
Getting Your Spray Painting Technique Just Right
You've done all the hard work of prepping, and now it's time for the fun part: laying down that beautiful, factory-smooth finish. This is where your patience and meticulous prep really shine, but the technique itself is what brings it all home. It's less about just pointing and spraying and more about a controlled, methodical approach.
First things first, you need a proper spray booth, even a makeshift one. Your garage, a workshop, or a well-ventilated basement can work perfectly. The enemy here is overspray—that fine, floating mist of paint that seems to land on everything. Drape plastic sheeting or drop cloths over walls, floors, and anything else you don't want to be speckled with paint.
And I can't stress this enough: ventilation is absolutely critical for your safety. Get the air moving. Open windows and doors, and strategically place a box fan facing outwards to pull the fumes and overspray out of your space. And please, wear your respirator at all times.
Dialling In Your Sprayer for the Perfect Flow
Before a single drop of paint hits a cabinet, you’ve got to get your equipment and material perfectly in sync. Most high-quality cabinet paints, like the acrylic-alkyd enamels we love for their durability, often need a bit of thinning to spray beautifully through an HVLP gun. Check the paint’s technical data sheet, but a 5-10% reduction is a pretty common starting point.
A viscosity cup is your best friend here. It’s a simple little cup that helps you nail the consistency. You're looking for a smooth, unbroken stream of paint that empties from the cup within the time specified by your sprayer’s manual.
Take it from me, skipping a test spray is a recipe for frustration. Always, always spray a few passes on a piece of cardboard or scrap plywood first. This is your chance to fine-tune the fluid control, air pressure, and fan pattern until you get a perfect, even mist without a single run or splatter.
The Art of a Flawless, Even Coat
The secret to a professional-looking finish is consistency. Every movement should be smooth, steady, and deliberate. Think of it as a rhythm. The key is holding the sprayer nozzle perfectly perpendicular to the surface, maintaining a consistent distance of about 15-25 centimetres away.
Here’s how you get that perfect coat:
- Start and Stop Off the Surface: Always begin your spray before you reach the edge of the door and continue the pass until you're completely clear of the other side. This simple trick prevents those ugly, thick buildups of paint where you start and stop.
- Overlap Your Passes: For a truly seamless finish, each spray pass should overlap the previous one by about 50%. This is how you avoid visible spray lines or "striping."
- Keep a Steady Pace: If you move too fast, you'll get a thin, patchy coat. Move too slowly, and you'll end up with drips and runs. Find a comfortable, consistent speed and stick with it.
One of the most common rookie mistakes is "arcing" the wrist—swinging your hand in an arc instead of moving your whole arm. This changes the angle and distance of the spray, putting too much paint in the middle and not enough on the ends. Keep your arm parallel to the surface for the entire pass. Developing this kind of muscle memory is crucial, and it's true that perfect practice makes perfect when learning a new physical skill.
When you're working with doors that have detail, like shaker panels or routed edges, spray those tricky inside areas first. Get full coverage in the nooks and crannies, then move on to the flat stiles and rails. This method ensures you cover everything without overloading the flat surfaces with excess paint. Nailing these techniques is the final piece of the puzzle to a stunning, long-lasting finish on your kitchen cabinets.
The Final Stretch: Curing and Reassembly
Patience is a virtue, especially in the final stages of a cabinet painting project. It’s what separates a decent DIY job from a truly professional-looking one. Your freshly painted cabinet doors might feel dry to the touch within a few hours, but don't be fooled—the paint is nowhere near ready for the daily grind of a busy kitchen.
This is where understanding the difference between "dry" and "cured" becomes critical. "Dry" just means the solvents have evaporated off the surface. "Cured" means the paint has undergone a chemical reaction to harden completely, giving it the strength and durability you need. Rushing this process is a recipe for smudges, dings, and a finish that will chip the first time you bump it.
This quick visual breaks down the core painting process that gets you to this all-important final step.
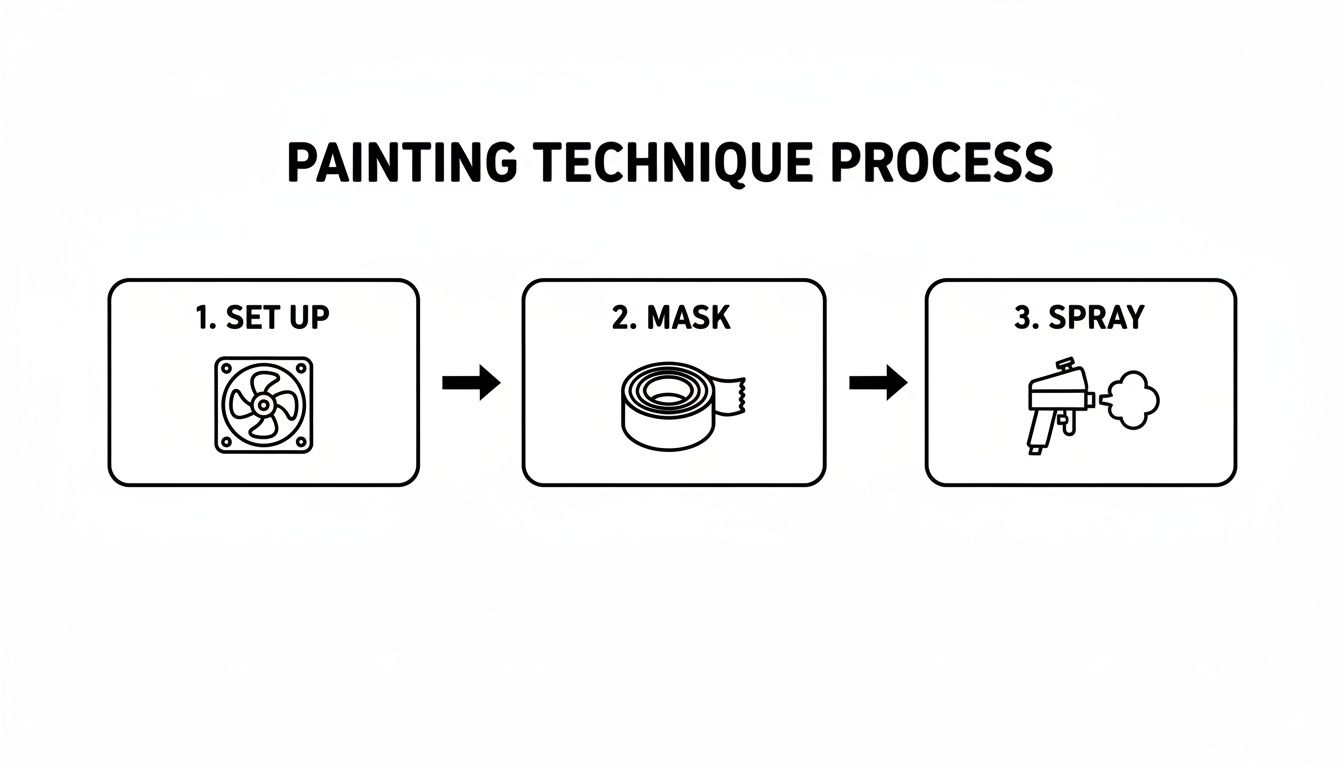
From setup to spraying, each step lays the foundation for the next, all leading up to the make-or-break drying and curing phase.
Giving Your Paint Time to Harden
So, how long do you actually have to wait? It varies based on the paint you used and the conditions in your workspace, but here are some reliable benchmarks to follow:
- Dry to the Touch: This usually happens in a few hours. At this point, you can gently handle the pieces if you absolutely have to.
- Ready for Recoat: Always check the instructions on your paint can, but a wait time of 4-6 hours is pretty standard before you can apply another coat.
- Fully Cured: This is the most important one. Most modern cabinet enamels need at least 7 days to fully cure. Some high-performance coatings can even take up to 30 days. Don't even think about reinstalling your doors and drawers before this.
A simple drying rack is your best friend during this waiting period. You can easily make one by screwing some cup hooks into a few scrap 2x4s. This setup lets you hang the doors vertically, which not only saves a ton of space but also ensures nothing can stick to your fresh paint job.
The single biggest mistake I see is people rushing the reassembly. Let the paint fully harden. A week of patience now prevents years of frustrating touch-ups later. Protect all your hard work by giving the finish the time it needs to achieve maximum durability.
Once everything is fully cured, you can finally put your kitchen back together. Reinstall your labelled hardware, carefully hang each door on its correct frame, and take the time to adjust the hinges so everything lines up perfectly.
For the finishing touch, stick small felt or silicone bumpers on the inside corners of every door and drawer. It's a tiny detail that makes a huge difference, preventing the freshly painted surfaces from slamming against the frames and protecting your flawless finish for years to come.
DIY Paint Job or Professional Custom Cabinets? Let's Break It Down.
Deciding whether to roll up your sleeves and spray paint your kitchen cabinets or to bring in the pros for custom cabinetry is a big fork in the road. There's no denying that a well-done DIY spray job can be a huge win. It delivers a fresh, modern look for a fraction of the cost of new cabinets, and the satisfaction of doing it yourself is a great feeling. You get total control over the colour and finish, completely changing your kitchen's vibe.
But, and this is a big but, we need to be honest about when DIY isn't the right move. If your cabinets are hiding bigger problems, slapping on a coat of paint is just putting a bandage on a bullet wound.
When a New Coat of Paint Just Won't Cut It
Painting is a cosmetic fix. It looks great, but it can’t fix fundamental issues with the bones of your kitchen. It’s time to seriously think about a professional replacement if your current cabinets are:
- Structurally Unsound: Look for warped cabinet boxes, particleboard that’s peeling apart (delaminating), or cracked face frames. Paint won't magically fix weak joints or the lingering effects of water damage.
- Thermofoil Failures: You can paint over thermofoil, but if that plastic-like coating is already peeling and bubbling, you're just painting over a failing material. The new finish likely won't last, and you'll be back at square one sooner than you think.
- Just Plain Worn Out: After decades of use, some surfaces are just too far gone. Deep gouges, extensive wear, and damaged veneers can be impossible to sand and prep well enough for paint to properly adhere.
Beyond the state of the cabinets, you also have to do a gut check on your own resources. A proper spray-painting project isn't a weekend affair. It takes a lot of time, a dedicated space with great ventilation, and a certain tolerance for your kitchen being a work zone. If you're short on any of those, the stress can quickly overshadow the savings.
The Clear-Cut Case for a Professional Solution
This is the point where calling in experts for factory-finished cabinets becomes the smarter play. It’s not just about sidestepping a tricky DIY project; it's an investment in a flawless, guaranteed result built with a level of durability and precision you just can’t replicate at home.
The demand for quality kitchen renos is booming, especially in hot markets like the Greater Toronto Area. This isn't just a feeling; the cabinet manufacturing industry has seen steady growth, averaging a 3.6% annual increase between 2020 and 2025. With the residential sector accounting for roughly 82.35% of that market, it's clear homeowners are prioritizing lasting quality and updated designs.
When you opt for professional custom cabinets, you get access to superior materials, expert design advice, and those rock-hard, oven-cured finishes that stand up to real life. It takes all the guesswork and risk out of the equation and delivers a kitchen that’s built to your exact needs. If a perfect, worry-free renovation with long-term value is what you're after, exploring custom kitchen cabinet options is your best bet.



