

If you're looking to truly refresh your kitchen, the secret is all in the finish. When it comes to painting kitchen cabinets, using a spray application is the hands-down winner for getting that smooth, durable, professional-grade look that rivals brand-new cabinetry. It completely gets rid of the brush strokes and roller marks that can plague DIY projects, leaving you with a flawless surface that instantly elevates your space.
Why Spray Painting Is Your Best Bet for Kitchen Cabinets
When you picture a kitchen makeover, you’re probably imagining a seamless, even colour that looks like it came straight from a factory. That specific, high-end quality is incredibly difficult—if not impossible—to get with a brush or roller. This is where spray painting is a total game-changer.
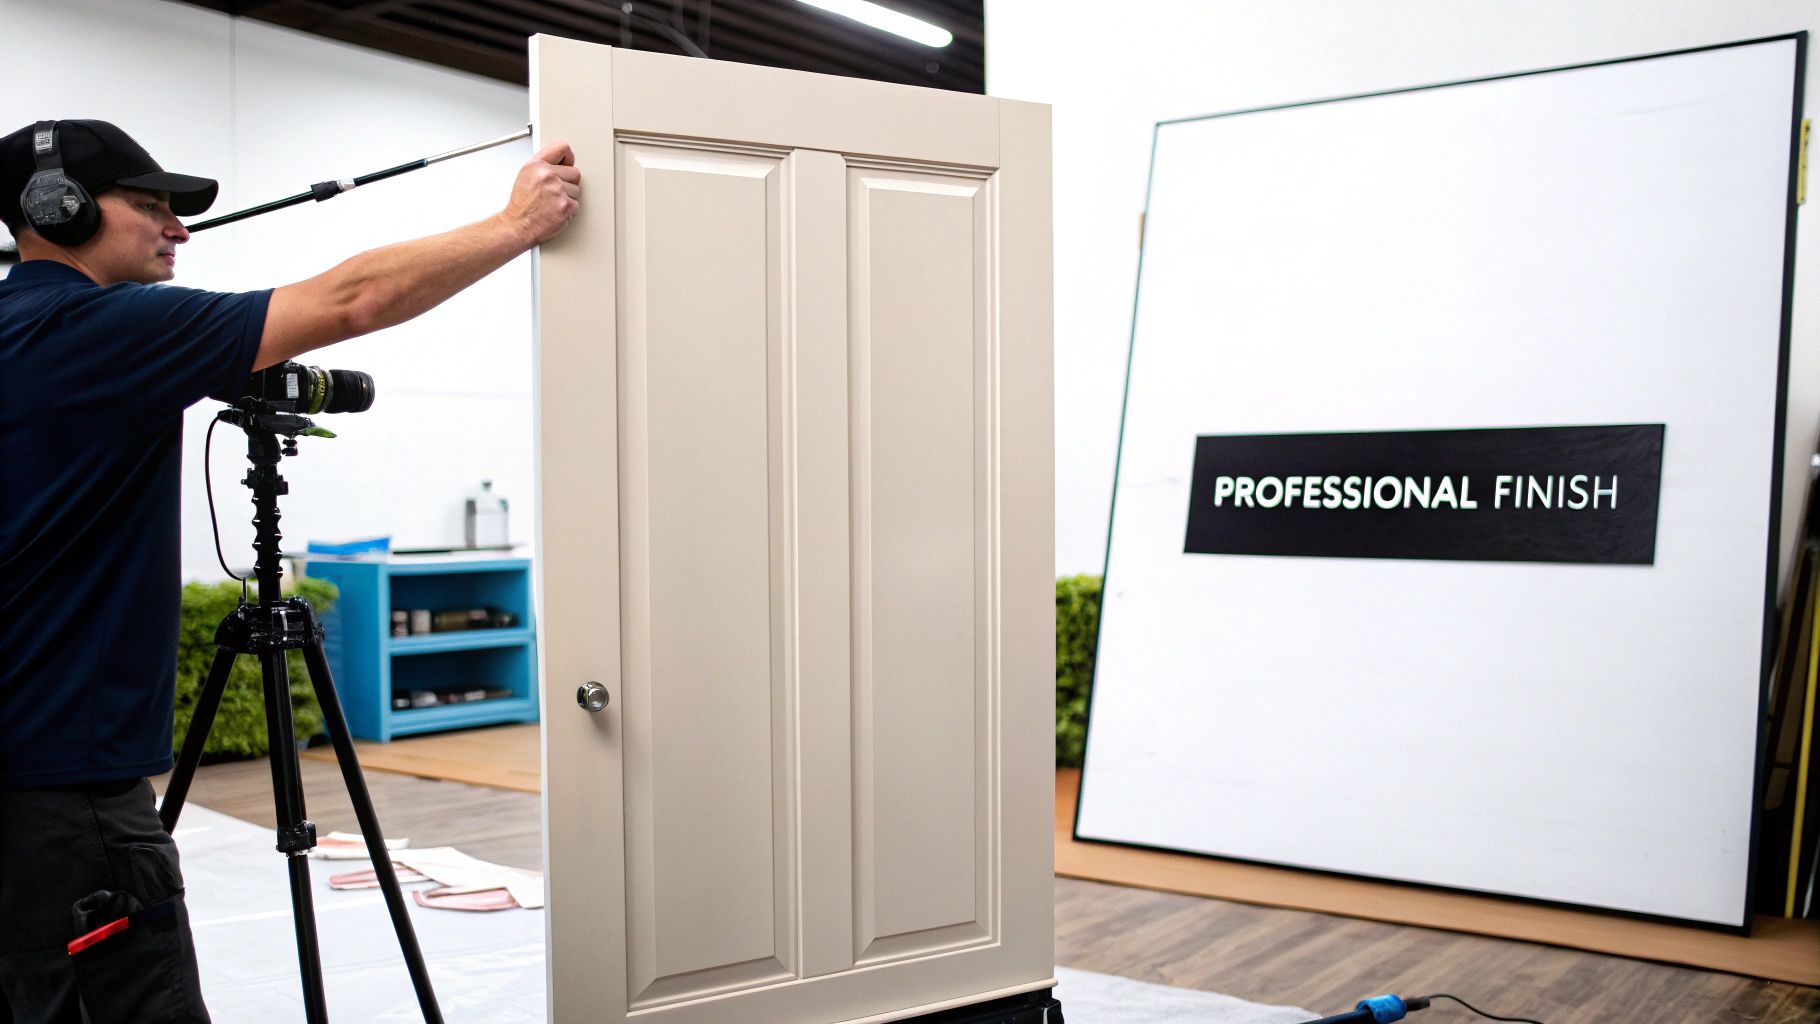
The biggest advantage is, without a doubt, the quality of the finish. A sprayer atomizes the paint into a fine mist, which lays down on the cabinet surface in a perfectly thin, uniform layer. This process sidesteps all the common headaches of painting by hand:
- No Brush Marks: Nothing screams "DIY job" like visible brush streaks. Spraying eliminates them entirely.
- No Roller Texture: Even the best foam rollers can leave a subtle stippled texture, taking away from that perfectly smooth look.
- Consistent Coverage: Spraying gets paint into every nook and cranny of detailed panel doors or trim, all without drips or pooling.
Durability and Long-Term Value
Looks aren't everything, though. A sprayed finish is also far more durable. The even application creates a harder, more resilient shell that stands up much better to the daily grind of a busy kitchen. That means fewer chips, scuffs, and scratches over time, protecting your hard work for years to come.
A professionally sprayed finish also adds real, tangible value to your home. In competitive real estate markets like Toronto and Markham, a modern, beautifully finished kitchen is a huge selling point. It tells potential buyers that you cared about quality and detail.
The difference in both speed and quality is staggering. Professionals can typically finish jobs 60-80% faster than the average DIYer, while achieving 95% even coverage. That’s a huge leap from the 70-80% you might get with a brush. In high-demand areas, this precision is what makes flawless finishes on custom cabinetry possible, helping homeowners get the best return on their investment without the mess of a full renovation.
In the end, choosing to spray your kitchen cabinets is about more than just a new colour. It's an investment in a high-calibre finish that looks incredible, lasts longer, and boosts your home’s appeal. You can see the stunning impact a professional finish makes by exploring our gallery of completed projects.
Picking the Right Tools and Materials for the Job
If you want to spray paint your kitchen cabinets and get that factory-smooth finish, you'll need more than just a can of paint and a prayer. Honestly, the tools and materials you choose are the bedrock of a durable, professional-looking job. Making smart choices before you even start will save you from the headache of peeling paint, uneven coverage, and a finish that starts chipping in a few months.
Your biggest decision? The sprayer. This one choice impacts everything else, from the type of paint you can use to the final texture on your cabinet doors. Nailing this is the first real step toward getting that "wow" factor.
HVLP vs. Airless Sprayers: What's the Real Difference?
When it comes to spraying cabinets, the two main players are High-Volume, Low-Pressure (HVLP) systems and airless sprayers. They both get paint on the surface, but they work in fundamentally different ways, and one is much better suited for this kind of detailed work.
An HVLP sprayer is my go-to for cabinets. It uses a large volume of air at a very low pressure to turn the paint into a fine, soft mist. This gives you incredible control, which is exactly what you need for things like cabinet doors and face frames. You get far less overspray, which means less wasted paint and a cleaner workspace. For a beginner, the learning curve is much gentler, and the finish is about as close to a factory-fresh look as you can get.
On the flip side, an airless sprayer is a powerhouse. It pumps paint at incredibly high pressure through a tiny tip, creating a wide fan of paint. Think of it as the tool for painting an entire house exterior or a long fence—it's all about speed and covering huge areas fast. You can use it for cabinets, but it takes a skilled hand to avoid runs and drips. Plus, the amount of overspray is massive, so you’ll spend way more time masking everything off.
For almost any DIYer tackling their kitchen, an HVLP sprayer is the clear winner. The control is simply unmatched, leading to a finer finish and less expensive cabinet enamel ending up on your plastic sheeting instead of your doors.
To help you decide, here’s a straightforward comparison of how these two systems stack up for a cabinet project.
HVLP vs Airless Sprayer for Kitchen Cabinets
| Feature | HVLP Sprayer | Airless Sprayer |
|---|---|---|
| Control & Precision | Excellent. It's designed for detailed work. | Good, but better suited for large, flat areas. |
| Finish Quality | Flawless. Leaves a very fine, smooth finish. | Can be smooth, but requires more skill. |
| Overspray | Minimal. Less paint waste and easier cleanup. | High. You'll need to mask everything. |
| Speed | Slower, more deliberate application. | Extremely fast. Built for productivity. |
| Best For | Beginners to pros doing fine-finish work. | Experienced users on large-scale jobs. |
Choosing the right sprayer sets the stage, but what you put in it is just as crucial for a lasting finish.
Picking a Primer and Paint That Will Actually Last
Once you’ve got your sprayer sorted, it's time to think about the coatings. The partnership between your primer and paint is what will stand up to the daily abuse of a busy kitchen.
First, you need a serious bonding primer. Don't even think about using a standard latex drywall primer—it will peel. I always recommend a shellac-based or oil-based bonding primer. These are formulated to grip onto slick, difficult surfaces (like old lacquered cabinets) with minimal sanding. This step is non-negotiable.
For your topcoat, step away from the wall paint aisle. You need a product specifically engineered for cabinets and trim. I'm a huge fan of the modern urethane-alkyd enamels. These hybrid paints give you the best of both worlds: they level out to a rock-hard, smooth finish like a traditional oil paint, but they have the convenience of water cleanup. They're designed to resist chipping, scuffs, and stains.
If you're planning a larger kitchen overhaul and want to see what a top-tier finish looks like in person, checking out professionally finished kitchen cabinets in Toronto can give you a great benchmark for your own project.
Don't Forget the Prep and Masking Supplies
Finally, let's talk about the unsung heroes of a great paint job. These are the items that make the whole process cleaner, smoother, and far more professional.
- Degreaser: Kitchen cabinets are covered in years of grease and grime, even if you can't see it. A heavy-duty cleaner like Trisodium Phosphate (TSP) is a must to ensure your primer has a clean surface to bond to.
- Sandpaper: You’ll want a couple of different grits on hand. I use 120-grit to scuff the old finish—this gives the primer something to "bite" into. Then, I switch to a finer 220-grit to lightly sand between every single coat of primer and paint. That's the secret to an ultra-smooth feel.
- Masking Gear: Don't cheap out here. High-quality painter's tape (like FrogTape or 3M Blue) will give you crisp lines without bleeding. Use masking paper for countertops and floors, and grab some thin plastic sheeting to create a "spray booth" to contain the inevitable dust and overspray.
The Meticulous Prep Work That Guarantees Success
Let's get one thing straight: that flawless, glass-smooth finish you're dreaming of isn't made when you pull the trigger on your spray gun. It’s earned long before that, during the prep phase. This is where you’ll spend the bulk of your time—easily 75% or more of the total project—and it’s the one thing that separates a stunning, pro-grade result from a disappointing DIY failure.
Think of it like building a house. You wouldn't put up walls on a shaky foundation, and you can't expect paint to stick to a dirty, greasy, or slick surface. Every minute you spend here is a direct investment in how good your kitchen will look and how long it will last. If you cut corners now, you're setting yourself up for peeling, chipping, and a whole lot of regret down the road.
This is the basic game plan for your prep work—a sequence that has to be done in the right order.
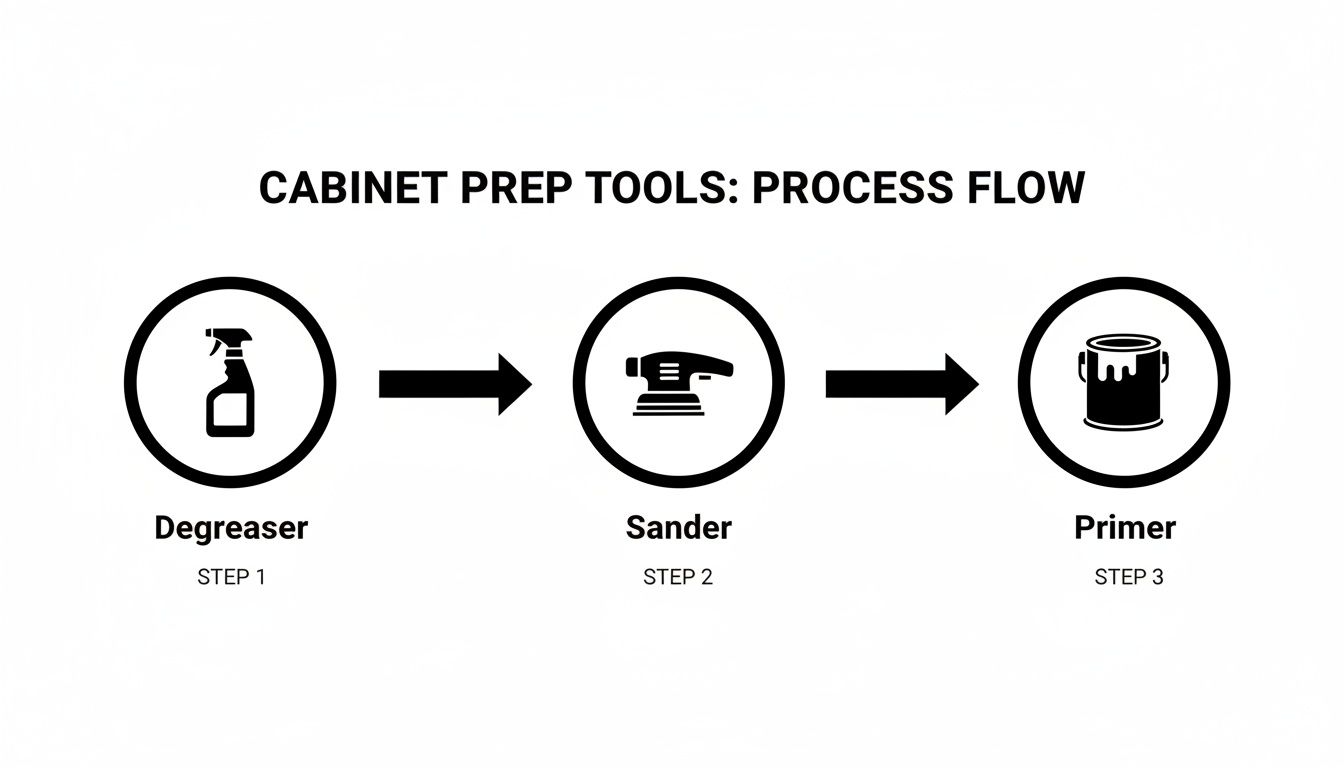
It’s a simple reminder that each step builds on the last. You can't sand away grease, and you definitely can't prime over dust.
The Essential First Step: Cleaning and Degreasing
Your kitchen cabinets have seen it all: cooking oils, airborne grease, food splatters, and fingerprints. This nearly invisible layer of grime is paint’s number one enemy. So, before you even think about picking up sandpaper, you have to get aggressive with cleaning every single square centimetre.
A little soap and water just won't cut it. You need a serious degreasing agent to break down years of stubborn oil buildup. Trisodium Phosphate (TSP) or a good TSP alternative is what the pros use, and for good reason—it works.
- Mix your cleaning solution following the manufacturer's directions. Always wear gloves and eye protection.
- Use a non-abrasive scrub sponge or microfiber cloth to wash everything down: door fronts and backs, drawer fronts, and all the cabinet frames.
- Pay extra attention to the areas around the stove, sink, and handles. These spots are always the grimiest.
- Rinse thoroughly with clean water to get rid of any residue from the cleaner, as that can also block paint from sticking properly. Let everything air dry completely.
Creating the Perfect Canvas: Sanding for Adhesion
A lot of people get this part wrong. The goal of sanding isn't to strip the old finish down to bare wood. It's much simpler and way less work than that. All you're doing is scuffing up the surface.
This process, called deglossing, creates microscopic scratches on the otherwise smooth finish. We call this giving the surface some "tooth." It provides something for the primer to physically grip onto, creating a bond that’s far stronger than what you'd get on a slick, glossy surface.
I find a 120- to 150-grit sandpaper works perfectly for this initial scuff-sand. A random orbital sander is your best friend for the flat parts of doors and drawers, but you’ll have to get into the detailed grooves and profiles by hand. Again, you just want to knock the shine off, not remove the old finish.
Pro Tip: After sanding, don't just wipe away the dust with a dry rag. Grab a tack cloth—a sticky piece of cheesecloth made for this exact job—to pick up every last particle. This tiny step makes a massive difference in getting a perfectly clean surface for your primer.
Filling Wood Grain for a Modern, Smooth Finish
If you have oak or other open-grained cabinets, you know that heavy, textured look. Some people like it, but spraying paint over it will only make the grain more noticeable. If you're after that modern, flat, seamless look, you absolutely have to fill that grain before you prime.
AquaCoat Wood Grain Filler is a great water-based product that’s easy to use.
- Use a putty knife or even an old credit card to spread a thin layer of the filler, working it against the grain to really push it in.
- Scrape off all the excess, leaving the filler just in the low spots of the grain.
- Let it dry completely, following the product's instructions.
- Once it's dry, give it a light sanding with 220-grit sandpaper. Be gentle—you just want to smooth the surface, not sand the filler back out.
This is a tedious step, no doubt about it. But it's the only way to turn a heavily grained cabinet into a perfectly smooth canvas for a high-end spray finish. For a deeper dive, learning how to prep cabinets for painting like a pro is a great way to master these crucial techniques.
Masking Your Kitchen Like a Professional
The last leg of prep is protecting everything you don't want painted. Overspray is no joke; it travels and settles as a fine dust on every single surface. Proper masking turns your kitchen into a self-contained spray booth and is absolutely non-negotiable.
- Cover Countertops and Floors: Use builder's paper or rosin paper. It's tougher than plastic and won't be as slippery to walk on.
- Tape Off Walls and Ceilings: Grab some high-quality painter's tape to get those crisp, clean lines where the cabinet frames meet the walls.
- Create a Plastic Barrier: Seal off doorways with thin plastic sheeting to keep the dust contained to the kitchen. A zip-up dust door is a fantastic addition if you can get one.
- Protect Your Appliances: Completely cover your fridge, stove, and dishwasher with plastic and tape it down securely.
This level of prep might feel like it’s taking forever, but trust me, it’s the foundation for your entire project. With a perfectly clean, scuffed, filled, and masked kitchen, you’re finally ready to prime, knowing your hard work is about to pay off with a beautiful, lasting finish.
Mastering Your Spraying Technique Like a Professional
With all that meticulous prep work behind you, this is where the real magic happens. Learning how to properly paint kitchen cabinets with a spray gun isn't about being an artist—it’s about developing a steady hand and a consistent, repeatable motion. Nailing down a few core principles is what separates a flawless, factory-like finish from a frustrating mess of drips and uneven patches.
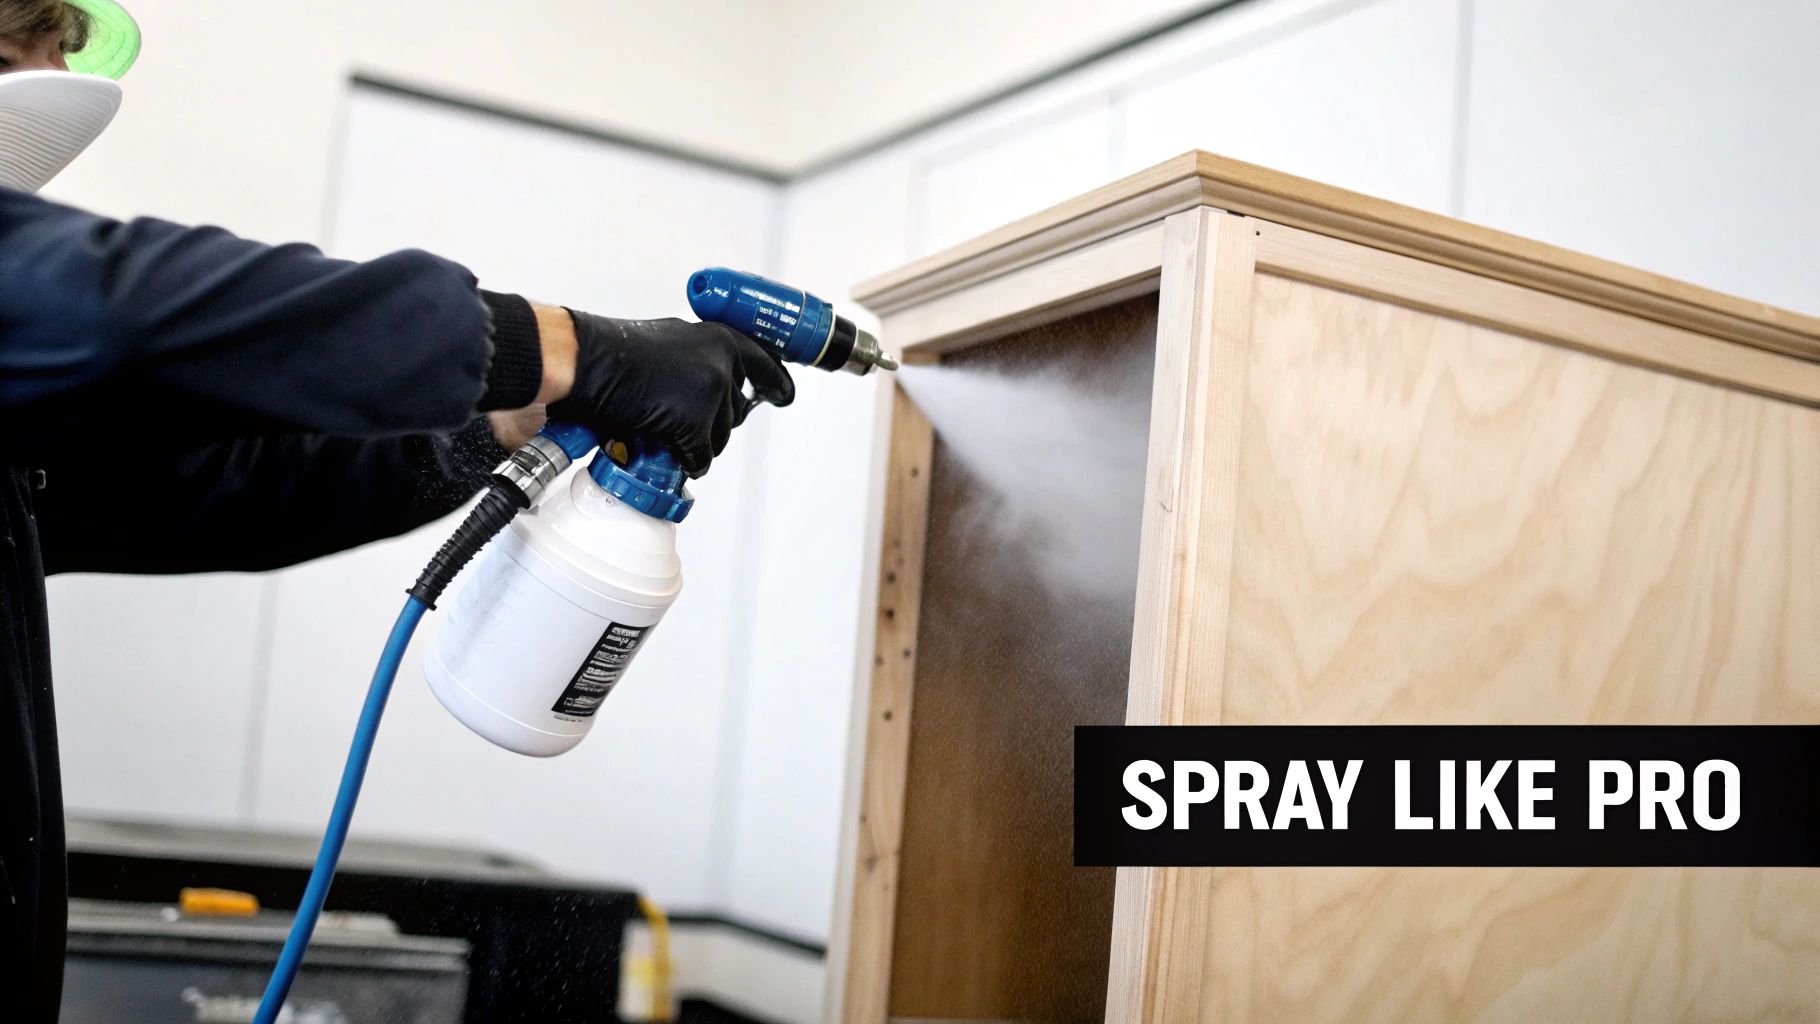
If you take away just one thing, let it be this: always keep the sprayer moving. Never start or stop spraying while the gun is pointed directly at the cabinet. That’s the number one rookie mistake, and it’s a surefire way to get blotches and heavy spots.
The right way is to start your spray just off the edge of the piece, move smoothly across it in one fluid pass, and only let go of the trigger after you’ve cleared the opposite edge.
Dialing In Your Sprayer Settings
Before you even think about pointing that sprayer at a cabinet door, you need to get your equipment settings just right. Every paint has a different viscosity, and your sprayer needs to be tuned for it. This isn't a "set it and forget it" step; it's a critical calibration that makes all the difference.
Grab a big piece of cardboard or some scrap wood for testing. What you're looking for is a nice, even, cigar-shaped oval pattern.
- Adjusting Air Pressure (for HVLP): If you don't have enough pressure, the paint will just spatter and look like a bunch of dots. Too much, and you'll create a massive cloud of overspray and waste a ton of paint. Start low and gradually bump it up until the paint atomizes into a fine, consistent mist.
- Controlling the Fan Pattern: Most spray guns let you adjust the spray shape from a tight circle to a wide fan. For something like cabinet doors, a fan that's about 15-20 centimetres wide is the sweet spot. It gives you great coverage without being too hard to control.
- Setting the Fluid Control: This knob dictates how much paint comes out when you pull the trigger. You want just enough to lay down a "wet" coat that flows together, but not so much that it immediately starts to sag or run. Practice on your cardboard until it looks perfect.
The Fundamentals of a Perfect Pass
Once your sprayer is dialed in, it all comes down to three things: distance, speed, and overlap. Consistency is everything here.
Distance is Key
Try to keep the spray tip about 15 to 25 centimetres away from the surface at all times. If you get too close, the paint will build up way too fast and start to run. But if you're too far away, the paint particles can actually start to dry in mid-air, leaving you with a rough, almost sandy texture.
Maintain a Steady Speed
You need to find a steady, deliberate pace as you move your arm across the cabinet. If you rush it, you'll end up with a thin, see-through coat. Move too slowly, and you'll flood the surface and be dealing with drips in seconds. The goal is a full, wet coat that melts together beautifully without being heavy enough to sag.
The 50% Overlap Rule
This is the secret pros use to get perfectly even coverage without any striping. When you start your second pass, aim the centre of your spray pattern directly over the edge of the line you just sprayed. Each new row should overlap the last one by about 50%. This technique guarantees every square inch of the surface gets the exact same amount of paint.
Even when you're careful, a little overspray can happen. Knowing how to remove paint overspray is a valuable skill that separates a good job from a truly professional one.
Your Spraying Sequence for Doors and Frames
To get a truly seamless finish, you need a plan of attack. For both the cabinet doors and the frames, the rule is to always spray the tricky, detailed parts first and finish with the big, flat surfaces.
For a typical panelled cabinet door, here’s the sequence:
- Hit the inside edges of the recessed panel first.
- Next, spray the flat surface of that recessed panel.
- Then, move on to the surrounding stiles and rails (the "frame" of the door).
- Finally, do a quick pass on the outer edges of the entire door.
This order of operations prevents paint from pooling in the corners and ensures your final passes on the flat areas are smooth and uninterrupted. Follow this methodical approach, and you'll be well on your way to a stunning kitchen transformation.
The Waiting Game: Curing and Putting It All Back Together
You've sprayed the final coat, and everything looks incredible. The colour is flawless, the finish is smooth, and you're already imagining pouring a coffee in your new-look kitchen. It’s tempting to think you're on the home stretch, but what comes next is a masterclass in patience. This is where a good paint job becomes a great one.
Rushing the curing and reassembly phase is the easiest way to ruin all your hard work. Seriously.
The most important thing to understand is the difference between "dry" and "cured." A cabinet door can be dry to the touch in a few hours, which just means the solvents have evaporated. But it isn't cured. Curing is a much deeper chemical process where the paint molecules bond together to form a tough, durable surface. This can take days, or even weeks.
Think of it this way: rushing to hang your cabinets when the paint is just dry is like trying to slice a cake that's only cooled on top. You’ll end up with a mess. Fingerprints, dings, and chips are almost guaranteed if you don't give the paint time to fully harden.
Setting the Stage for a Perfect Cure
To get that rock-hard finish you're after, you need to let the paint cure in the right environment. The room where your doors and drawers are laid out needs to be clean, dry, and have good air circulation—but avoid creating a wind tunnel.
- No Dust Bunnies Allowed: Keep the area as clean and sealed off as possible. Any dust floating around can settle on your tacky paint and become a permanent part of the finish.
- Temperature and Humidity Matter: Most high-quality cabinet paints cure best when the temperature is between 18°C and 25°C with average humidity. If it’s too cold, the curing process can stall completely; too humid, and it can take forever.
- Keep it Out of the Sun: Direct, harsh sunlight can sometimes mess with the paint's colour and chemistry as it cures. A controlled, indoor space is your best bet.
Always check the paint can for the manufacturer's specific timeline, but as a general rule, don't even think about handling the pieces for at least 48 to 72 hours. And even then, be incredibly gentle. The paint is still quite fragile. A full, diamond-hard cure can take up to 30 days, so it’s wise to be extra careful with your cabinets for the first month.
The Final Stretch: Reassembly
Once you’ve given the paint enough time to harden up, it's time to bring your kitchen back to life. The trick here is to work slowly and methodically to avoid marring that perfect finish.
If you're installing new hardware, here's a pro tip: place a small piece of painter's tape over the spot you're about to drill. This simple step helps prevent the paint from chipping or cracking around the hole.
When it's time to rehang the doors, take your time adjusting the hinges. Most modern hinges allow you to make tiny adjustments up and down, in and out, and side to side. Getting those gaps perfectly even is the final touch that separates a DIY job from a professional-looking renovation. It's these small details that truly make the project shine.
Should You DIY This or Hire a Pro?
So, you’ve seen what it takes to get that flawless, spray-painted finish. Now for the million-dollar question: is this a job you can realistically tackle yourself, or is it time to call in the professionals? Deciding whether to paint kitchen cabinets with a spray gun isn't just about saving a few dollars; it's an honest look at the balance between cost, your time, and the quality of the final result you're aiming for.
Going the DIY route can be incredibly satisfying. It’s perfect for the person who genuinely enjoys the process, has a meticulous eye for detail, and can live with their kitchen being a work-in-progress for a week or more. If you already own a good HVLP sprayer and have a small, simple kitchen layout, the project is far less intimidating.
But let's be real—achieving that glass-smooth, factory-like finish is a true skill. It’s a craft that professionals have spent years getting just right.
When to Call a Professional
Hiring a pro is often the smartest play when your time is more valuable than your money, or when you simply can't afford any mistakes. A large, complex kitchen with detailed crown moulding or intricate cabinet doors can quickly become a DIY nightmare. Professionals have the workflow, the dedicated spray booths, and the experience to knock out the job faster and to a much higher standard.
It probably makes more sense to hire an expert if:
- You have high-end or brand-new cabinets: Don't risk a sub-par finish that could devalue an expensive kitchen.
- Your cabinets are a tricky material: Surfaces like thermofoil, veneer, or high-gloss laminates need specific prep and primers that pros know how to handle.
- You just don't have the time: A pro can often get the entire job done in the time it takes the average DIYer to finish the sanding and masking.
Professionals also carry insurance and usually offer a warranty on their work—a level of security a DIY project just can't match. If you're leaning this way, it’s worth understanding the full range of professional cabinetry services available to see all your options.
The True Cost Comparison
When you're crunching the numbers, look beyond the price of a can of paint. For a DIY job, you have to account for the sprayer itself, sandpaper, primer, topcoat, all the masking supplies, and cleaning agents. Those costs add up fast.
On the flip side, a professional quote might seem high at first, but the value is in that flawless, long-lasting finish they deliver. A professional spray painting job for an average kitchen can vary in price, but it’s still just a fraction of what a full cabinet replacement would cost. As a popular home improvement project, it saves homeowners thousands over a full tear-out. For a deeper dive, you can learn more about cabinet painting cost estimates from HomeAdvisor. This kind of investment often brings a great return, especially in a hot real estate market like Toronto.
At the end of the day, the decision is a trade-off. DIY saves you money on labour but costs you a significant amount of time and effort. Hiring a pro costs more upfront but guarantees a perfect result with none of the hassle.
An Alternative Worth Considering
There’s a third option that sits neatly between a messy DIY project and a full-gut renovation: buying new, factory-finished cabinet doors and frames. This route can give you the best of both worlds. You get a perfect, incredibly durable finish that's backed by a manufacturer's warranty, but you skip the steep learning curve and sawdust of a DIY spray job.
This approach is often surprisingly cost-effective. It delivers the polished look of a brand-new kitchen for much less than the price of a complete remodel. For anyone aiming for a major transformation with maximum impact, this is often the most sensible choice.
At MapleKing Kitchen Cabinets, we specialize in providing homeowners with beautiful, durable, and affordable cabinetry solutions that let you sidestep the DIY dilemma entirely. Explore our collection to see how new, professionally finished cabinets can elevate your kitchen with guaranteed results.



