

Thinking about a new kitchen doesn't have to mean emptying your bank account. A successful low cost kitchen renovation is well within reach for homeowners in Toronto and Markham, but it starts with a solid plan—not just a sledgehammer and a dream. The secret is focusing your energy and money on high-impact changes that solve the things that really annoy you about your current space.
Kicking Off Your Kitchen Renovation on a Smart Budget
Before you start pinning countertop samples, the very first step in any budget-conscious reno is to get brutally honest about your existing kitchen. What drives you crazy every day? Is it the awkward layout that turns cooking into a clumsy dance? The complete lack of counter space for prep? Or maybe you're just tired of digging through chaotic cupboards to find what you need.
These are your functional problems.
Learning to separate these core issues from the purely cosmetic stuff is the cornerstone of a smart budget. A clunky workflow that makes you dread cooking is a ‘must-fix.’ That dated brass hardware on your cabinets? That’s probably a ‘nice-to-have’ you can tackle down the road. This simple distinction keeps your wish list from getting out of hand and ensures your money goes where it will make the biggest difference.
Building Your Priority Checklist
Time to put this into action. Grab a notepad and draw a line down the middle, creating two columns: “Must-Haves” and “Nice-to-Haves.” Be specific and realistic.
- Must-Haves: These are the game-changers that solve a real, tangible problem. For example, if you can't open the fridge door all the way because the dishwasher is in the way, fixing that layout is a must-have. If your cabinet doors are literally falling off their hinges, new ones are a necessity.
- Nice-to-Haves: This is where you put all the aesthetic upgrades. Think a trendy subway tile backsplash, a fancy pull-down faucet, or those sleek under-cabinet lights. They’re great additions, for sure, but they don't solve a fundamental problem with how the kitchen works.
This little exercise is surprisingly powerful. We worked with a family in Markham whose biggest complaint was a constant feeling of clutter. Their ultimate 'must-have' was simply adding a dedicated pantry cabinet, which turned out to be a much more affordable solution than the full gut job they originally thought they needed. By zeroing in on that one core need, they saved thousands. You can see how this focused approach plays out in various projects by looking at affordable kitchen cabinets and renovation services in North York, where function and value are top priorities.
Your priority list is the single most important tool for a low cost kitchen renovation. It’s the filter for every choice you make, ensuring every dollar spent solves a real problem and boosts both your home's value and your everyday happiness.
Once your list is done, give it a hard look. Can any of your 'must-haves' be broken down into smaller, more manageable steps? This whole process isn't about giving up on your dream kitchen; it's about building it smarter. It gives you a clear roadmap, aligns your vision with your budget, and gives you the confidence to start the project without the financial anxiety. This is the foundation that ensures your renovation adds real, lasting value.
Getting Real About Renovation Costs
Let's talk numbers. A "low-cost kitchen renovation" is a nice idea, but what does it actually mean for your wallet? To get a grip on your budget, you need to understand where every dollar is likely to go. We'll move past vague estimates and get into the nitty-gritty of what a budget-friendly kitchen reno in the Toronto area really costs.
The biggest driver of your final price tag is, without a doubt, the scope of your project. Are you giving the space a quick cosmetic facelift, or are you diving into a more involved mid-range overhaul? The cost difference is massive.
A cosmetic refresh is all about surface-level changes. Think painting your existing cabinets, swapping out the handles, maybe putting up a new, affordable backsplash. You’re keeping the layout and all the major pieces in place, which makes it the leanest, meanest way to get a new look.
A mid-range renovation, on the other hand, means bigger moves. This is where you're replacing all the cabinetry, putting in new countertops, and maybe even tackling the floors or major appliances. It costs more, but the transformation is far more dramatic.
How to Set a Realistic Budget
So, how do you land on a number that isn't just a wild guess? A great starting point, and something we pros use for initial estimates, is a per-square-foot calculation. It’s not perfect, but it grounds your financial goal in reality from the get-go.
Knowing a rough per-square-foot cost for your area helps you instantly spot if a quote is way off base—either too high or suspiciously low. For example, while costs vary, a common baseline might be $200–$350 per square foot for a basic reno. This framework quickly shows that even a small kitchen project is a significant financial commitment. This kind of regional cost estimation is how professionals build their initial project budgets.
This approach gives you a practical spending ceiling before you even start talking to contractors.
It's also crucial to focus your spending where it counts. I’ve seen it time and time again: homeowners get caught up in the "nice-to-haves" and neglect the foundational "must-haves."
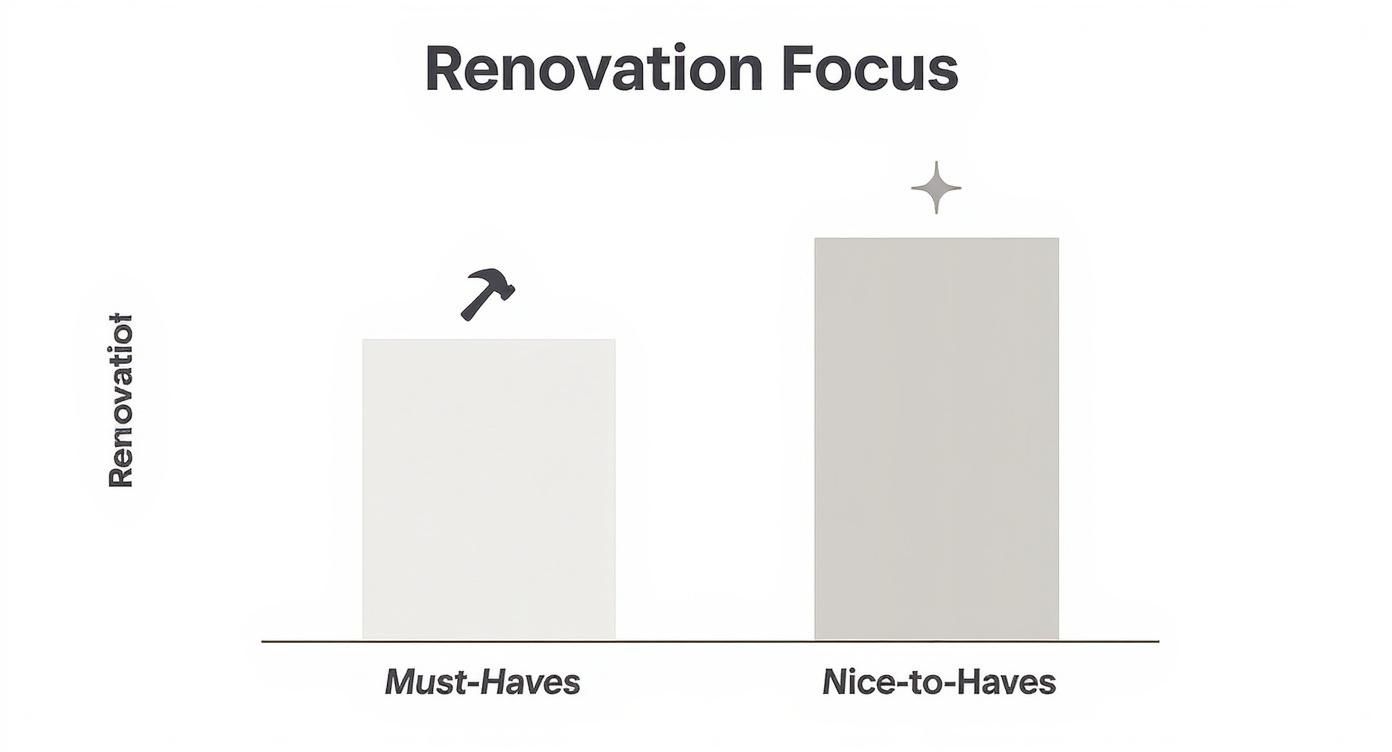
This is a classic trap. You blow the budget on a fancy faucet but stick with a dysfunctional layout that drives you crazy every day.
The Budget Breakdown: Where Does the Money Go?
Okay, so where will your money actually be spent? While every kitchen is different, the costs tend to follow a predictable pattern. Knowing these percentages helps you allocate your funds intelligently and make smart trade-offs.
A detailed budget isn't about limiting you; it's about empowering you. It gives you a clear roadmap for making decisions, ensuring you put your money into the things that truly matter for your home's value and your daily life.
To make this tangible, here is a typical breakdown of where the money goes in a standard budget-friendly kitchen renovation.
| Renovation Component | Average Percentage of Budget | Key Cost-Saving Tips |
|---|---|---|
| Cabinetry | 30-35% | Buy factory-direct from suppliers like MapleKing, choose ready-to-assemble (RTA), or reface/paint existing cabinets. |
| Labour & Installation | 20-25% | If you have the skills, DIY tasks like demolition, painting, or backsplash tiling can save you thousands. |
| Countertops | 10-15% | Look beyond quartz. High-quality laminate, butcher block, or entry-level solid surfaces offer great style for less. |
| Appliances | 10-15% | Shop for sales events (like Black Friday), consider floor models, or buy a bundled package from a single brand. |
| Flooring | 5-7% | Luxury Vinyl Tile (LVT) and modern laminate are durable, waterproof, and look surprisingly like real wood or stone. |
| Fixtures & Lighting | 5% | There are endless stylish and affordable faucets, sinks, and light fixtures available online and in big-box stores. |
| Backsplash & Paint | 3-5% | This is your high-impact, low-cost secret weapon. A classic subway tile and a fresh coat of paint work wonders. |
| Contingency Fund | 10-15% | This is non-negotiable. Always set aside 10-15% for the unexpected. Old plumbing or wonky wiring can pop up. |
This table isn't just a list of expenses; it's your strategic guide.
By thinking in these terms, you can build a line-item budget that truly reflects your priorities. This detailed plan becomes your North Star, guiding every single decision and helping you get a kitchen you love without the nightmare of surprise costs. It turns a massive, overwhelming project into a series of smart, manageable steps.
Choosing Affordable Materials Without Sacrificing Style
The real secret to a stunning kitchen renovation on a shoestring budget? It all comes down to your material choices. This is where a little bit of savvy can save you thousands of dollars, without forcing you to give up on the beautiful, functional space you've been dreaming of. The trick is to look past the usual high-end suspects and explore the incredible world of stylish, durable, and budget-friendly alternatives.
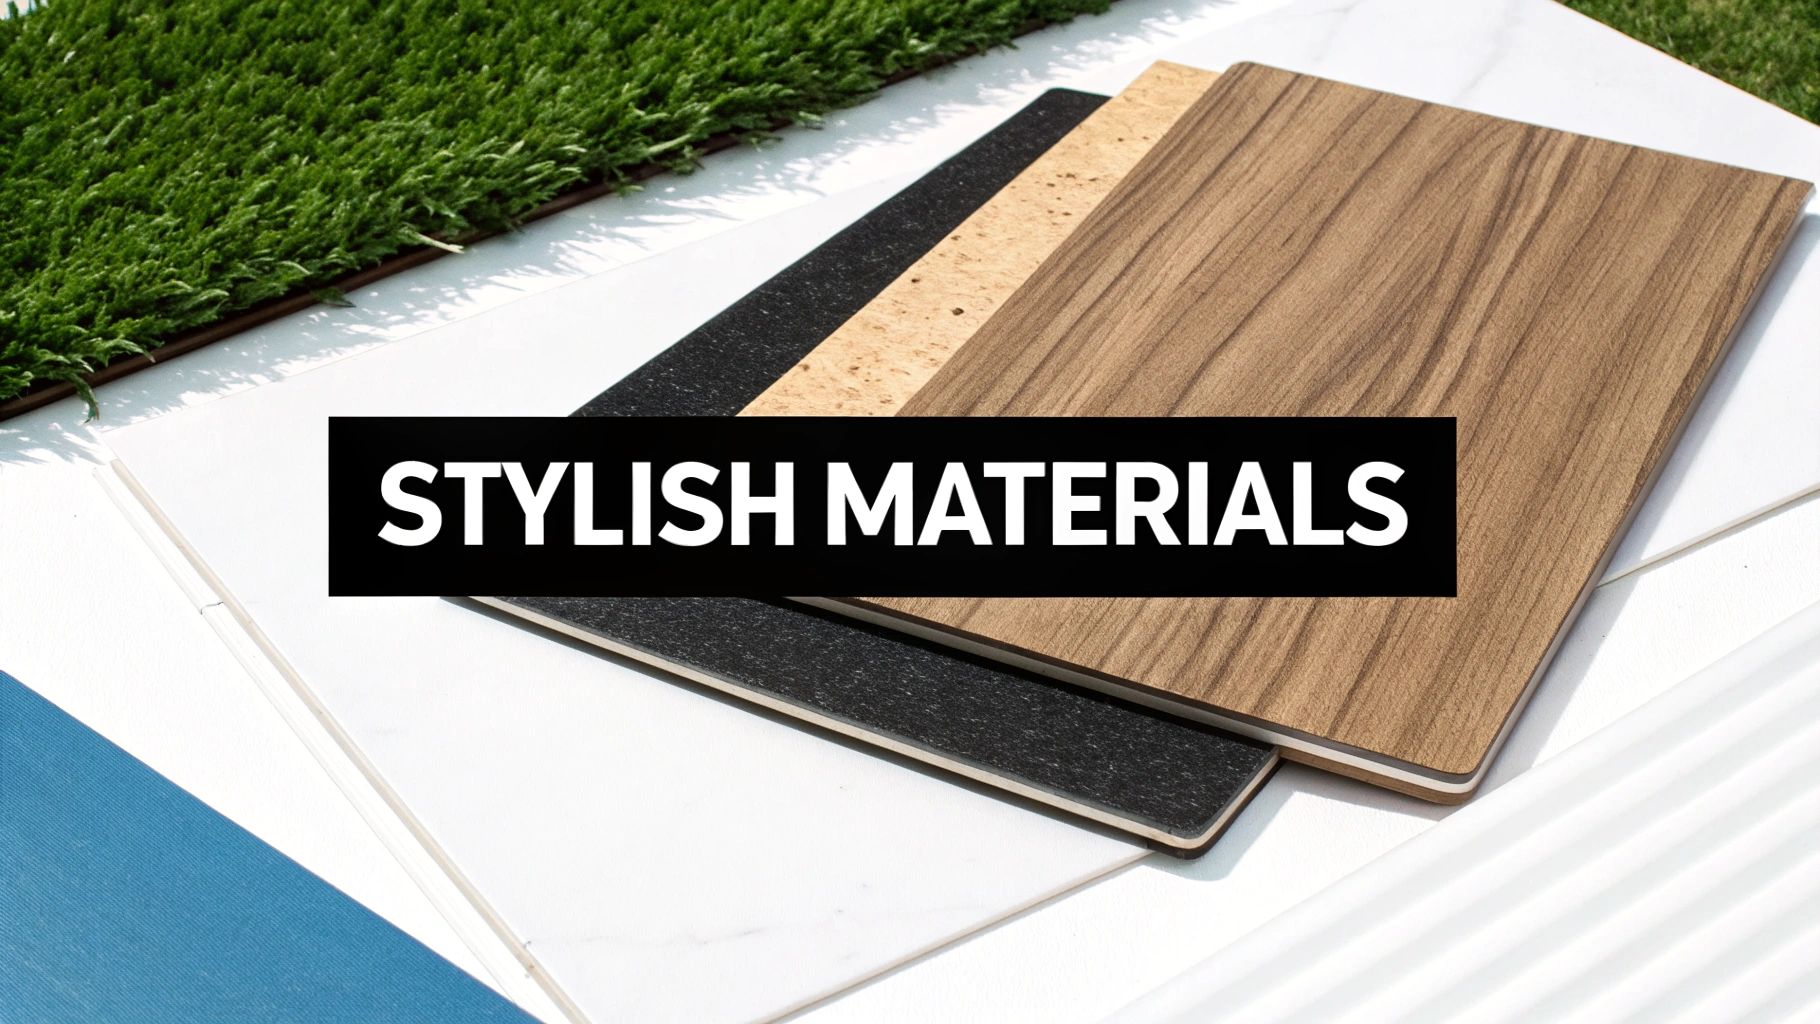
When people think countertops, their minds often jump straight to granite or quartz, but those options can eat up a massive chunk of your budget. Instead, have a look at modern, high-quality laminate. Seriously, forget the dated patterns you remember from your childhood. Today’s laminates offer shockingly realistic stone and wood looks that are tough, a breeze to clean, and cost just a fraction of the price.
Another fantastic option I often recommend is butcher block. It brings a natural warmth and character to a kitchen that stone just can't match. Sure, it needs a bit more TLC (a regular oiling keeps it happy), but its affordability and timeless appeal make it a top contender for any budget-conscious design.
The Cabinetry Conundrum: How to Save Big
As we saw in the budget breakdown, cabinetry is almost always the single biggest line item in a kitchen reno. It can easily account for 30-35% of your total spend, which means it’s also your single biggest opportunity to save.
While heading to a big-box store feels convenient, you're always paying for their middleman markup. This is why exploring factory-direct cabinetry is a total game-changer for homeowners in Toronto and Markham. When you buy straight from the manufacturer, you slice out that extra layer of cost, which means you get much higher-quality materials for your money. You can get a better sense of how factory-direct kitchen cabinets work and see how it directly impacts your bottom line.
Don't automatically assume you have to rip out and replace all your cabinets. If the boxes are still solid but the doors are looking tired, you have some powerful, cost-effective options that can completely transform your kitchen's look.
Two of the most effective strategies I've seen are refacing and painting.
- Cabinet Refacing: This is a brilliant middle ground. You keep your existing cabinet boxes and just replace the doors and drawer fronts. It's far less expensive and disruptive than a full replacement but gives you the fresh, clean look of brand-new cabinets.
- Cabinet Painting: If you're willing to put in some sweat equity, painting your existing cabinets is the ultimate budget move. It's all in the prep work—proper sanding, priming, and using quality cabinet paint—but for a few hundred dollars, you can achieve a finish that looks genuinely professional.
Smart Swaps for Flooring and Finishes
Flooring is another area where a smart choice can really protect your wallet. Hardwood is beautiful, no doubt, but it's pricey and not always the most practical choice for a high-traffic, spill-prone zone like a kitchen.
This is where Luxury Vinyl Tile (LVT) or Luxury Vinyl Plank (LVP) comes in. This isn't your grandmother's old linoleum. Modern LVT is incredibly durable, completely waterproof, and comes in gorgeous, realistic wood and stone finishes. It’s often installed as a "floating" floor, which can make it a very manageable DIY project, saving you even more on labour.
The Finishing Touches: Hardware and Lighting
Never, ever underestimate the power of the small details. Dated, grimy hardware can make an entire kitchen feel old, but swapping in new, stylish pulls and knobs can instantly bring the whole space into the modern era. This is one of the most affordable and high-impact upgrades you can possibly make.
You don't need to spend a fortune, either. Look for multipacks online or at home improvement stores. A simple, clean style in matte black, brushed brass, or satin nickel can give you that high-end feel for a surprisingly low cost. A Markham homeowner I recently worked with spent just $150 on new black handles for their old oak cabinets, and the change was absolutely dramatic.
Lighting is your other secret weapon. A single, dim overhead light makes any kitchen feel drab and uninviting. The key is to layer your lighting for both function and ambiance:
- Task Lighting: Add some inexpensive under-cabinet LED strips to light up your countertops. It makes food prep so much easier and safer.
- Ambient Lighting: Swap out that old, dated fixture for a modern flush-mount or semi-flush-mount light.
- Accent Lighting: A single, stylish pendant light over the sink or a small island can act as a beautiful focal point without breaking the bank.
By making these kinds of deliberate, informed choices on your key materials, you can piece together a kitchen that looks and feels expensive but was actually built on a smart, manageable budget.
Deciding Between DIY and Hiring a Professional
Knowing when to roll up your sleeves and when to call in an expert is one of the biggest forks in the road for any low cost kitchen renovation. Get this right, and you could save thousands. Get it wrong, and you’re looking at costly mistakes that can blow your budget and schedule out of the water.
The key is to be brutally honest about your skills, the tools you have, and, most importantly, the time you can realistically commit.
The allure of DIY is obvious. Labour costs can easily eat up 20-25% of a reno budget, so the potential savings are huge. But I’ve seen it happen time and again: a botched DIY job costs more to fix than it would have to hire a pro in the first place. A crooked backsplash or a poorly hung cabinet will stick out like a sore thumb, killing the joy of your new kitchen.
Identifying Smart DIY Opportunities
Not all reno tasks are created equal. Some jobs are perfect for a motivated homeowner, giving you a huge visual payoff for minimal risk. These are your quick wins—the projects where your sweat equity really counts.
Here are some of the best tasks to tackle yourself:
- Demolition: Tearing out old cabinets, countertops, and flooring can be surprisingly satisfying. With some basic safety gear and a few simple tools, you can save a ton on labour. Just make sure you know how to shut off the water and electricity first!
- Painting: A fresh coat of paint is the undisputed champ of budget transformations. Painting walls, trim, or even existing cabinet doors is a high-impact job that requires more patience than specialized skill.
- Backsplash Tiling: For a simple, straight-laid backsplash (like classic subway tile), this is a very doable DIY. You can find endless tutorials online, and the tools you need are pretty cheap to rent or buy.
- Installing Cabinet Hardware: Swapping out old knobs and pulls is one of the easiest, fastest upgrades you can make. All you really need is a screwdriver and a measuring tape.
The golden rule of DIY is to stick to tasks that are mainly cosmetic and forgiving. A little slip-up while painting is easy to fix. A mistake with plumbing can lead to a full-blown flood.
When to Absolutely Hire a Professional
While saving money is the goal, some jobs come with risks to your home and your safety that just aren't worth it. For these critical tasks, hiring a licensed and insured pro is a must, even on a tight budget. These are the areas where you never, ever cut corners.
Specifically, any work touching your home’s core systems should be left to the experts:
- Electrical Work: Moving outlets, installing new lighting, or wiring appliances requires a licensed electrician. Faulty wiring is a massive fire hazard, and it's not something to gamble with.
- Plumbing: Moving a sink, running a new water line for an ice maker, or shifting a gas line for a stove has to be done by a licensed plumber.
- Complex Cabinet Installation: While hanging a few simple boxes can be a DIY job, a full kitchen of cabinets—especially on the uneven floors and walls common in older Toronto homes—needs precision for that polished, professional look.
- Stone Countertop Installation: Materials like quartz, granite, or marble are incredibly heavy and can crack if they aren't handled and installed perfectly. This is a job always best left to the fabricators.
Finding and Vetting a Great Contractor
When you do need to hire help, finding the right person is everything. A great contractor can be your most valuable partner, offering advice and solutions you might not have thought of.
When you're vetting tradespeople, ask detailed questions about their experience with projects just like yours, get references you can actually call, and always get multiple quotes to compare.
For bigger jobs involving cabinetry, you need someone who gets both the design and the technical side of the installation. If you need a hand with this part, our guide on how to choose the best kitchen cabinets contractor in Toronto has a detailed checklist of questions to ask and red flags to watch for. It'll help you make sure you’re not just getting a good price, but quality work that's built to last.
Mapping Out a Realistic Renovation Timeline
https://www.youtube.com/embed/ByaM98T2ODo
Let's be honest: a detailed timeline is your single best defence against renovation chaos. It’s not just about penciling dates into a calendar; it's the strategic blueprint that keeps your project from spiraling out of control, saving you from costly delays and the dreaded "what's next?" paralysis.
Especially when you're aiming for a low-cost kitchen renovation, mapping out the sequence of events is crucial. Get it wrong, and you'll find yourself paying trades to come back for a second or third time, completely blowing your budget.
Think of it like building a house—you wouldn’t dream of putting up the drywall before the electrical wiring is in. The exact same logic applies to your kitchen. Demolition has to come first, clearing the slate for any new plumbing or electrical rough-ins. After that comes wall repairs, a good coat of primer, and the first layer of paint on the ceiling and upper walls.
Only then can you start bringing in the big stuff. This logical flow isn’t just about being efficient; it's about protecting every dollar you invest. For instance, we almost always install the flooring before the new cabinets and appliances arrive. Trying to cut flooring around all those intricate shapes later is a nightmare you want to avoid.
Getting the Renovation Sequence Right
The order of operations is non-negotiable. One misstep here can create a domino effect of problems, forcing you to tear out brand-new work and spend money you hadn't planned for.
Here’s the typical, battle-tested sequence for a mid-range kitchen project in the Toronto area:
- Planning and Ordering (4-8 Weeks): This all happens before a single hammer is swung. Finalize your layout, and get those orders in for your cabinets, countertops, and appliances. Lead times can be surprisingly long, so this has to be your first move.
- Demolition (1-3 Days): The messy but incredibly satisfying part. You’ll clear out the old kitchen, sometimes right down to the studs.
- Rough-ins and Framing (3-5 Days): This is where licensed pros handle any new plumbing, electrical, or structural changes. It’s when all the important stuff gets safely installed behind the walls.
- Drywall and Painting (4-7 Days): The space starts to look clean and fresh again. Walls are closed up, mudded, sanded, and primed.
- Flooring Installation (2-3 Days): The new floor goes in before any of the major components, creating a clean base.
- Cabinet Installation (2-4 Days): Your new cabinets are carefully hung and secured. This is when the kitchen truly starts to take shape and becomes the backbone of the new design.
- Countertop Templating and Installation (1-3 Weeks): Once the cabinets are set, a professional will create a precise template for your countertops. Fabrication and installation can take a bit of time, so plan for this gap.
- Final Connections and Installations (3-5 Days): It's a busy few days. The sink gets installed, the faucet is connected, the backsplash is tiled, and appliances are slid into their new homes.
- Finishing Touches (2-4 Days): This is all about the details that make the space feel complete—installing light fixtures and cabinet hardware, and doing the final paint touch-ups.
The Power of Phasing Your Renovation
But what if your budget can't swallow all of this in one go? That’s where a brilliant strategy called phasing comes into play. Instead of tackling one giant, expensive project, you break it down into smaller, more financially manageable stages.
This approach makes that dream kitchen feel so much more achievable and keeps you out of debt. You can focus on completing one high-impact phase, enjoy the massive upgrade, and then save up for the next one.
Pro Tip: When you're phasing a project, always get the disruptive, messy work out of the way first. Anything involving demolition, drywall, or major plumbing needs to be in Phase One. Cosmetic upgrades are much easier and cleaner to handle later on.
For example, a smart, phased renovation could look something like this:
- Phase One (The Foundation): Focus on the absolute essentials to get a functional kitchen. This means installing all your new cabinetry, the sink, and a basic, affordable laminate countertop. The space is now fully usable.
- Phase Two (The Finishes): Maybe six months or a year down the road, you can circle back to upgrade the finishes. This is when you’d replace the temporary laminate with those gorgeous quartz countertops and install the beautiful tile backsplash you’ve been eyeing.
- Phase Three (The Upgrades): Later still, you could tackle the old flooring or upgrade your appliances one by one as you find great sales.
This strategic approach is a cornerstone of smart, budget-conscious renovating. You don't have to do it all at once to see a huge difference. In fact, research shows that even minor kitchen remodels focusing on high-impact, low-cost elements can yield an impressive return on investment. You can find more great insights about how strategic updates add value on aaremodels.com. By breaking your project into logical pieces, you stay in complete control of your cash flow while steadily moving toward your ultimate goal.
Got Questions? Let's Talk Real-World Kitchen Renos
When you're planning a kitchen renovation on a budget, a hundred questions can start swirling around in your head. It's completely normal. Even the most detailed blueprint can leave you wondering about the nitty-gritty details. I've heard them all from homeowners across Toronto and Markham, so let's tackle some of the most common ones right now.
Think of this as a straight-talk session. We’ll get into how long your kitchen will actually be out of commission, whether budget-friendly materials are a ticking time bomb, and where the real budget-killers are hiding. Let's get you some answers so you can move forward with confidence.
How Long Does a Budget Renovation Actually Take?
This is the big one, isn't it? The honest answer is: it truly depends on how deep you're going.
If you’re doing a quick cosmetic facelift—think painting existing cabinets, changing out the handles, and maybe putting up a new peel-and-stick backsplash—you could easily knock that out in two or three solid weekends.
But for a more involved reno, even one that's laser-focused on budget, you need to be more realistic. If you're tearing out old cabinets and installing new ones with new countertops, you're looking at a different ball game. From demo day to that final brush stroke, I always tell people to brace for a four to eight-week timeline. That window gives you a buffer for things that always happen, like a countertop delivery getting delayed or your plumber's schedule not lining up perfectly with your electrician's.
Are "Affordable" Materials Actually Any Good?
I get it. The word "affordable" can sometimes make you think of flimsy, disposable materials that won't last. But honestly, manufacturing has come a ridiculously long way, and many of today's budget-friendly options are incredibly tough.
Let’s look at a few workhorses of the modern budget reno:
- Laminate Countertops: These aren't the easily-dented surfaces from your parents' first apartment. Modern high-pressure laminate (HPL) is a beast, holding its own against stains, heat, and daily abuse.
- Luxury Vinyl Tile (LVT) Flooring: Forget old-school linoleum. LVT is 100% waterproof, a lifesaver for kitchens. It's also surprisingly comfortable to stand on and tough against scratches from pets, kids, and dropped pans.
- Thermofoil Cabinets: These cabinets have a vinyl-like material vacuum-sealed over an MDF core. The result is a seamless, non-porous surface that’s a breeze to wipe down and holds up beautifully against kitchen humidity and grime.
The secret isn't to spend a fortune; it's to source your materials from a supplier who knows their stuff and stands behind the quality of their products.
What Is the Single Biggest Hidden Cost to Watch Out For?
If I had to point to one thing that consistently blows up a budget, it's the nasty surprises hiding behind the drywall. You pull down those 1980s oak cabinets and suddenly you're staring at ancient, knob-and-tube wiring, a patch of mould from a pinhole leak you never knew existed, or even asbestos in the ceiling texture.
This is exactly why a contingency fund of 10-15% of your total budget isn't just a good idea—it's absolutely essential. It's your project's safety net. If you don't touch it, great! You've got a little extra for that faucet upgrade you wanted. But if you uncover a major issue, you'll be so glad that money is sitting there waiting.
Dealing with unexpected electrical or plumbing problems is never the fun part of a reno, but it's the most important work you'll do for the safety and health of your home. Always, always fix the bones of the house before focusing on the cosmetics.
Can I Really Save Money with Factory-Direct Cabinets?
Absolutely. And we're not talking about pocket change; the savings can be huge.
When you buy cabinets from a big-box store, the price you pay is loaded with extra costs: the retailer’s rent, their marketing budget, their payroll, and a healthy profit margin on top. You're paying for way more than just the wood and hinges.
Going factory-direct slices all of that out of the equation. You're buying straight from the source, getting access to wholesale-level pricing. For a kitchen reno in the GTA, this can easily save you up to 50% on your cabinets—which is typically the single biggest line item in your budget. It’s the smartest move you can make, allowing you to get a much higher quality kitchen for your money.
Ready to see how high-quality, factory-direct cabinets can make your budget kitchen renovation look like a million bucks? At MapleKing Kitchen Cabinets, we cut out the middleman to bring you customized, luxury designs without the luxury price tag. Check out our range of durable, stylish options and get a free, no-obligation quote for your Toronto or Markham project today.
Learn more and see our work at maplekingkitchencabinets.com.



