

A great kitchen island is more than just extra counter space—it’s the command centre of your home. But for it to work, the layout needs to be built on three fundamentals: enough room to move, clear pathways, and a workflow that makes sense. We’re talking a minimum of 36-42 inches of clearance around the island so you can actually move around, and smart placement that complements the classic work triangle between your sink, stove, and fridge.
Establishing Your Kitchen Island's Foundation
Before you start dreaming about waterfall countertops and stylish cabinet finishes, let's get back to basics. The success of your kitchen island is decided long before the first piece of cabinetry is installed. It all begins with a tape measure and a realistic look at your kitchen's dimensions.
Getting the measurements right is absolutely critical. You need to know the total length and width of your kitchen, paying close attention to where doorways, windows, and major appliances are located. This simple step helps you avoid the number one mistake I see: an island that’s way too big for the room, creating frustrating bottlenecks and killing the flow. To get a better sense of how an island can fit into a larger vision, it's a good idea to explore some kitchen remodeling ideas for a modern and functional space first.
Minimum Clearances and Circulation
The space around your island is just as important as the island itself. These are the arteries of your kitchen; if they’re clogged, nothing works smoothly. For a safe and practical kitchen, especially in a busy Toronto home where you might have multiple people helping out or just hanging out, stick to these guidelines:
- Work Aisles: The paths between your island and the perimeter counters—especially where you have appliances like the oven, dishwasher, or fridge—need to be at least 42 inches wide. This gives you enough room to open appliance doors all the way without blocking traffic.
- Walk-Through Aisles: For pathways that are purely for foot traffic, you can get away with a minimum of 36 inches. If you have the space, though, pushing it to 42 inches will make the whole kitchen feel much more open and comfortable.
A well-planned island doesn't just add counter space; it directs traffic. It should guide guests away from the main cooking zone while keeping everything the chef needs within easy reach.
Evolving the Work Triangle
We’ve all heard of the classic kitchen "work triangle"—the efficient path between the sink, refrigerator, and cooktop. A kitchen island doesn't replace this concept; it supercharges it, transforming the triangle into highly functional "work zones."
Instead of just one central hub, your island can create dedicated areas for prepping, cooking, cleaning, and even socializing. For instance, putting a prep sink in the island creates an incredibly efficient food prep station. This frees up the main sink for dish duty and lets two people work in the kitchen without bumping elbows. This is how you turn a kitchen from a simple workspace into the true, multi-functional heart of your home.
The whole process boils down to three key stages: measuring your space, guaranteeing enough clearance, and mapping out a smart workflow.
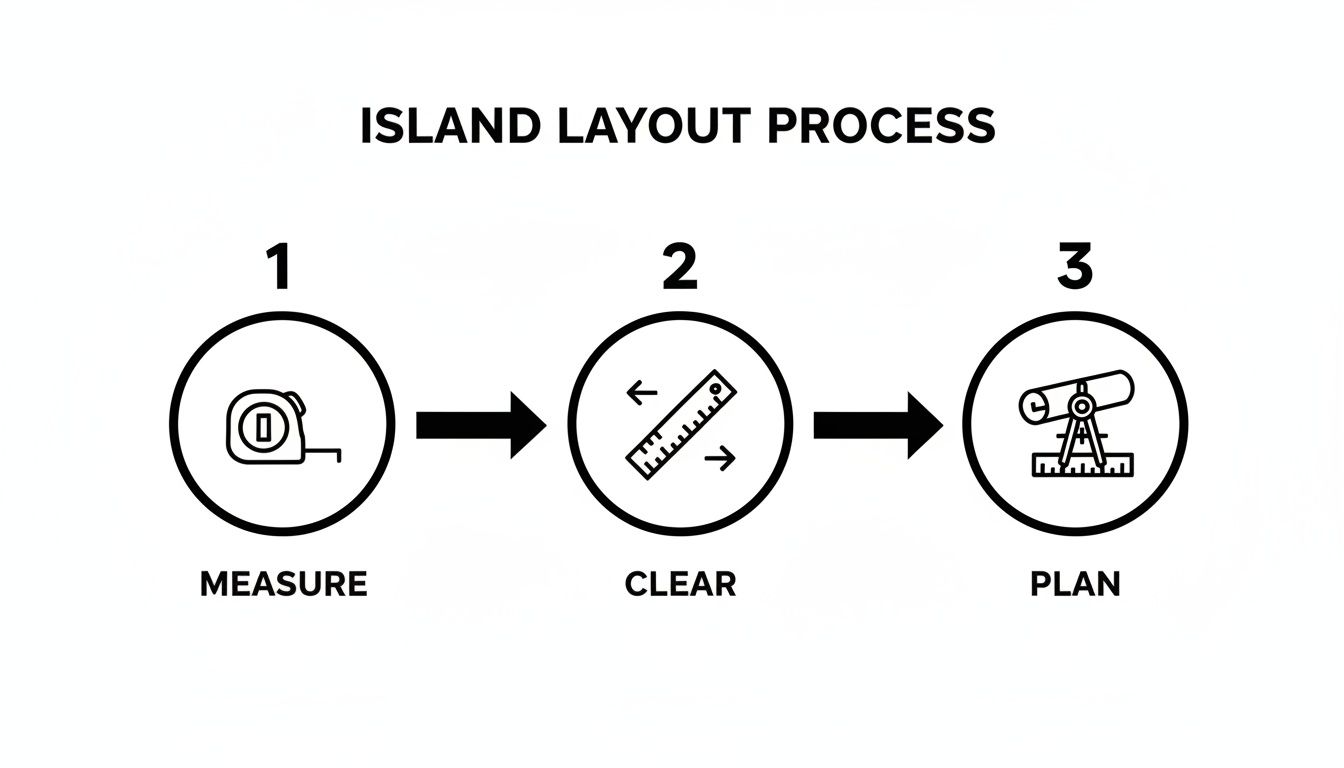
This simple visual reminds us that a functional island is built on a logical foundation, not just on looks. By getting these foundational steps right, you’re creating a blueprint for a kitchen that’s not only beautiful but a genuine joy to use.
Defining How Your Kitchen Island Will Be Used

Before you fall in love with a specific cabinet style or countertop, let's hit pause. The most critical question you need to answer is: what do you actually want this island to do? A truly functional kitchen design layout with an island isn't about just dropping a big block in the middle of the room. It’s about giving that new centrepiece a clear job description.
Think of it this way: is your island going to be the social hub for parties and homework? The workhorse for meal prep? Or the main stage for cooking? Each of these roles demands a completely different approach to design, from plumbing and electrical to size and shape.
The Social Hub and Dining Area
For many households, the island has completely replaced the traditional kitchen table. It's the go-to spot for everything from after-school snacks and homework sessions to catching up with friends over a glass of wine. If this sounds like your vision, then seating is your number one priority.
To make it comfortable, you'll need a countertop overhang of at least 12 to 15 inches to give everyone enough legroom. This isn't something you can eyeball; it needs to be planned from the start. A multi-level design can be a brilliant solution here—you get a standard-height work surface for kitchen tasks and a raised bar-height section for seating. It naturally separates the "work" and "social" zones.
The Primary Prep and Cleaning Station
If you're the one always whipping up new recipes, turning your island into a dedicated prep zone will change your life. This is where you can really streamline your workflow.
Integrating a second sink into the island is a total game-changer. Imagine rinsing vegetables there while someone else is loading the main dishwasher—no more bumping elbows. Of course, this means running plumbing to the island, a detail you'll want to discuss with your contractor early on. You can then build smart storage around it. Think about a pull-out recycling and compost centre from MapleKing right next to the prep sink or dedicated knife drawers to keep your essential tools right where you need them.
Your island's purpose dictates its infrastructure. A prep sink requires plumbing, a cooktop needs dedicated ventilation and electrical, and a social hub benefits from integrated charging ports. Deciding its role first prevents costly afterthoughts.
The Main Cooking Centre
Placing your cooktop or range in the island can create a wonderfully open and engaging cooking experience. Instead of facing a wall, you can chat with family or guests while you prepare dinner. It’s a layout we’re seeing more and more in open-concept homes across Toronto.
But this choice comes with some serious technical homework. You'll need a powerful ventilation solution—either a sleek downdraft system that pops up from the counter or a bold overhead range hood that makes a statement. Both require careful planning for ductwork and beefy electrical connections. It's also non-negotiable to surround the cooktop with a durable, heat-resistant countertop material for safety and longevity.
Here in the Greater Toronto Area, kitchen islands have evolved from a nice-to-have extra to the absolute cornerstone of a modern kitchen. In fact, the 2025 Houzz Canada Kitchen Trends Study found that 68% of homeowners in Toronto and Markham are making multi-functional islands a priority in their renovations. Even if your space is limited, there are plenty of creative ideas for small kitchen islands that can deliver huge functionality without overwhelming the room.
Choosing the Right Island Size, Shape, and Materials
Once you’ve nailed down what your island will do, it's time for the fun part: deciding how it will look and feel. We're talking about the size, shape, and materials that will turn your functional plan into the stunning centrepiece of your kitchen. This is where you get to blend practical needs with your personal style.
The first rule of island design is proportion. An island that’s too big will dominate the room, making it feel cramped and killing your workflow. Too small, and it'll look like an afterthought. A great starting point is to ensure your island takes up no more than 10% of your kitchen's total square footage.
Finding the Perfect Shape for Your Layout
While a classic rectangular island is a go-to for a reason—it’s incredibly versatile, especially in galley and L-shaped kitchens—don’t feel locked into it. Different shapes can solve different problems and add a custom feel to your space.
- L-Shaped Island: This is a fantastic choice for larger kitchens. It naturally creates separate zones, allowing you to have a prep station on one leg and casual seating on the other. It's perfect for households where multiple people are often in the kitchen at once.
- Curved or Arced Island: In an open-concept home, a curved island can be a game-changer. It softens the hard, straight lines of cabinetry and improves the natural flow of traffic around it. The gentle arc also makes for a more social seating area, as guests can face each other more easily.
- Custom Shapes: Don't be afraid to think outside the box for unique layouts. A T-shaped island, for instance, can brilliantly merge a dedicated work zone with a larger, table-height extension for family meals.
When you're making these decisions, you're balancing looks with longevity. It's a core principle in design, much like the process of selecting the right materials for luxury home design, where every choice has to be both beautiful and built to last.
Selecting Materials and Finishes
The materials you choose will ultimately define your island’s personality. Do you want it to blend in with your existing cabinets for a seamless look, or do you want it to pop as a bold, contrasting feature? There’s no wrong answer.
At MapleKing, we have a finish for every vision. For a super modern, sleek kitchen, our high-gloss HDF cabinets offer a reflective, mirror-like surface that bounces light around and makes the whole space feel bigger. If you lean more towards classic comfort, our painted real wood doors bring in natural warmth and timeless character.
Pro Tip: A contrasting island is one of the most effective tools in a designer's playbook. Choosing a different colour or countertop material for the island adds incredible visual depth and gives your kitchen a professionally curated feel.
This isn’t just a niche trend; it’s become the standard in modern kitchen design. The 2025 NKBA Ontario Chapter report highlighted that 72% of kitchen designs in Toronto and Markham now feature a prominent island in a transitional style. Even more telling, 87% of Markham homeowners surveyed chose a contrasting countertop for their island to make it stand out.
Of course, beauty has to be backed by durability. For a high-traffic family kitchen, a thermofoil HDF finish is a smart choice—it's seamless, a breeze to clean, and stands up well to moisture and stains. For a more subtle, sophisticated touch, matte HDF provides an elegant, fingerprint-resistant surface that looks fantastic and handles daily use with ease.
If you want to dive deeper into the cabinet options, have a look at our guide on choosing the best cabinets for a kitchen island. Remember, every material choice should tie back to how you plan to use your island every day.
Integrating Appliances and Lighting Like a Pro

The best kitchen design layout with an island feels like every element belongs right where it is. Appliances and lighting shouldn't feel like afterthoughts; they need to be woven into the design from day one. When you plan these pieces from the beginning, you get a kitchen that's not only beautiful but truly works for you, avoiding the headache and extra cost of trying to squeeze them in later.
Let's start with the lighting, because a single ceiling fixture just won’t do justice to a hard-working island. The trick is to think in layers.
Creating a Layered Lighting Plan
A well-lit kitchen island relies on three types of lighting working together, each with a specific job.
-
Ambient Lighting: This is your general, all-over light. Think of it as the foundation. Recessed pot lights are perfect for this, as they cast a wide, even glow across the entire kitchen.
-
Task Lighting: This is the focused light you need right where the action happens. For an island, this is almost always a set of pendant lights hanging directly over your main work area—the spot where you’ll be prepping food, kneading dough, or helping with homework.
-
Accent Lighting: The final touch that adds personality and warmth. This could be anything from a soft glow from under-cabinet lighting on the island to putting your pendants on a dimmer switch for a cozy vibe when you're entertaining.
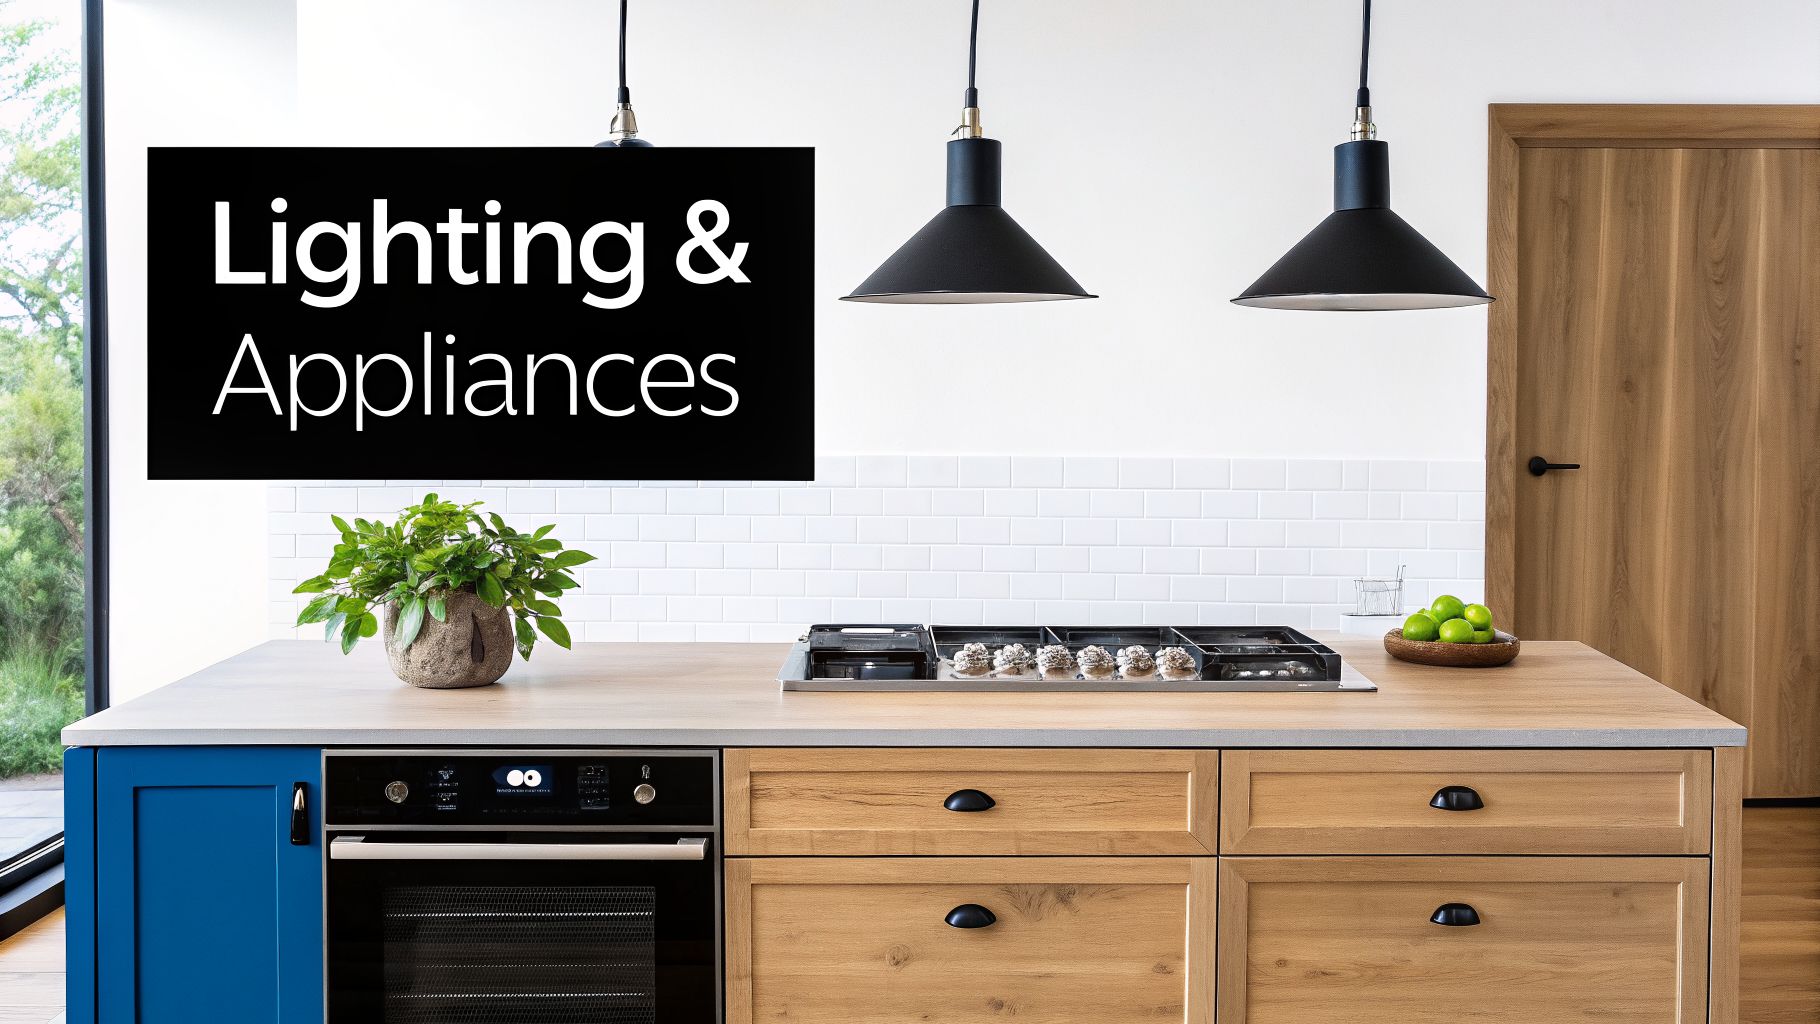
When hanging pendants, a solid guideline is to position them 30-36 inches above the countertop. This sweet spot provides excellent light for your tasks without blocking sightlines or making the space feel crowded.
Incorporating Appliances into Your Island
Placing a major appliance in your island is a big decision. It can completely change the kitchen's workflow and overall look, so it’s something you need to hash out with your renovation team early in the process.
For instance, a cooktop or range in the island is a fantastic way to make cooking more social—you can chat with family and friends instead of facing a wall. But this setup requires serious ventilation planning. You’ll have to decide between a striking overhead range hood or a sleek downdraft system that pops up when needed, both of which need their own ducting and electrical lines sorted out.
Pro Tip: An island dishwasher, especially when paired with a prep sink, creates a super-efficient cleanup station. Just make sure your contractor plans for the plumbing and electrical rough-ins before the floor is sealed. It's a costly mistake to try and add these later.
It's a trend we're seeing more and more. A recent Toronto Home Builders' Association survey of 800 projects in the Markham and Toronto areas revealed that 76% of homeowners are choosing larger islands to handle more tasks. The data showed that islands over ten feet long increase functionality by 50%, with 62% of these larger islands housing appliances like dishwashers. You can discover more insights on kitchen trends here.
Working with Renovation Professionals in Toronto
Turning your carefully planned kitchen design layout with an island from a blueprint into a beautiful, functional space takes a great team. The right professionals make the process exciting and rewarding, but the wrong ones can turn a dream project into a nightmare. In a bustling market like Toronto, finding a contractor, designer, and cabinet supplier you can trust is probably the most critical part of your entire renovation.
It all starts with that first meeting. When you come in for a consultation with us at MapleKing, bring everything you’ve got—your floor plans, a folder of inspiration photos, and a clear list of must-haves for your island. Think of this as a two-way interview. You're not just there to get a quote; you're feeling them out to see if their expertise and communication style are a good fit for you.
Vetting Your General Contractor
Before you even think about signing on the dotted line, you need to do your homework. Don't just ask a potential contractor for references—actually pick up the phone and call them. A reputable pro will have a list of recent clients in the GTA ready to go.
When you chat with their past clients, get specific with your questions:
- Did the project actually stay on budget and finish on time?
- How did they deal with unexpected problems when they popped up?
- Was the work area kept reasonably clean and organized during the project?
- Here's the big one: Would you hire them again in a heartbeat?
Beyond references, it's time to check credentials. Make sure they have a valid business licence for your city, carry proper liability insurance, and are in good standing with the Workplace Safety and Insurance Board (WSIB). This isn't just red tape; it protects you from liability and proves they’re a legitimate business.
Your contract is your single most important document. It needs to spell out the entire scope of work, a payment schedule based on project milestones, specific materials to be used, and a realistic timeline. Never, ever agree to a vague proposal or a simple handshake deal.
Creating a Seamless Workflow
Once your team is in place—the contractor handling the build, a designer guiding the vision, and a supplier like MapleKing providing the cabinetry—communication is everything. Decide on the best way to stay in the loop, whether that's a quick weekly call, a group chat for daily updates, or scheduled on-site meetings.
The final walkthrough is one of the most vital steps. Arm yourself with a detailed checklist and go over every single detail. Open and close every cabinet and drawer. Test every appliance and run every tap. Scrutinize the paint job, the grout lines, and the countertop seams. This is your final opportunity to spot any issues while the crew is still there to fix them. Taking charge of this last step ensures your new kitchen is perfect, down to the last detail.
For more insights, learn more about navigating a Toronto kitchen renovation to help guarantee your project is a success from start to finish.
Answering Your Kitchen Island Layout Questions
Even the most carefully laid plans bring up questions. It's just part of the process when you're designing something as important as a kitchen design layout with an island. Over the years, we've heard just about every query from homeowners across Toronto and Markham, so let's tackle some of the most common ones to help you move forward with confidence.
What’s the Absolute Minimum Space for a Kitchen Island?
Technically, you need at least 36 inches of clearance around the island for basic movement. But I'll be honest, that's tight. Think of it as the bare minimum for safety, not for comfort or function.
For any main work aisle—like the path in front of your stove or dishwasher—I always push clients to aim for 42 to 48 inches. This gives you enough room to open appliance doors without trapping someone, and it makes it possible for two people to work without constantly bumping into each other. As a general rule of thumb, your kitchen really needs to be at least 13 feet wide to make an island feel like a smart addition rather than an obstacle.
Can I Fit an Island in My Smaller Toronto Kitchen?
You absolutely can, you just have to think a little differently. In a more compact space, a big, fixed island can quickly dominate the room and kill your workflow. The key is to be clever.
A moveable kitchen cart is a fantastic option. It gives you that extra prep surface and storage when you need it, but you can simply tuck it away when you need the floor space back. Another great solution we often recommend for tighter layouts is a peninsula. It delivers many of the same perks—extra counter space, a spot for seating—but it’s attached to a wall, so you only need clearance on three sides. And of course, a custom cabinet maker like MapleKing can build a narrower, scaled-down island that’s perfectly tailored to your kitchen’s unique footprint.
An island's value isn't just in its size, but in its smarts. A smaller, well-designed island that respects traffic flow is far more useful than a large one that creates constant bottlenecks.
Should My Island Be Purely for Work, or Should It Have Seating?
This really boils down to how you live. If your formal dining table is just a few steps away, you might find that having an uninterrupted work surface and deep storage drawers is far more valuable than adding more chairs.
But if you picture your island as the social hub of your home—a place for kids to do homework while you make dinner, or for guests to sip wine and chat while you cook—then seating is a non-negotiable. A multi-level island can be the perfect compromise here. It can offer a standard counter-height surface for all your prep work while including a raised, bar-height section for seating that keeps everyone comfortably together but out of your main work zone.
What Should I Expect a Custom Kitchen Island to Cost in the GTA?
This is a big question, and the answer varies quite a bit depending on size, materials, and how many bells and whistles you add. A simple island focused on storage might start in the low thousands.
On the other hand, if you’re looking at a large island with premium countertops, custom MapleKing cabinetry, an integrated sink, and new electrical for appliances, the cost can easily range from $18,000 to $25,000 or more. One of the best ways to manage this is by working with a factory-direct supplier, which often makes those high-end materials and custom features much more accessible by cutting out the retail markup.
Ready to design the perfect island for your kitchen? The team at MapleKing Kitchen Cabinets offers factory-direct pricing on custom cabinetry to bring your vision to life. Explore our design options and get a free quote today!



