

If you're looking for a way to completely transform your kitchen without tearing everything out and starting from scratch, painting your cabinets is one of the smartest upgrades you can make. A professional-quality paint job can give you that stunning, showroom look for 70-80% less than what you'd spend on brand-new cabinets. It’s a game-changer for your budget and your home.
The Real Impact of Painting Your Kitchen Cabinets
Let's be real: a full kitchen demolition and remodel is a huge undertaking. It means weeks of dust, disruption, and a price tag that can be a tough pill to swallow. This guide is for anyone who wants that high-end, custom look without the headache and expense of a total gut job.
A great paint job is about so much more than just changing the colour of your cupboards. It has the power to redefine the entire feel of your kitchen, making it feel brighter, cleaner, and more current. It's a strategic move that breathes new life into tired, dated wood and can even bump up your home's value.
More Than Just a Coat of Paint
When you look past the simple before-and-after pictures, you start to see the real potential here. Choosing the right colour, finish, and—most importantly—the right process can make even a basic, builder-grade kitchen look like a custom-designed space. This isn't just about slapping some paint on old oak or maple; it’s about making a smart investment that pays off big time.
Just think about the benefits:
- Serious Cost Savings: You get the look and feel of a brand-new kitchen while keeping thousands of dollars in your pocket compared to a full cabinet replacement.
- Boosted Home Value: An updated, modern kitchen is a massive selling point for potential buyers and often delivers a fantastic return on your investment.
- Your Personal Style, Unleashed: Painting opens up a world of colour possibilities, giving you the freedom to create a look that perfectly matches your home's decor and your personal taste.
- A Much Faster Transformation: Most cabinet painting projects are wrapped up in about a week, which is a fraction of the time a full-scale renovation can take.
Of course, painting isn't the only option. Some homeowners also look into refacing. It's worth understanding the cabinet resurfacing cost to get a full picture of your options and see how they stack up.
This project is so much more than a quick cosmetic fix. When it's done right, painted kitchen cabinets are incredibly durable. A proper job protects your cabinetry for years to come and leaves it with a flawless, factory-like finish.
Ultimately, painting your cabinets is an empowering and achievable way to take the reins of your home's design. Whether you're a die-hard DIYer or you plan to bring in a pro, the results can be absolutely incredible.
If you want to see what a top-tier professional finish looks like, spend some time browsing galleries of completed projects. It’s the best way to get inspired and see what's possible for your own kitchen. You can see some beautiful examples in the MapleKing gallery of painted cabinet options. This guide will walk you through the whole process, showing you how to get that showroom-quality kitchen for a fraction of the cost.
Choosing Your Path: DIY vs. Professional Painting
So, you're set on painting your kitchen cabinets. Fantastic. Now for the big question: who’s going to do the work? This decision is a major fork in the road for your project, shaping everything from your budget and timeline to how happy you’ll be with the final look.
You're essentially facing the classic renovation dilemma—roll up your sleeves and go the DIY route, or call in the pros. There’s no single right answer here. The best choice really comes down to your own skills, how much time you have, and the level of quality you’re aiming for.
Let's unpack what each option really means for you and your kitchen.
The DIY Approach: A Labour of Love
There's a special kind of satisfaction that comes from transforming your own space. Tackling your cabinets yourself can be incredibly rewarding, and seeing the finished product of your own hard work is a great feeling. The most obvious draw, of course, is the money you'll save on labour.
But let's be realistic. A top-notch DIY cabinet paint job is a marathon, not a sprint. This isn't a simple weekend project; you're looking at a serious time commitment that could easily stretch over several days or a couple of weekends. Getting that flawless, smooth finish is a skill, and the meticulous process of cleaning, sanding, priming, and painting can test the patience of even the most dedicated DIYer.
The Professional Advantage: Speed and Precision
Handing the job over to a professional painting company completely changes the experience. A project that might take you a full week of evenings and weekends can be wrapped up by a skilled crew in just a few days. They come equipped with specialized gear, especially high-powered sprayers that create a perfect, factory-like finish that’s almost impossible to get with a brush or roller.
It’s not just about looks, either. Pros know that proper prep is everything, and they use high-grade materials designed to withstand the abuse of a busy kitchen. You’re not just paying for their time; you’re investing in their experience and a durable, long-lasting result.
Of course, that expertise comes at a cost. In California, having your kitchen cabinets professionally painted is a popular and smart alternative to a full rip-and-replace. You can expect professional estimates to fall somewhere between $2,000 and $6,500. When you compare that to the $6,000 to $28,000 price tag for a full cabinet replacement, you're looking at a potential savings of 50–80%. Going the DIY route cuts costs even more—materials will likely run you $400–$1,000—but the trade-off often comes in the final quality and how well the paint holds up over time.
To really dig into the costs for our area, you can explore 2025 cabinet painting price guides here.
To help you weigh your options, let's break down the key differences in a simple table.
Comparing Cabinet Painting Options
| Factor | DIY Painting | Professional Painter | New Painted Doors (MapleKing) |
|---|---|---|---|
| Cost | $400–$1,000 (Materials) | $2,000–$6,500+ | Moderate (More than DIY, less than full pro paint job) |
| Timeline | 1-2+ weeks | 3-5 days | 1-2 days for installation |
| Finish Quality | Variable; difficult to achieve a flawless finish | Professional, factory-like spray finish | Perfect, factory-cured finish |
| Durability | Good, if prep is perfect and quality paint is used | Excellent, professional-grade materials and prep | Highest durability, oven-cured enamel |
| Effort & Mess | High; significant personal time and disruption | Low; contained and managed by the crew | Low; only cabinet boxes need DIY painting |
| Best For | Budget-conscious homeowners with time and patience | Homeowners prioritizing a premium finish and convenience | A balanced approach for a high-end look on a budget |
As you can see, each path has clear trade-offs. But there's one more option that blends the best of both worlds.
A Smart Hybrid: The Best of Both Worlds
What if you could get that perfect, durable finish on the most visible part of your kitchen—the doors—without the cost and mess of a full professional spray job in your home? This is where a clever hybrid strategy comes into play.
The idea is simple: you tackle the prep and painting of the cabinet boxes and frames yourself, and then you order brand-new, professionally painted doors to install.
This approach gives you some fantastic advantages:
- Perfect Finish Where It Counts: The doors are what everyone notices. Getting them factory-finished guarantees a flawless, durable surface.
- No Messy In-Home Spraying: You avoid the fine mist of paint that can settle on literally everything in your house.
- Guaranteed Durability: Doors finished in a controlled factory environment are cured for maximum hardness, making them incredibly tough.
By combining your DIY skills on the frames with professionally finished doors, you can achieve a truly high-end look for a fraction of the cost. You can explore a variety of these professionally painted cabinet services to see how this practical and popular compromise could be the perfect solution for your kitchen update.
Mastering the Prep for a Finish That Lasts
If you take only one piece of advice from this entire guide, let it be this: your cabinet painting project will live or die by the quality of your prep work. It’s the unglamorous, time-consuming part, but it’s where a flawless, durable finish is truly made.
I've seen it countless times—homeowners get excited about the colour and rush this stage. That's the number one reason DIY projects end up looking, well, DIY. Think of it like building a house. You wouldn't pour a foundation on soft, uneven ground. The same logic applies here; you can't expect fresh paint to stick to years of kitchen grease, grime, and glossy topcoats. Every minute you invest now pays off tenfold later.
This diagram lays out the three main paths you can take, and you'll notice they all start with the same critical foundation: solid prep.
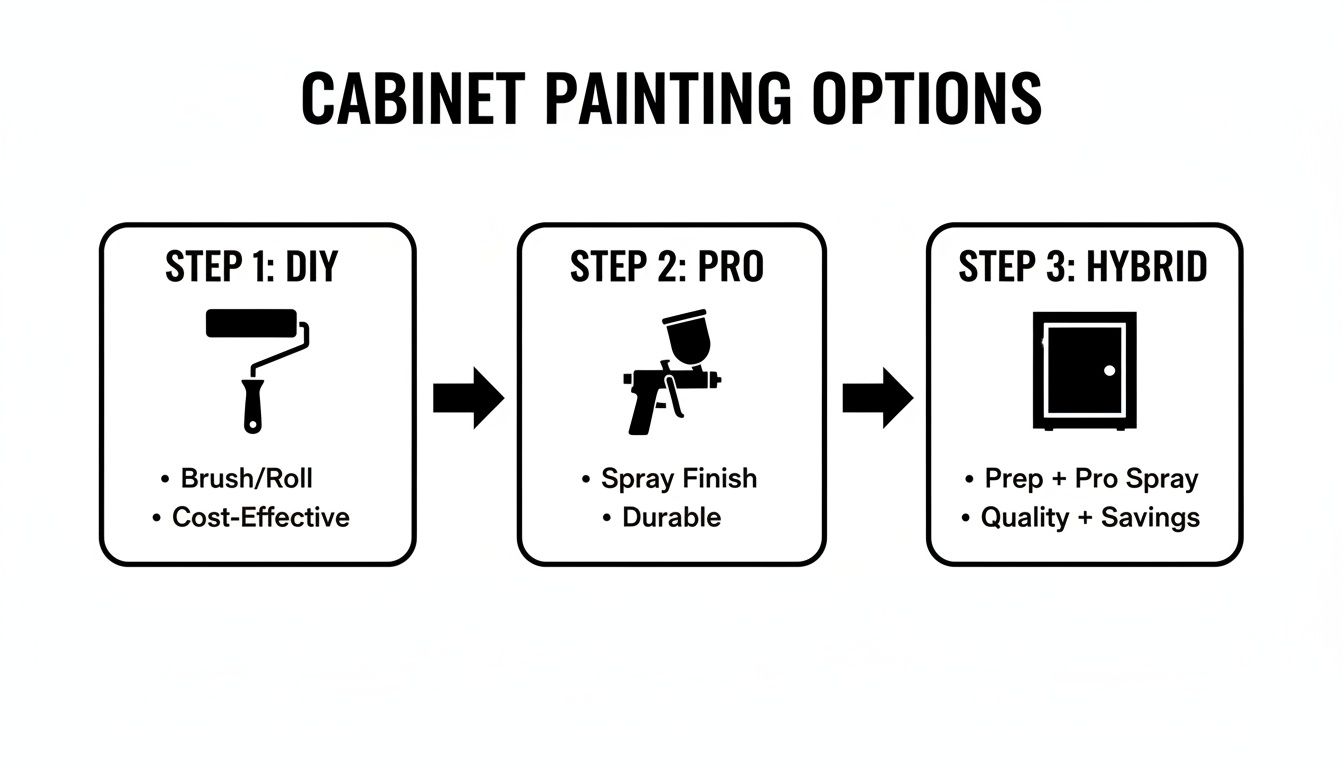
Whether you go full DIY, hire a pro for the whole job, or try a hybrid approach, there's just no skipping this part.
The Systematic Disassembly Process
Before you even think about cleaning, you need a system. Just yanking doors off the hinges is a surefire recipe for a frustrating puzzle when it’s time to reassemble everything. Start by sketching a quick map of your kitchen layout.
Now, give every single door and drawer front a unique number. Use painter's tape to stick a number inside the cabinet box and another on the back of the matching door or drawer. This little trick takes maybe 20 minutes but will save you hours of aggravation later. It’s a classic pro move.
With everything labeled, you can start removing the doors and drawer fronts. As you do, put all the hinges, screws, and handles into clearly labeled bags. A bag labeled "Upper #7 Hinges" ensures every tiny piece goes back exactly where it came from. This kind of meticulous organization is what elevates a project from amateur to professional.
The All-Important Deep Clean
Your kitchen is the heart of your home, which means it’s ground zero for grime. Microscopic layers of cooking grease, food splatters, and even cleaning product residue create a film that paint simply can’t bond to. Your job is to get rid of it completely.
A standard all-purpose cleaner won't cut it here. You need a serious degreaser. I recommend TSP (Trisodium Phosphate) or a good TSP substitute.
- For Wood Cabinets: Mix the TSP with warm water and get scrubbing with a non-abrasive pad. It’s amazing (and a little gross) what comes off. Just be sure to wear gloves and eye protection.
- For Laminate or Thermofoil: These surfaces aren't as porous, but they still get greasy. A strong degreasing cleaner is non-negotiable for getting the surface truly clean.
After scrubbing every surface you plan to paint—doors (front and back!), drawer fronts, and the cabinet boxes and frames—rinse everything with a clean cloth and fresh water. Then, let it all dry completely. Any leftover cleaner residue or moisture is an enemy of good paint adhesion.
Pro Tip: Spend extra time on the cabinets around your stove, oven, and microwave. These are magnets for airborne grease and will need the most elbow grease. If your cleaning cloth is still coming up dirty after one pass, you’re not done. Clean it again.
Creating the Perfect Canvas
With your cabinets sparkling clean and bone dry, it's time to play surgeon. This is your chance to fix all the little imperfections and create a truly smooth, flawless surface for the paint. Grab some high-quality wood filler and a putty knife.
Go over each piece and look for dings, deep scratches, or old hardware holes. If you're planning to update your handles or knobs, now's the time to fill the old screw holes. Apply the wood filler, overfilling the spot just slightly—it will shrink a bit as it dries.
Once the filler is fully cured (check the instructions), it's time to sand. Using a 120- to 150-grit sandpaper, sand the filled areas until they are perfectly smooth and flush with the surrounding wood. Feather out the edges as you sand to create a seamless transition.
Finally, you need to do a "scuff sand" on every single surface that will be painted. The goal isn't to strip the old finish down to bare wood. You're just knocking off the glossy sheen and creating a microscopic texture, or "tooth," that the primer can really bite into. A light but thorough pass with 120-grit is perfect. Once you’re done, vacuum all the dust, then wipe every surface with a tack cloth. You want them absolutely spotless before you even think about opening a can of primer.
How to Select the Right Paint and Tools
Walking into the paint aisle can feel a bit like stepping into another world. With endless cans all promising the perfect finish, it’s easy to feel overwhelmed. But here’s the thing: choosing the right materials is every bit as critical as your prep work. It’s what separates a good-enough job from a great one.
The secret to a finish that actually lasts lies in picking a paint made specifically for cabinetry. I can't stress this enough—your standard wall paint just won't cut it. It’s simply too soft and will inevitably chip and scuff in a high-traffic zone like the kitchen.
Modern cabinet paints are a different breed entirely. They’re engineered for hardness and self-levelling, which means they dry to a smooth, tough finish that can stand up to daily life.
Understanding Modern Cabinet Paints
Paint technology has come a long way, thankfully. Today’s best options give you the rugged durability of old-school oil-based paints but with the easy cleanup and low odour of water-based formulas. It’s the best of both worlds.
Here are the main players you’ll see on the shelves:
- Waterborne Alkyds: These are fantastic hybrids. They give you the simple soap-and-water cleanup you get with latex paints, but they cure to a hard, durable finish that rivals traditional oils. They also level out beautifully, which helps hide those pesky brush and roller marks.
- Acrylic Urethane Enamels: This is another top-tier choice, known for being exceptionally hard. The urethane in the formula creates a non-yellowing, factory-like finish that’s highly resistant to scratches and household chemicals—perfect for a kitchen environment.
When you're at the store, make sure to read the label carefully. Look for phrases like "cabinet and trim enamel" or "urethane reinforced" to be sure you're grabbing a product designed for the job.
The biggest mistake I see homeowners make is choosing paint based on colour alone. The formula is what really dictates performance. A premium cabinet paint might cost a bit more upfront, but it’ll save you the headache of repainting chipped cabinets in a year or two.
The Unsung Hero: A High-Quality Primer
No matter how incredible your paint is, it needs a solid foundation to grab onto. That's where a high-quality bonding primer comes in. Think of it as the essential bridge between the old surface and your new topcoat, ensuring all your hard work lasts.
For tricky surfaces like glossy laminate, thermofoil, or cabinets that were previously painted with oil, a bonding primer isn't just a good idea—it's non-negotiable. For these slick materials, look for shellac-based or oil-based primers for the strongest possible adhesion. For most wood cabinets, a quality water-based bonding primer will do the trick just fine.
Rollers vs. Sprayers: Choosing Your Application Method
How you put the paint on the cabinets will have a huge impact on the final look. Each tool has its pros and cons, and the best choice really depends on your budget, skill level, and the finish you’re aiming for.
High-Density Foam Rollers
For most DIYers, a high-density foam roller paired with a good brush is the go-to combination. You use the brush for cutting in on detailed areas and corners, and the roller creates a smooth finish on flat surfaces like door panels. This method is affordable, approachable, and gets great results.
Paint Sprayers
If you’re chasing that flawless, "factory-finish" look, nothing beats a paint sprayer. Sprayers atomize the paint, laying down a thin, perfectly even coat without a single brush or roller mark in sight. For those wanting pro-level results, it's worth learning about these tools; you can find fantastic resources like a professional painter's guide to portable airless sprayers to get started.
The demand for these professional-grade finishes is undeniable, especially in busy markets. The painters industry in California, for instance, is a mature market expected to hit $6.1 billion in 2025. This shows just how much homeowners are investing in services like cabinet painting, often choosing premium, sprayed finishes for a high-end look without the cost of a full replacement. To see more on this market trend, you can read the full research about the California painters market.
Selecting the Perfect Sheen
The final piece of the puzzle is the paint's sheen, which is just its level of glossiness. This choice impacts both how your cabinets look and how they perform.
- Satin or Pearl: This is by far the most popular choice for kitchen cabinets, and for good reason. It offers a soft, elegant lustre that is durable and easy to clean without being overly shiny.
- Semi-Gloss: A step up in shine, semi-gloss provides excellent durability and washability, making it another solid option for hardworking kitchens. Be aware, though, that it will highlight any surface imperfections more than a satin finish.
- Matte: While trendy, matte finishes are generally a poor choice for kitchen cabinets. They tend to be less durable and can be a real pain to clean, showing every fingerprint and scuff.
Thinking through these decisions is key to a beautiful result, whether you're just refreshing your current space or planning a bigger overhaul. If you're exploring all your options, our guide to finding the best kitchen cabinets in Toronto offers even more insights into materials and professional finishes.
The Application Process for a Flawless Coat
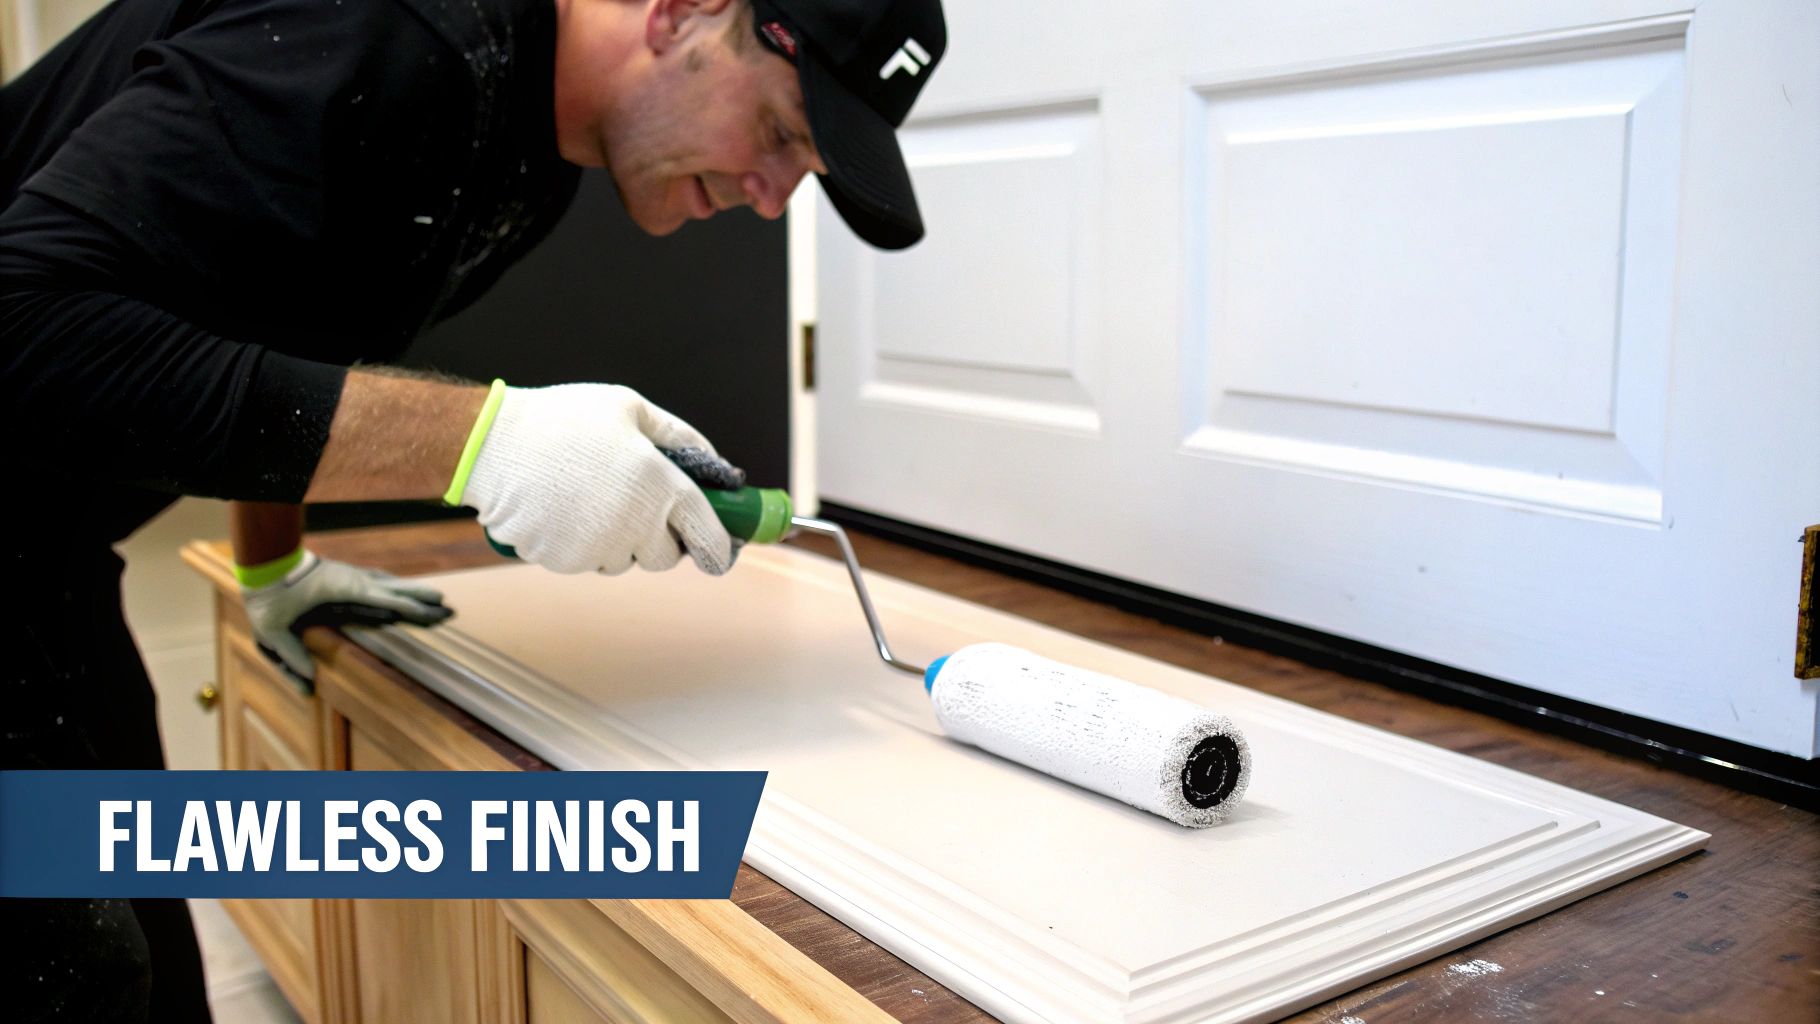
This is the moment where all that painstaking prep work truly pays off. With clean, smooth, and perfectly primed surfaces, you're finally ready to build up that beautiful, durable finish you've been envisioning. The key here isn't speed; it's all about technique and a little bit of patience.
Getting the primer on correctly is your first real step toward that new look. A quality bonding primer does so much more than just help the paint stick. It seals the wood, stops old stains from bleeding through, and gives you a consistent base colour to work with. This is what ensures your final colour will look even, without any weird dark patches or wood grain showing through.
For this, I recommend a good quality brush for cutting into corners and details, paired with a high-density foam roller for all the flat surfaces. Your goal is just one thin, even coat. Don't slather it on trying to get full coverage with the primer—it should look a bit transparent, and that's perfectly fine. Let it dry completely, following the time recommended on the can.
The Magic of Sanding Between Coats
Once your primer is bone dry, it’s time for a step many DIYers skip, but one that professionals swear by: light sanding. Go ahead and run your hand over a primed door. You'll probably feel a slightly rough, gritty texture. That's called "grain raise," and it happens when wood fibres swell up after being hit with the moisture in the primer.
Grab a very fine-grit sandpaper, something around 220-grit, and give every surface a quick, gentle pass. You aren't trying to remove the primer, just to knock down those raised fibres until the surface feels silky smooth. After you're done, be meticulous about cleaning off the dust. A vacuum with a brush attachment followed by a tack cloth is the best combo. This simple action is what creates that glass-like feel on the final product.
Sanding between coats is non-negotiable for a professional-grade finish. It’s the secret that transforms a good paint job into an exceptional one, ensuring your final topcoats lay down perfectly flat and feel incredible to the touch.
Applying Your Topcoats With Precision
Now for the main event: laying down your colour. Using the same brush-and-roller technique, start applying your first topcoat. The trick is to work methodically, one door or section at a time, and always maintain a "wet edge." This just means you should always be painting from a wet area into a dry one to minimize lap marks and get a seamless blend.
Keep your coats thin. It is always better to apply two or three thin coats than to try and get it done with one thick, heavy one. A thick coat is a recipe for drips, won't dry properly, and often leaves you with an uneven, orange-peel texture. Let that first coat dry completely, then repeat the light sanding and cleaning process before applying your second and final coat.
The difference between a DIY look and a professional one often comes down to the application method. For instance, professional spray applications report up to 95% even coverage, while brushes and rollers typically achieve 70–80%. This is a big reason why many homeowners opt for pros to get that durable, factory-grade finish. If you're curious, you can discover more insights about cabinet painting practices on Klappenbergerandson.com.
Understanding the Crucial Curing Time
You've applied the final coat, stepped back, and it looks amazing. Your first instinct is probably to start putting your kitchen back together immediately. Resist this urge! While the paint might feel dry to the touch in a few hours, it is nowhere near fully hardened.
This is the all-important difference between drying and curing.
- Drying happens when the solvents (like water) evaporate from the paint, making it feel dry. This is relatively quick.
- Curing is a much longer chemical process where the paint molecules actually cross-link and harden into a durable, scratch-resistant shell.
Believe it or not, modern cabinet paints can take up to 30 days to fully cure. During this time, the finish is still vulnerable. Banging a newly painted door against its frame or sliding a heavy stand mixer across a shelf can easily cause a chip or deep scratch.
You need to be gentle with your new cabinets for the first few weeks. While you can carefully rehang your doors after a few days, wait as long as you possibly can before exposing them to the full chaos of daily kitchen life. This patience will be rewarded with a finish that truly lasts for years.
Have Questions About Painting Your Kitchen Cabinets?
Even the most thorough plan for painting kitchen cabinets can leave you with a few lingering questions. Let's be honest, this is a big job, and getting it right matters. So, let's walk through some of the most common things people ask before they dive in, so you can start your project with confidence.
How Long Will My Painted Cabinets Actually Last?
This is the big one, isn't it? The lifespan of your painted cabinets really boils down to three things: how well you prepped them, the quality of the paint you used, and the application method.
If you go the DIY route and you're truly meticulous—we're talking deep cleaning, thorough sanding, and using a top-tier cabinet enamel—you can realistically expect your finish to look great for 5 to 8 years. You’ll likely see some minor wear on the most-used doors, like the one under the sink or your trash pull-out, but those are easy enough to touch up.
Professionally sprayed cabinets, however, are in a different league. They often hold up for 10 years or more. That fine, atomized spray creates a much harder, more even finish than you can ever get with a brush. Regardless of the method, the real secret to a long-lasting finish is patience. You have to let the paint fully cure, which can take a few weeks, before you get back to your normal, sometimes chaotic, kitchen routine.
Can I Paint Over Laminate or Thermofoil Cabinets?
The short answer is yes, you can. But—and this is a big but—it’s a completely different animal than painting wood. Those slick, non-porous surfaces are literally designed to repel things, and that includes paint.
Success here is 100% about the prep work. After a serious degreasing, you absolutely must scuff up that glossy finish with sandpaper. This gives the surface some "tooth" for the primer to grab onto. From there, a high-adhesion bonding primer isn't just a suggestion; it's essential. This stuff is chemically engineered to bite into surfaces that paint normally slides right off of.
Without a bonding primer, even the best cabinet paint is doomed to fail. It might look fine for a little while, but sooner or later, it will peel and chip. If you want a guaranteed bond on these tricky materials, sometimes replacing the doors with professionally finished HDF is the smarter, more reliable choice in the long run.
What Are the Best Colours for Kitchen Cabinets Right Now?
You can never go wrong with the classics. Timeless whites and soft greys are always in style because they make a kitchen feel bright and open, which is a huge plus for resale value.
That said, we’re seeing a big shift towards kitchens with more personality. People are getting bolder and embracing richer, more saturated colours.
Right now, some of the most sought-after shades include:
- Moody Blues: Think deep navy or dusty slate. These colours feel sophisticated and grounding.
- Earthy Greens: Sage, olive, and even deep forest green bring a sense of nature indoors and create a really calming space.
- Warm Neutrals: Forget stark white. Shades like mushroom, greige, and warm charcoal feel much more modern and inviting.
Ultimately, the perfect colour is the one that works in your home, with your specific lighting, countertops, and backsplash. The golden rule? Always test your samples! Get a few large sample boards, paint them, and move them around the room throughout the day. You’ll be amazed at how a colour can change as the light shifts.
Should I Get New Hardware When I Paint?
Yes. A thousand times, yes! Updating your hardware is one of the easiest ways to make a massive impact. New knobs and pulls are the jewelry of the kitchen, and this one small change can take your project from a simple refresh to a full-blown transformation.
Just a heads-up: if you're switching from knobs to pulls, you'll have to deal with the old screw holes. Take the time to fill them properly with a good quality wood filler, sand it perfectly smooth, and then prime right over it. It’s a small extra step that makes all the difference for a clean, professional finish.
Ready to skip the guesswork and get a flawless, factory-perfect finish? The team at MapleKing Kitchen Cabinets offers a stunning selection of professionally painted real wood and HDF doors, giving you a durable, high-end look without the hassle. Explore your options and get a free quote today.



